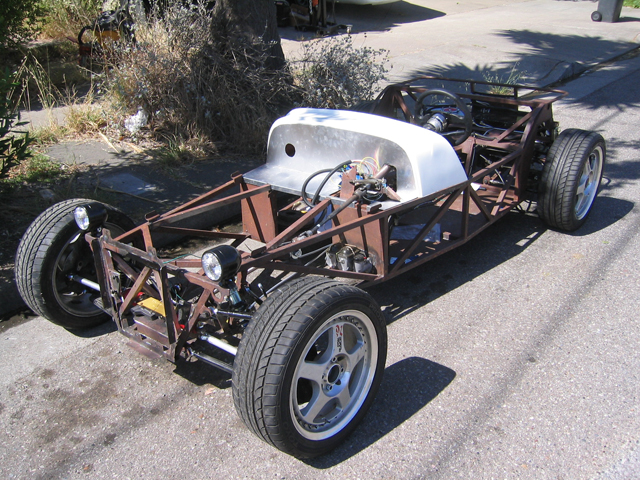
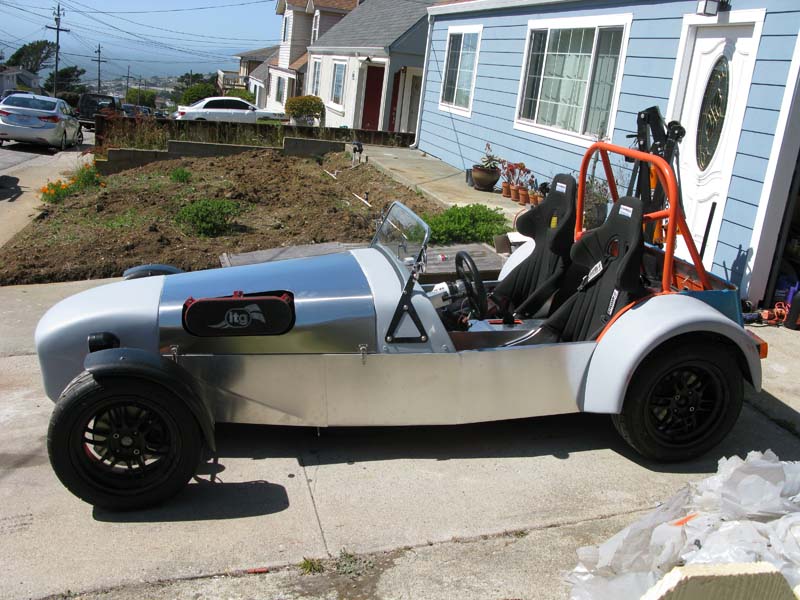
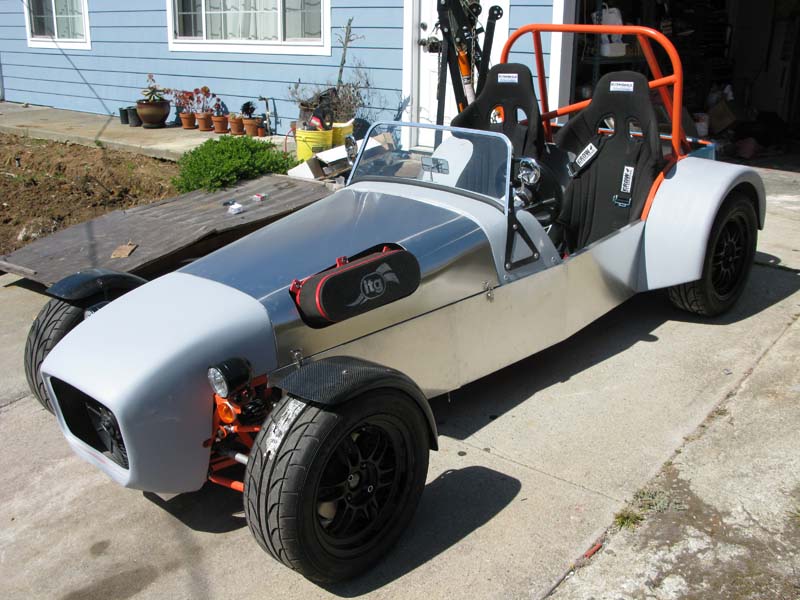
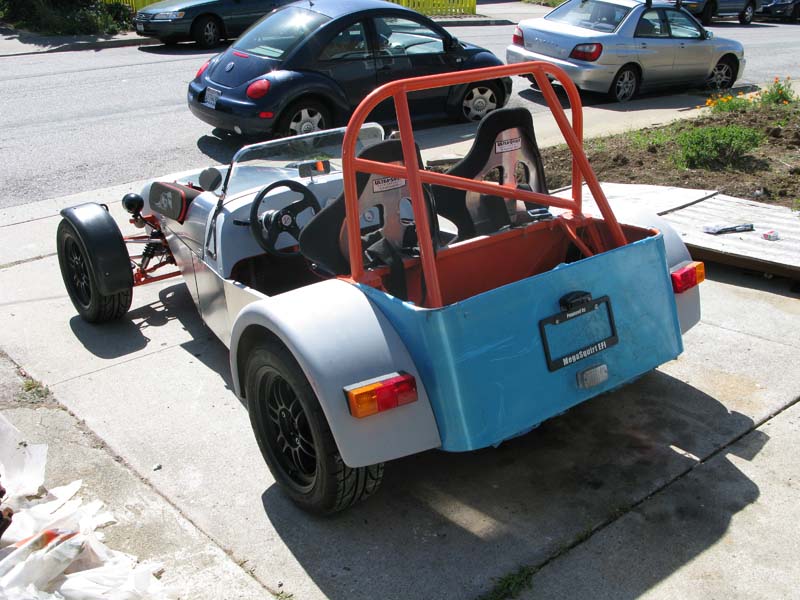
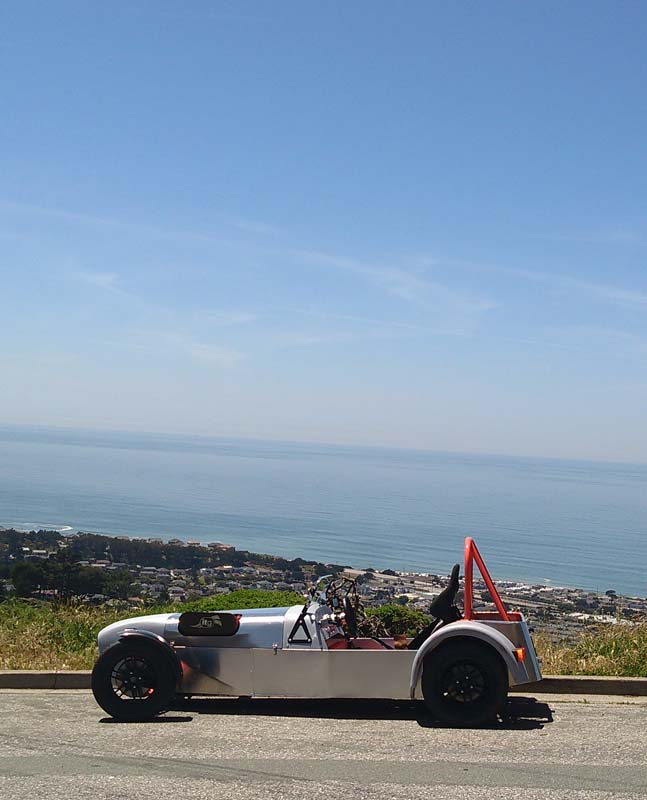
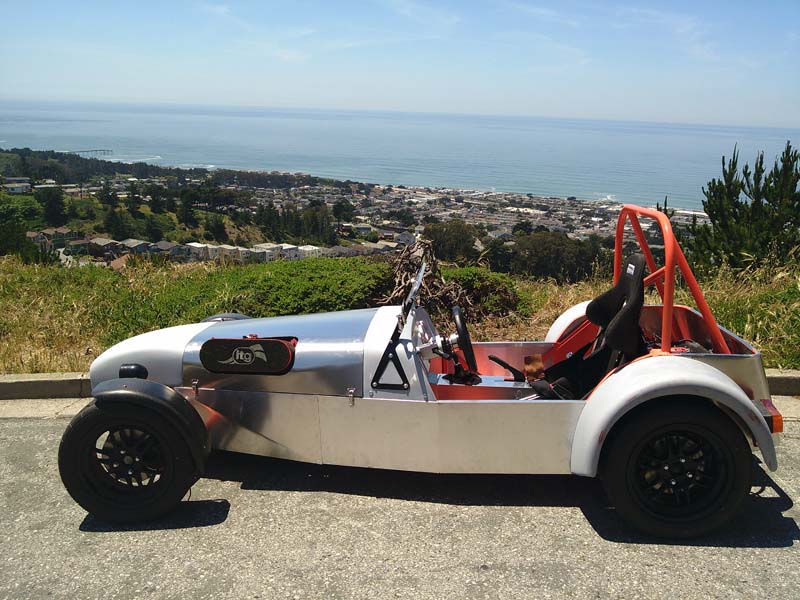
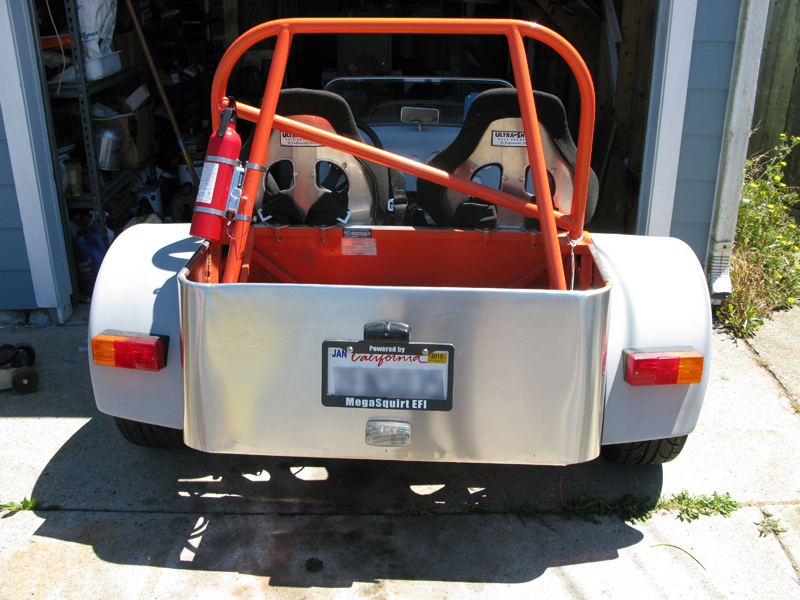
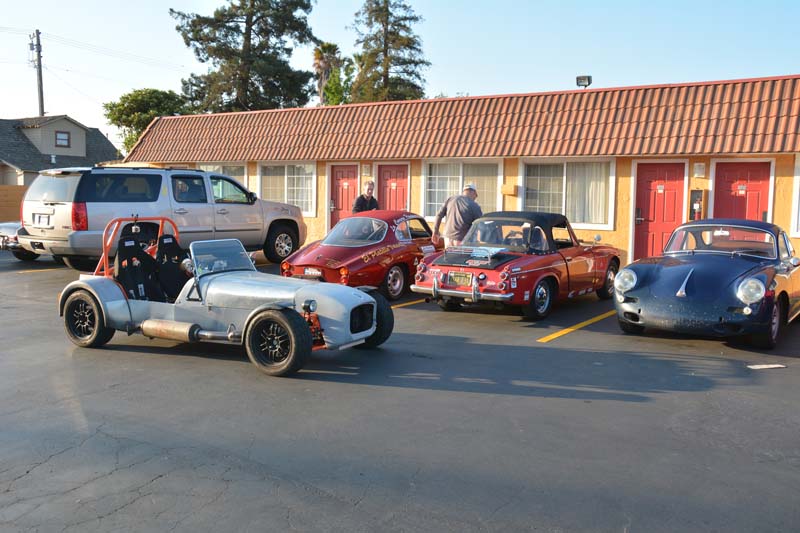
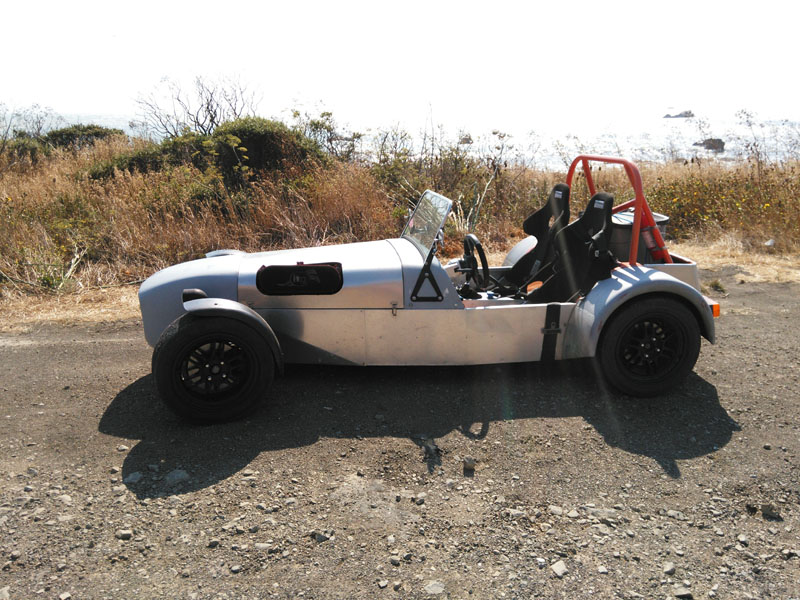
Locost
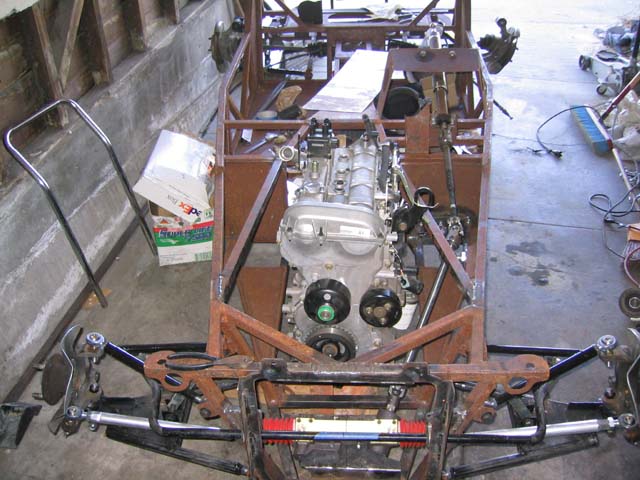
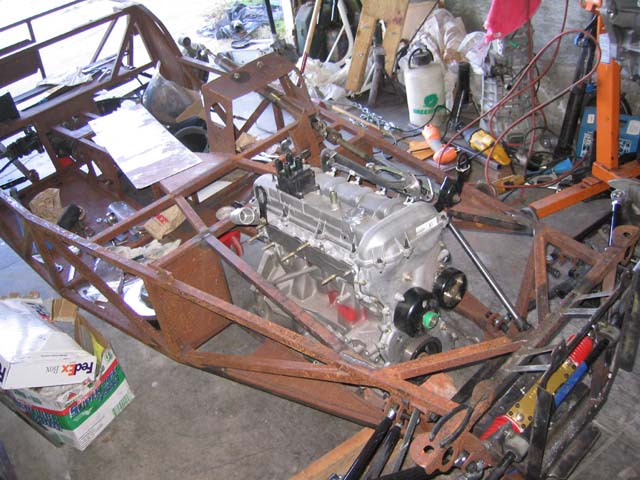
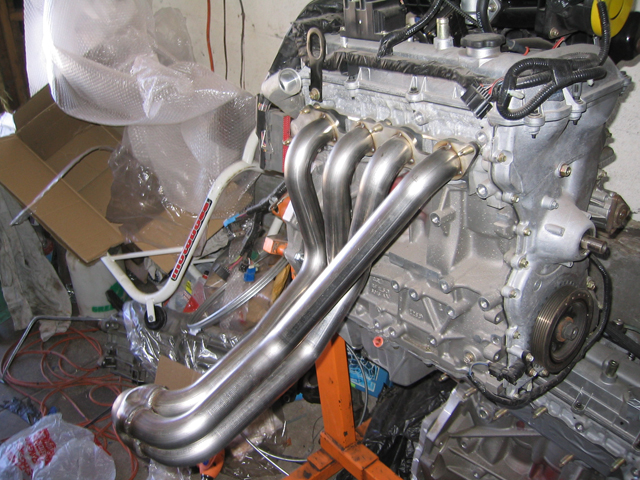
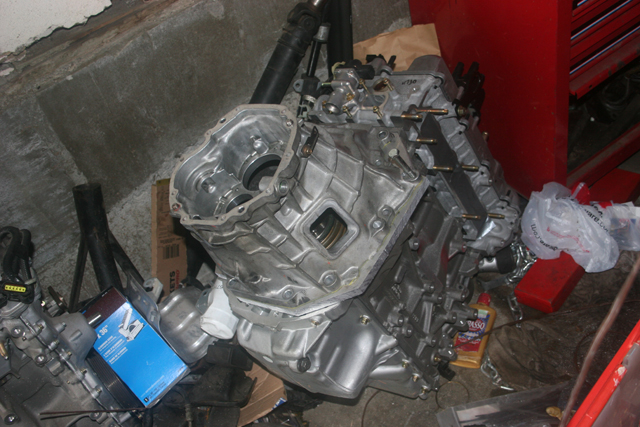
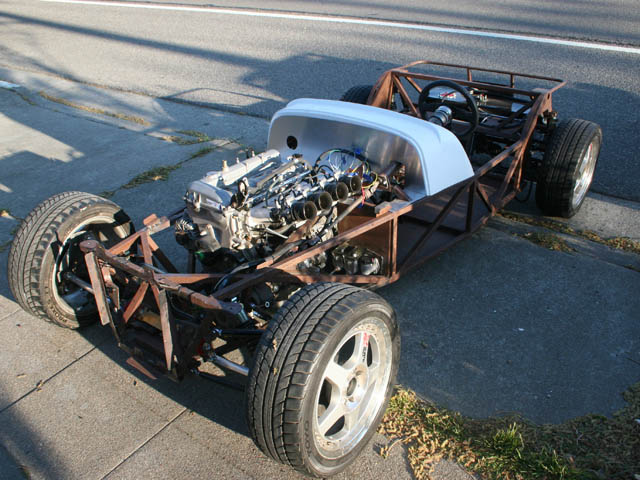
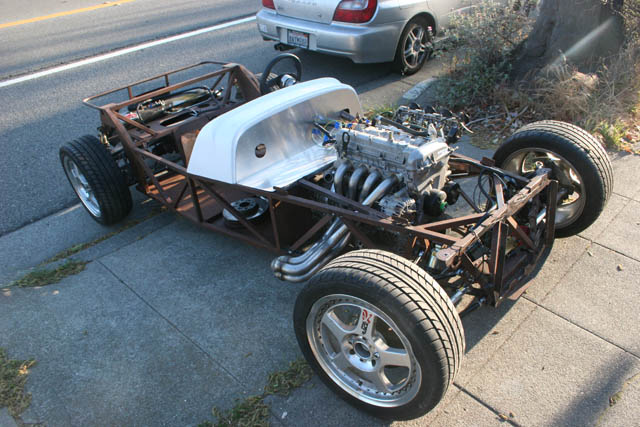
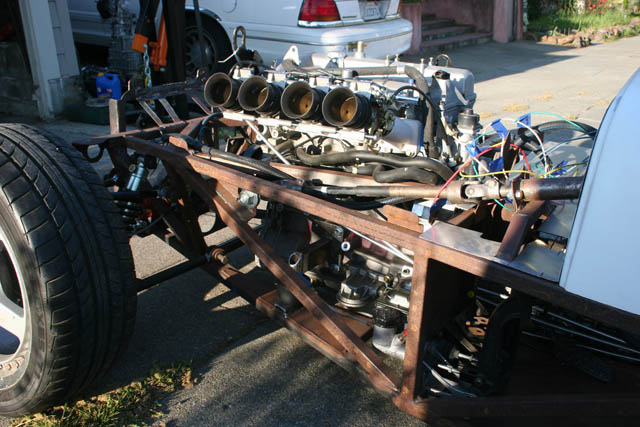
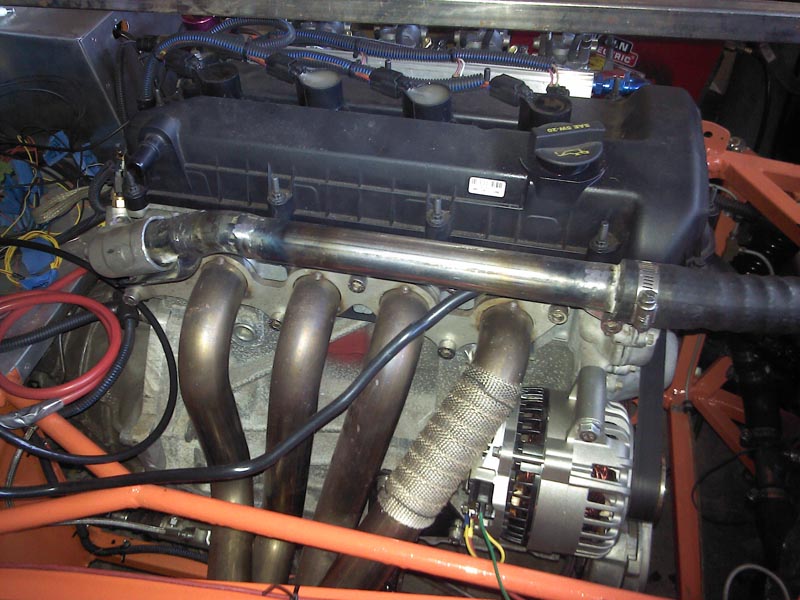
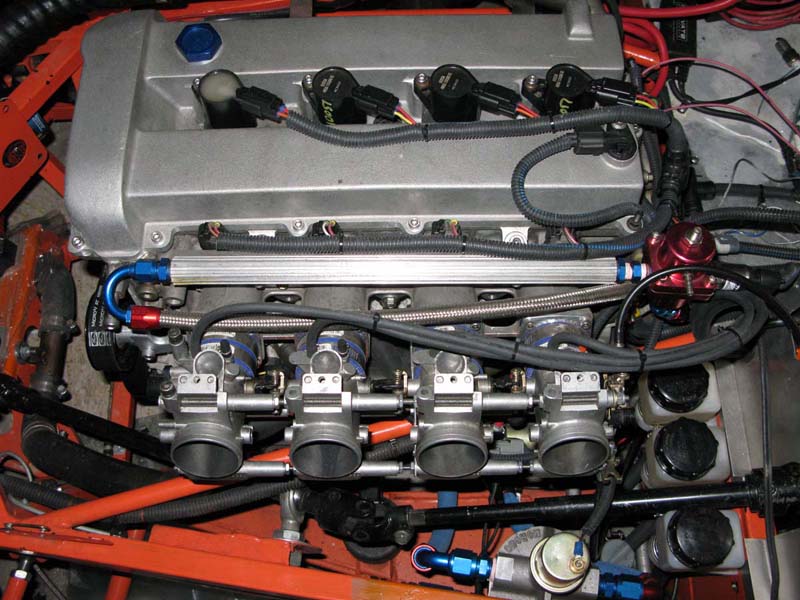
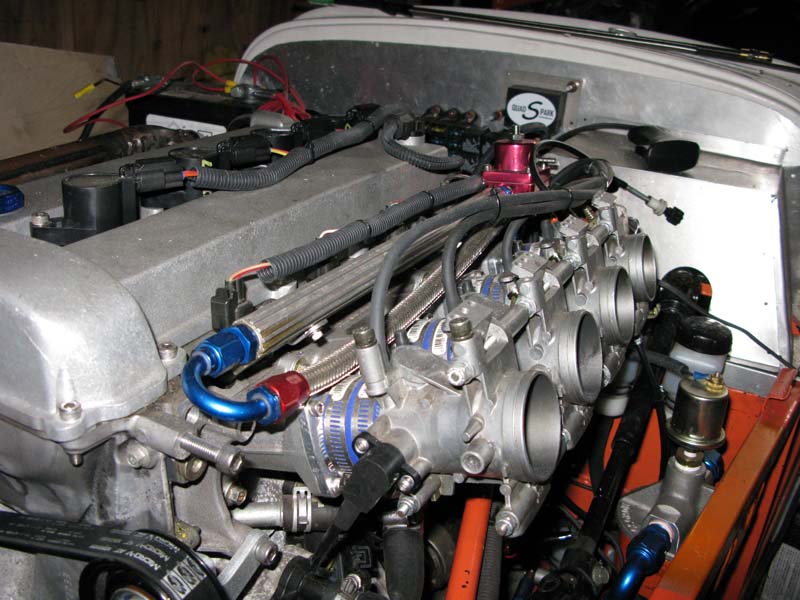
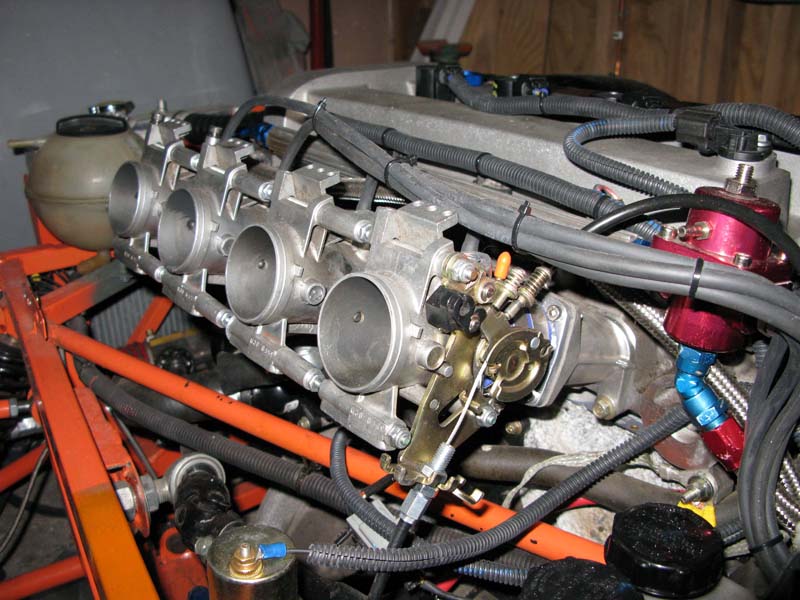
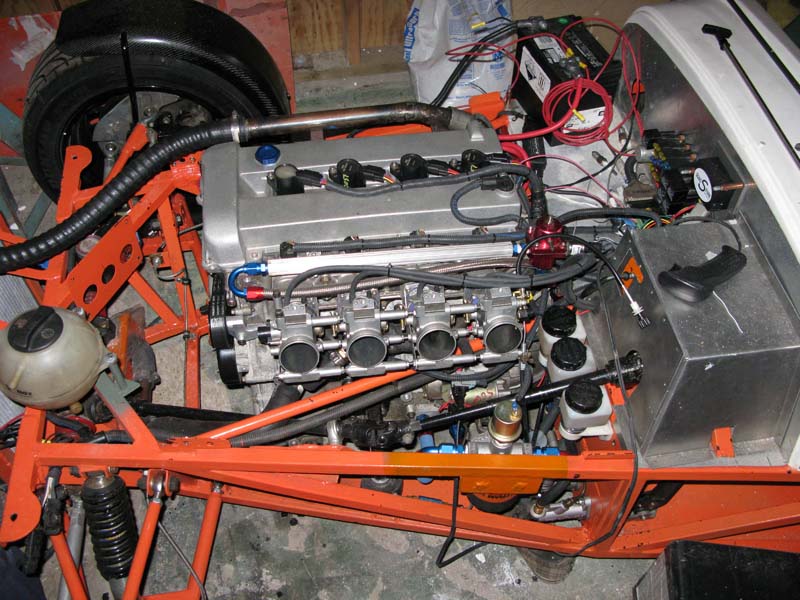
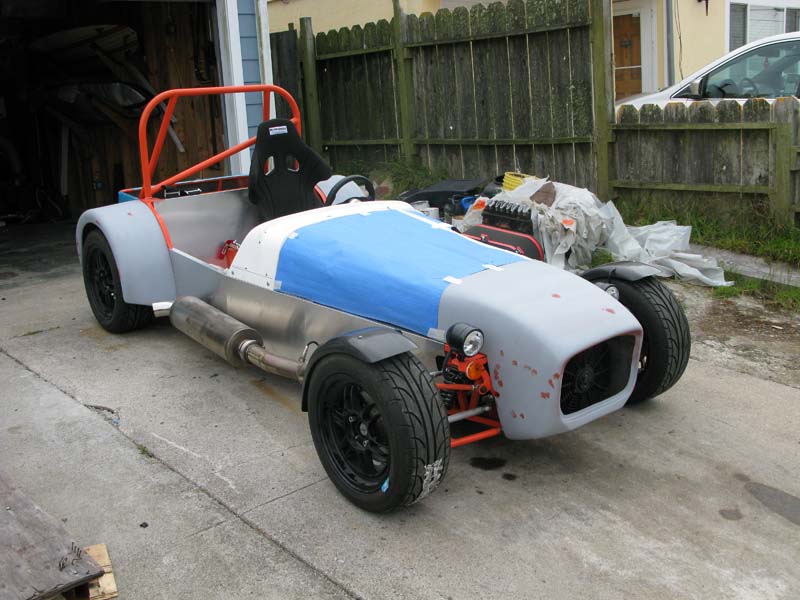
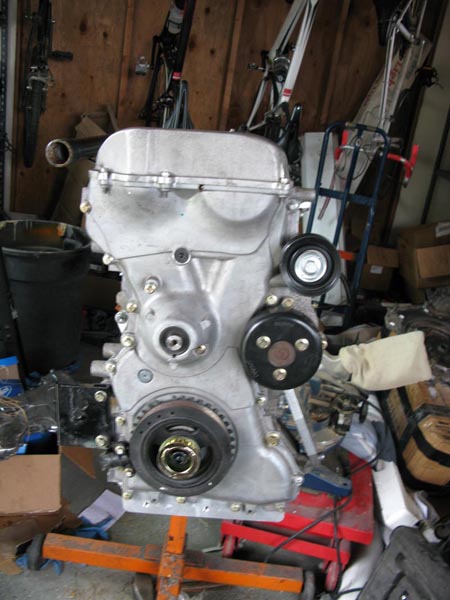
This project is based on a Champion Motorcar Co., CMC, Miata kit. It was not a complete kit but just a frame, control arms, sheet aluminum, fenders, and a scuttle. I opted to use a different engine than the Miata 1.8. I found a company that was selling off new Ford Ranger 2.3 Duratec engines for $450 each, so I bought a pair. The big reason for using this engine and not the Miata engine was the power potential and a weight savings. In the UK SBD Motorsports is getting over 300hp from a naturally aspirated 2 liter! My goals aren't quite as lofty, I want a car that's driveable on the street as well as the track. The engine, as it stands now, is a 2.3 liter Duratec with stg3 Crane cams, ported polished big valve head, Suzuki GSXR throttle bodies, Caterham CSR stainless headers, 12.5:1 forged pistons, Cosworth con rods, polished crank, Exedy 3 puck clutch, and exedy flywheel. Based on what I've seen published by different Duratec engine builders this engine should put out around 240-260hp.
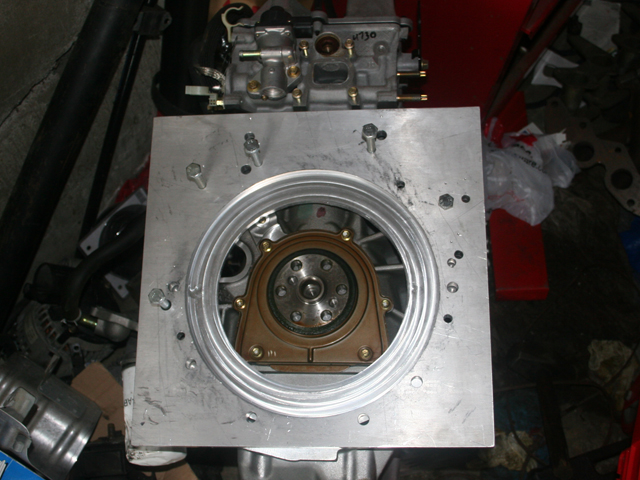
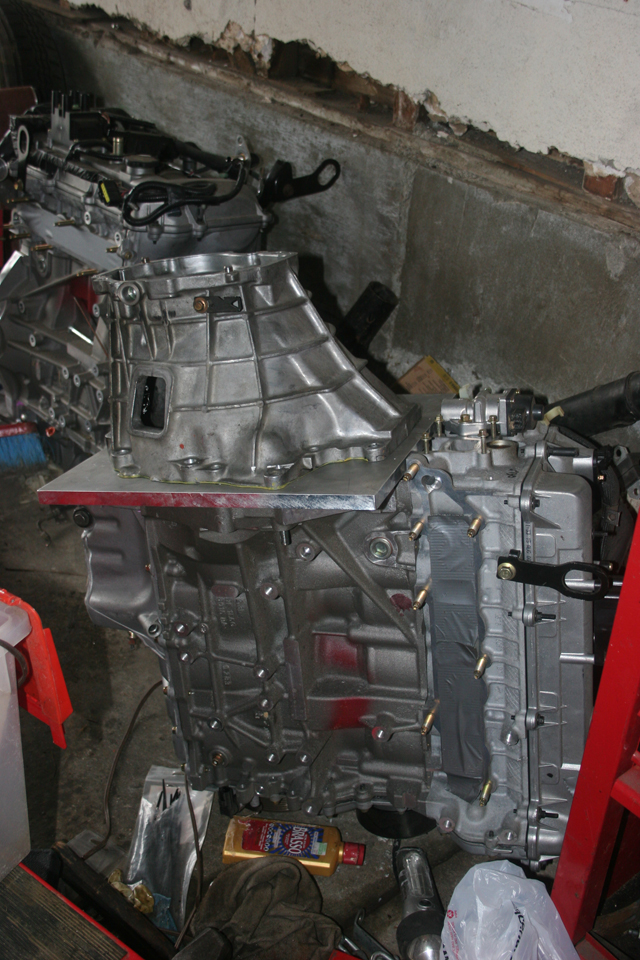
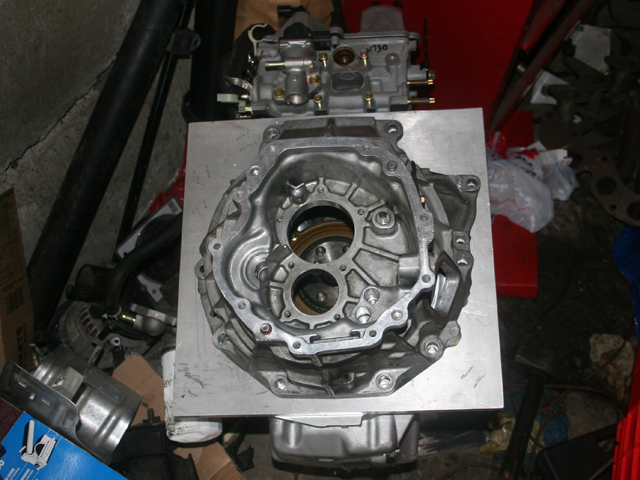
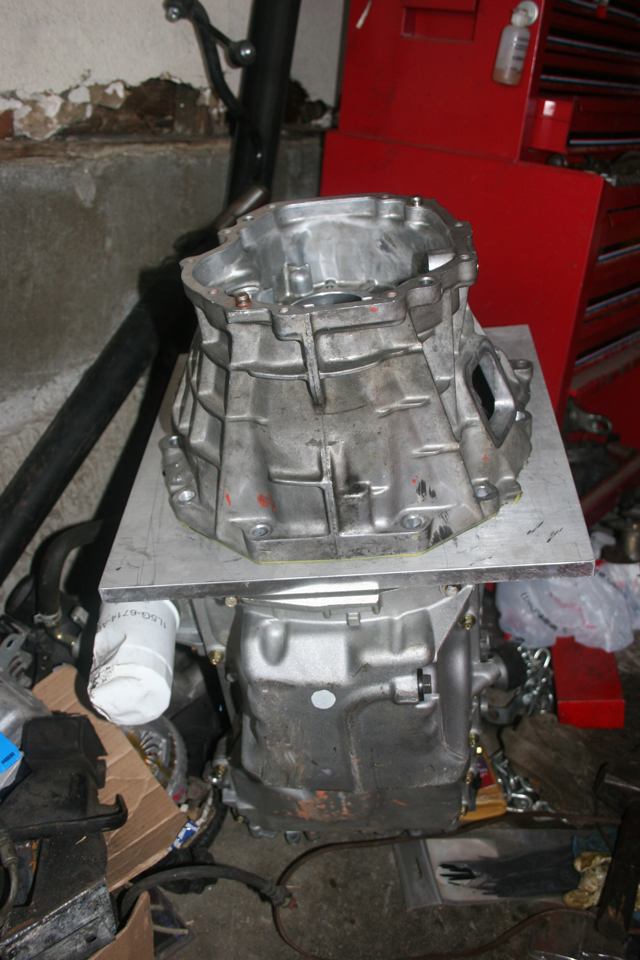
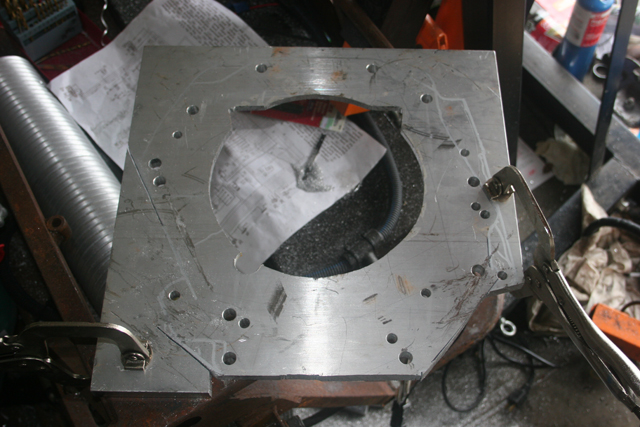
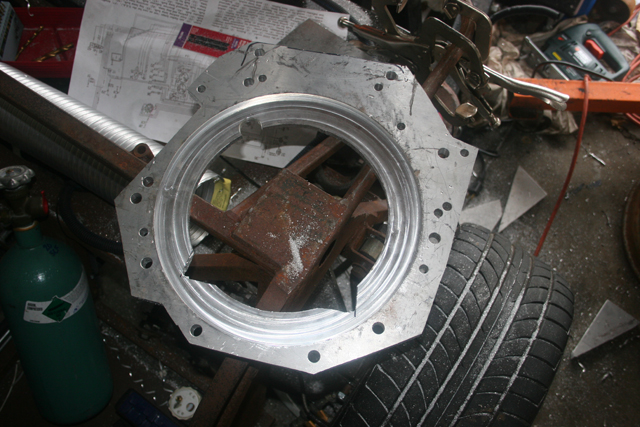
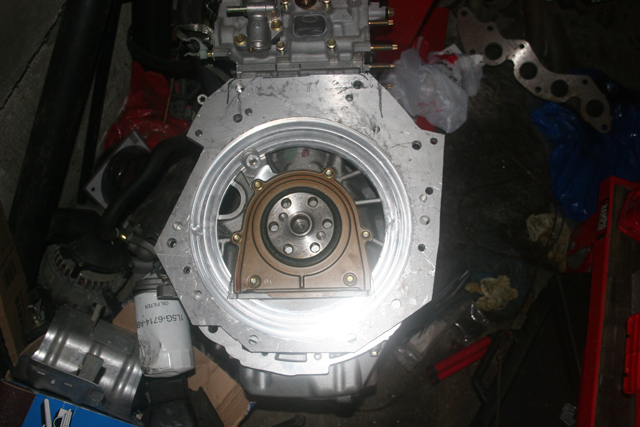
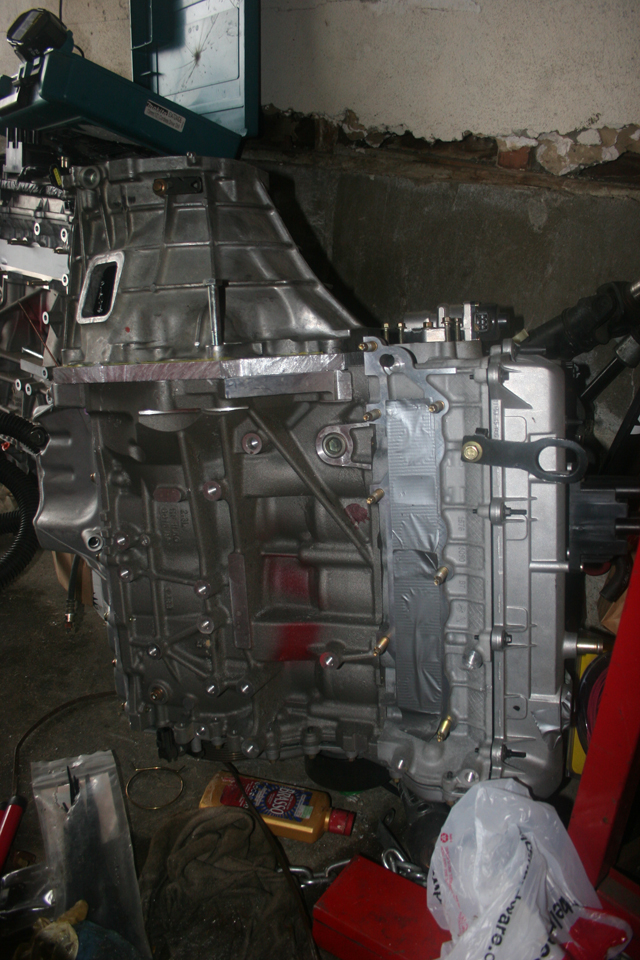
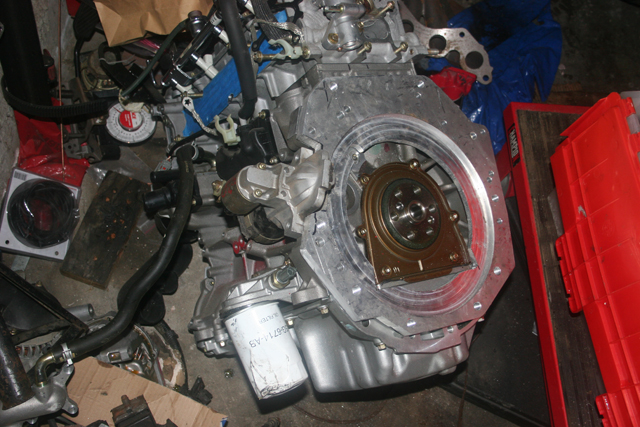
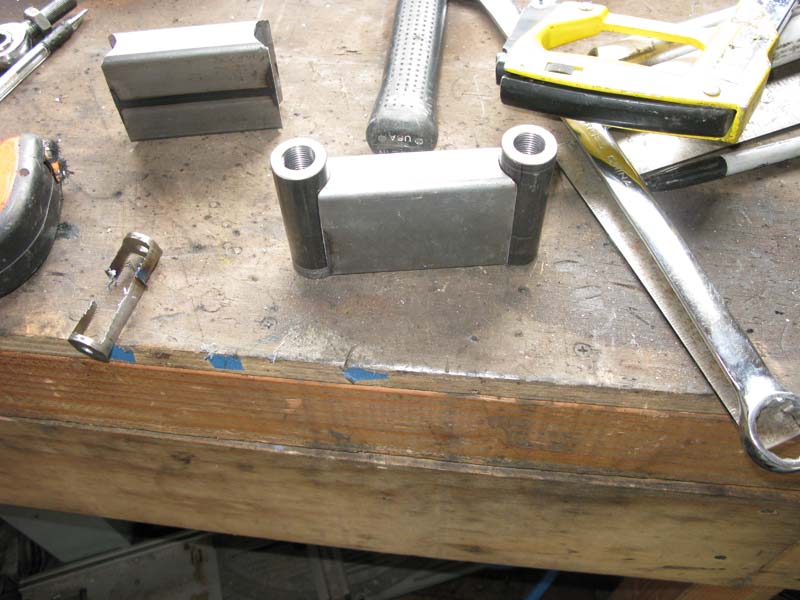
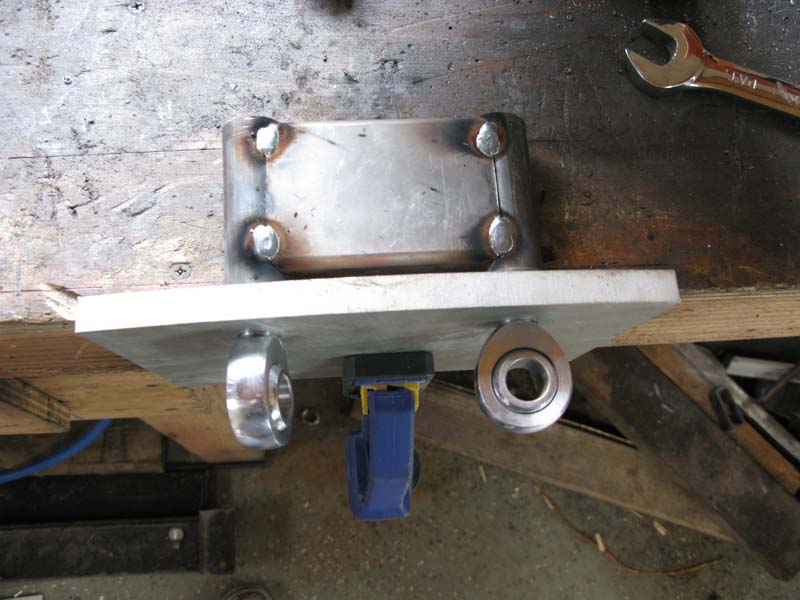
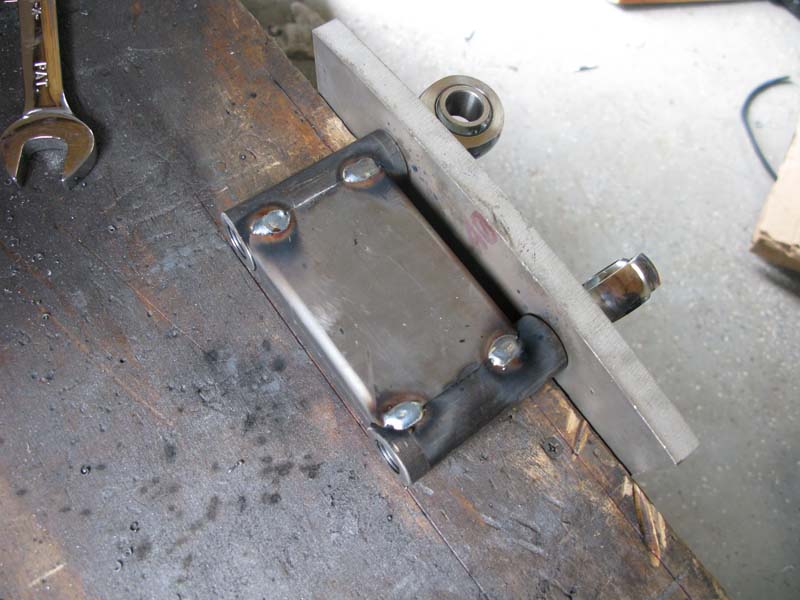
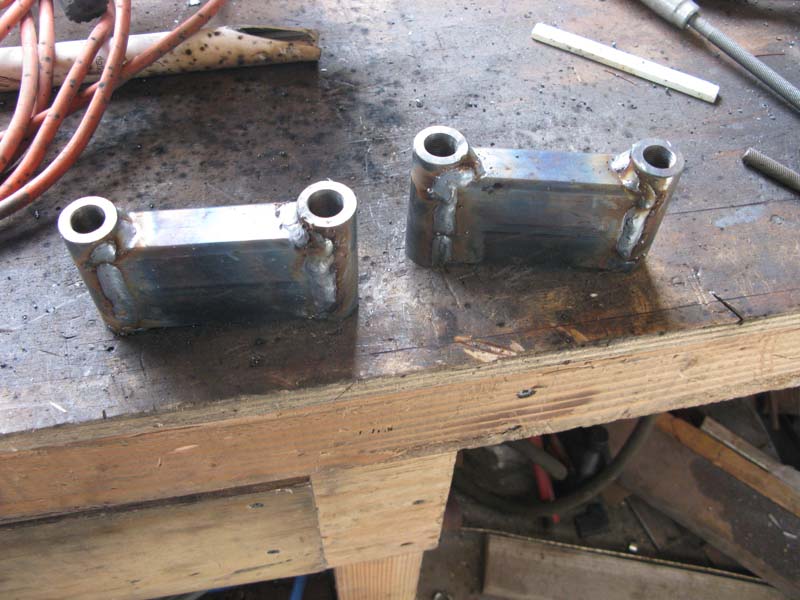
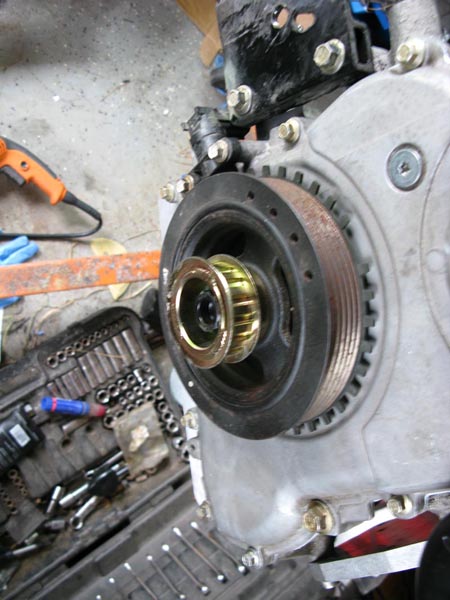
Fitting a RWD transmission, not off a truck, proved expensive. 2006+ Miata transmissions were available but expensive. I opted to use a 2003 NB Miata 6sp and adapt it to the Duratec.
Fortunately the NB 6sp bellhousings can be seperated from the transmission body. I seperated the bellhousing and milled 5/8" off the face, machined up a 5/8" aluminum adapter plate, and used a combination of clutch parts to mate the engine and transmission. The cluch I used was for a Mazda6, it also uses the Duratec 2.3 engine. The input shaft of the Mazda6 and NB Miata transmissions is the same spline count and diameter. The throwout bearings are different, I cobbled together a throwout bearing using the Miata center with the 6 bearing pressed over it.
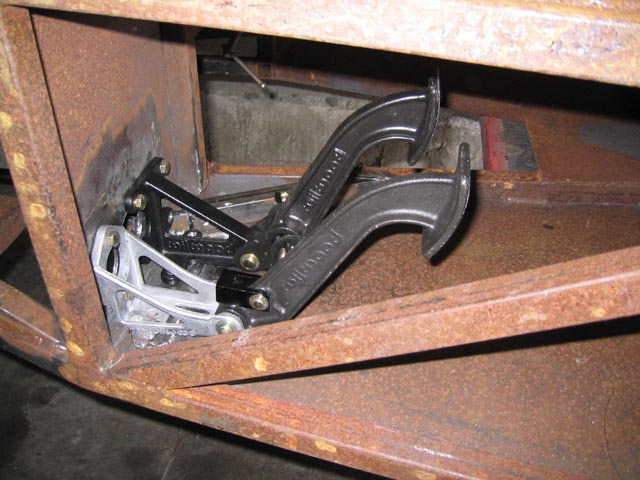
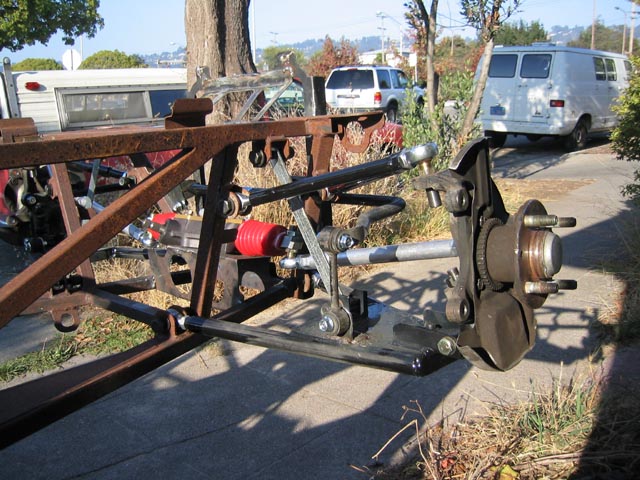
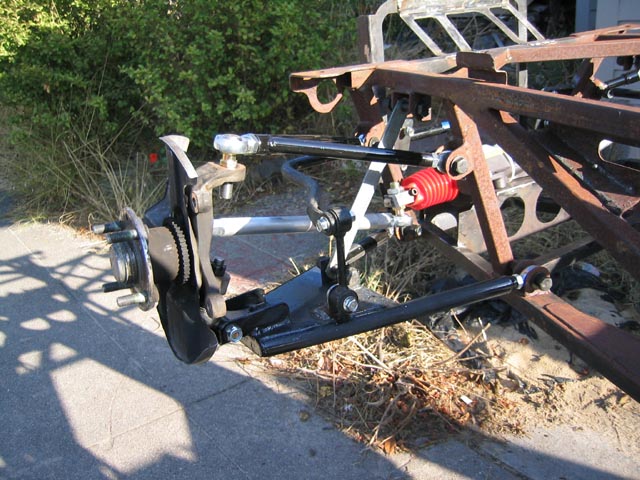
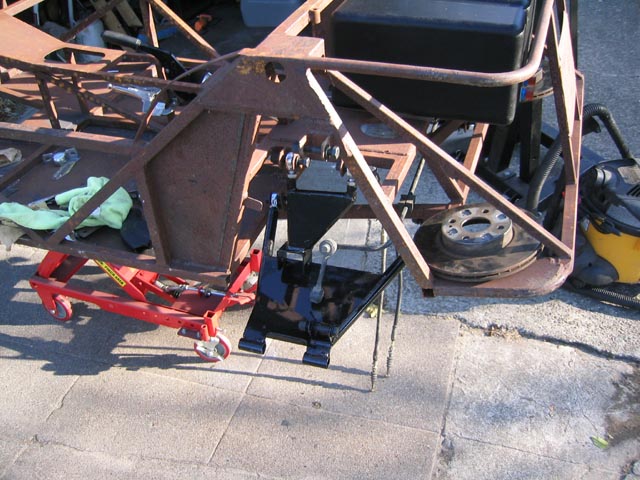
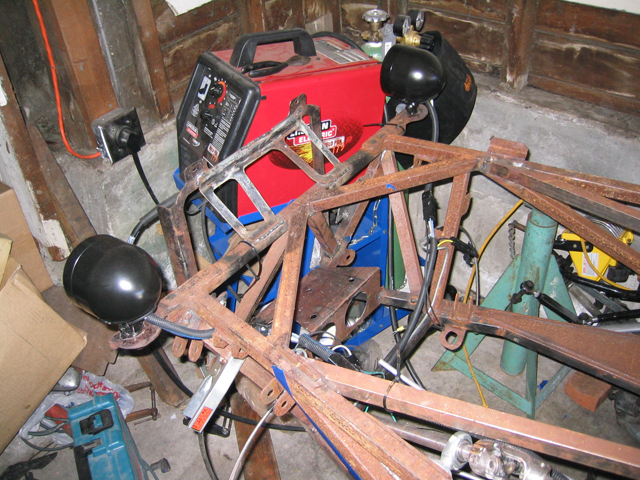
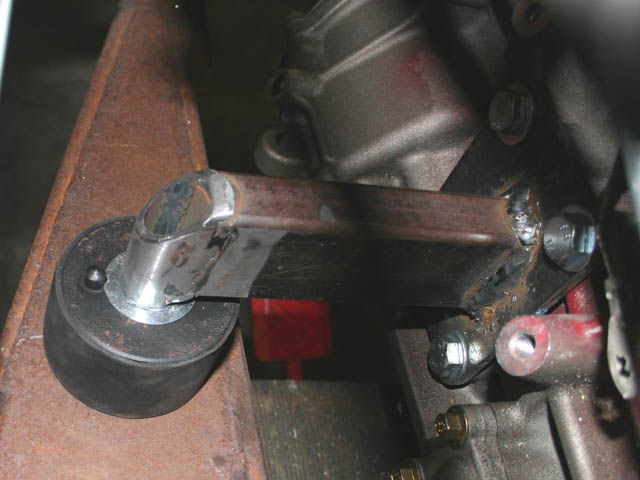
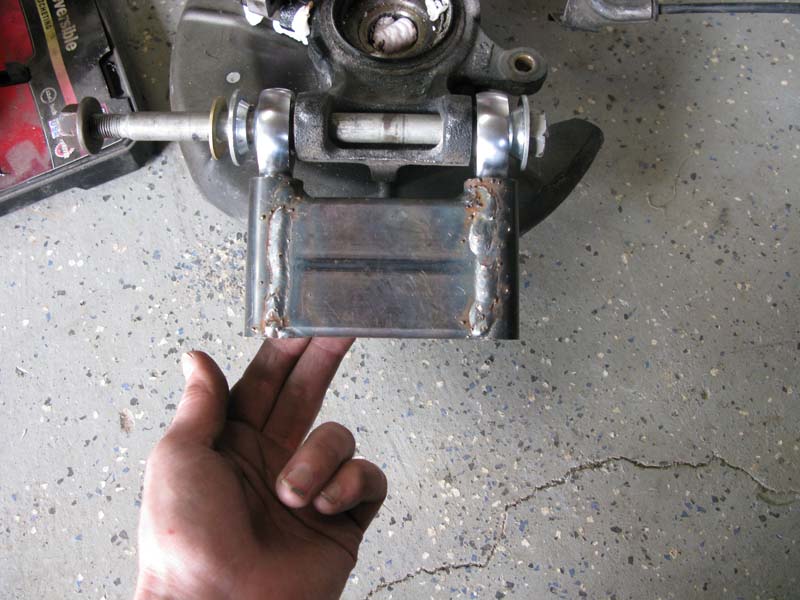
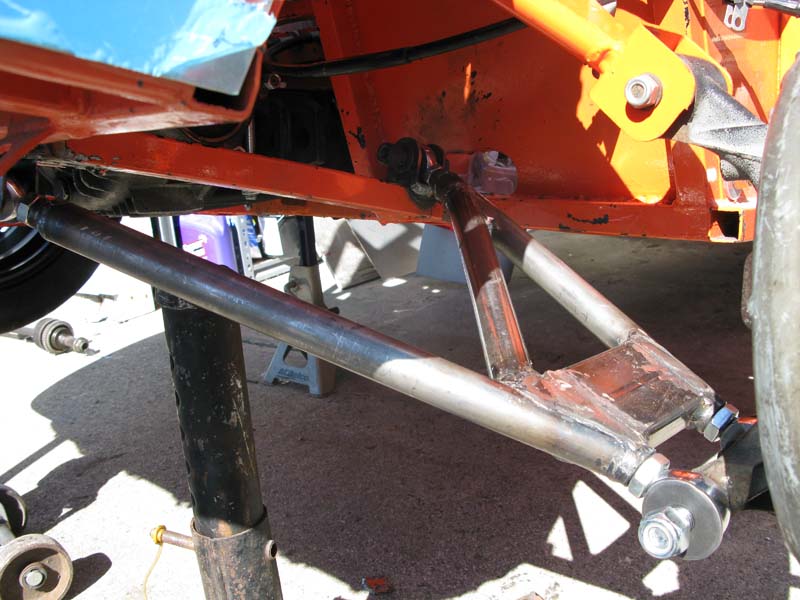
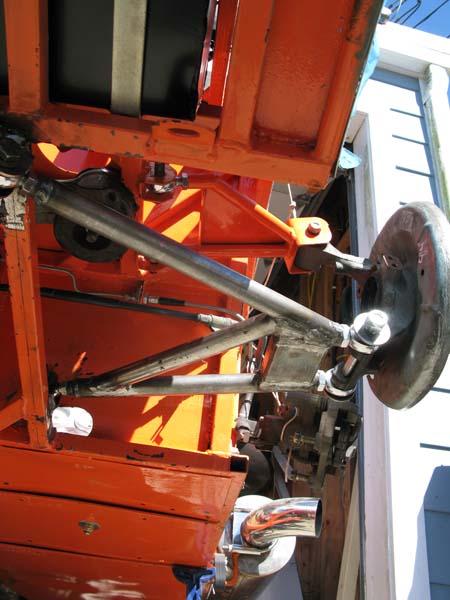
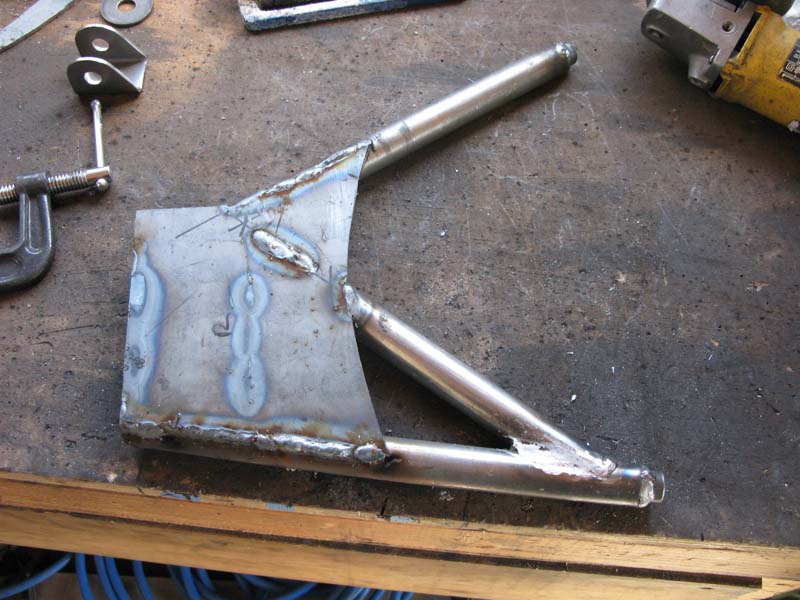
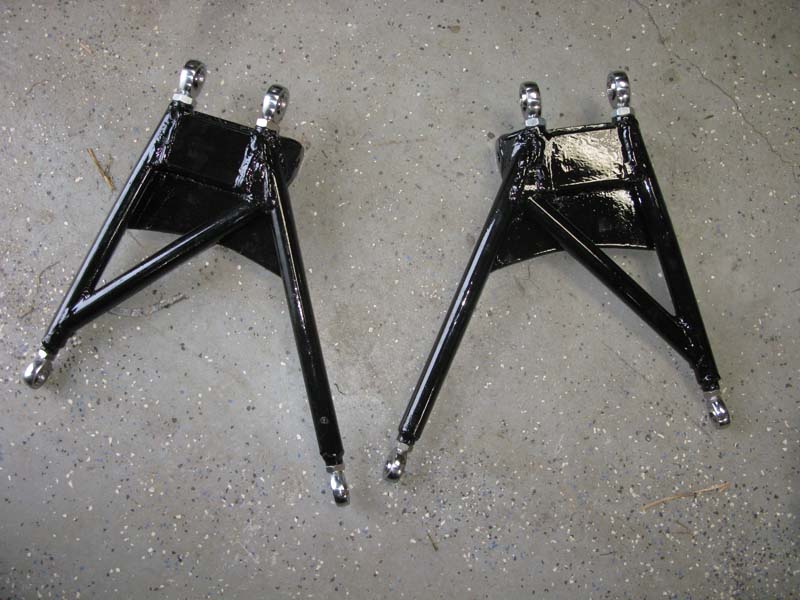
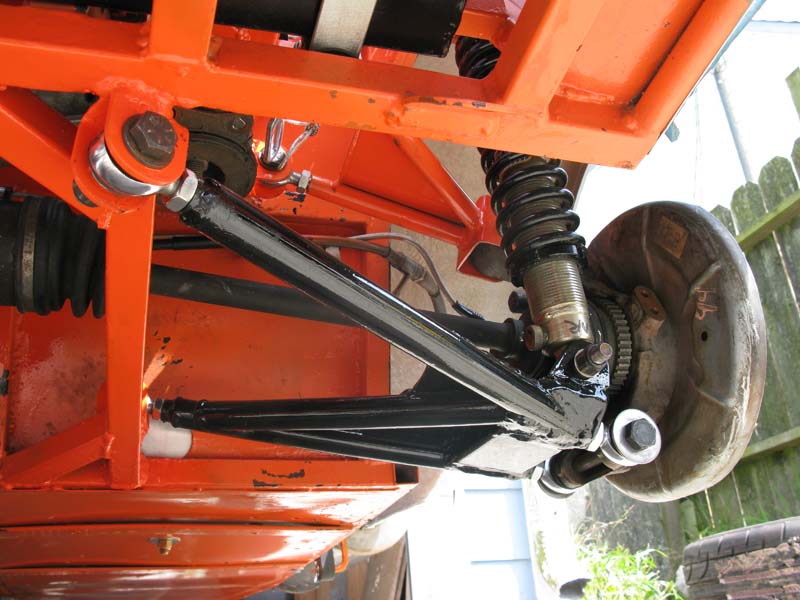
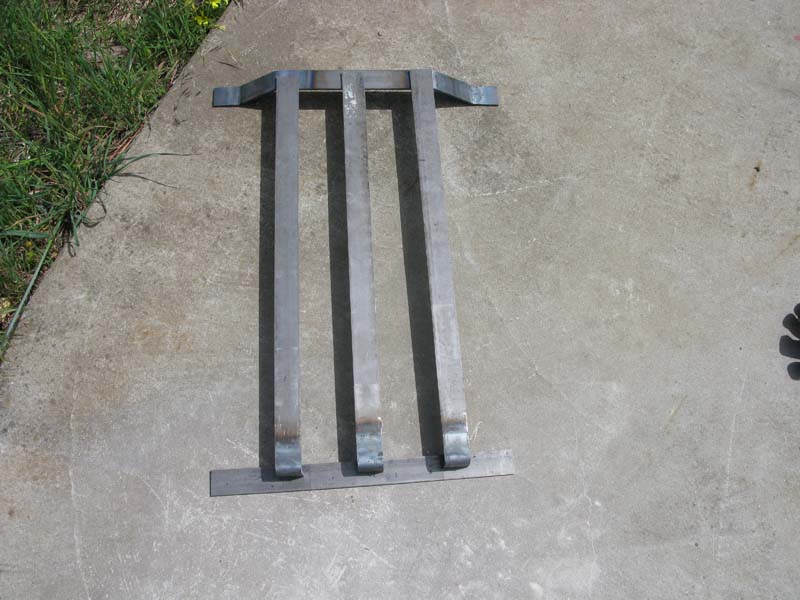
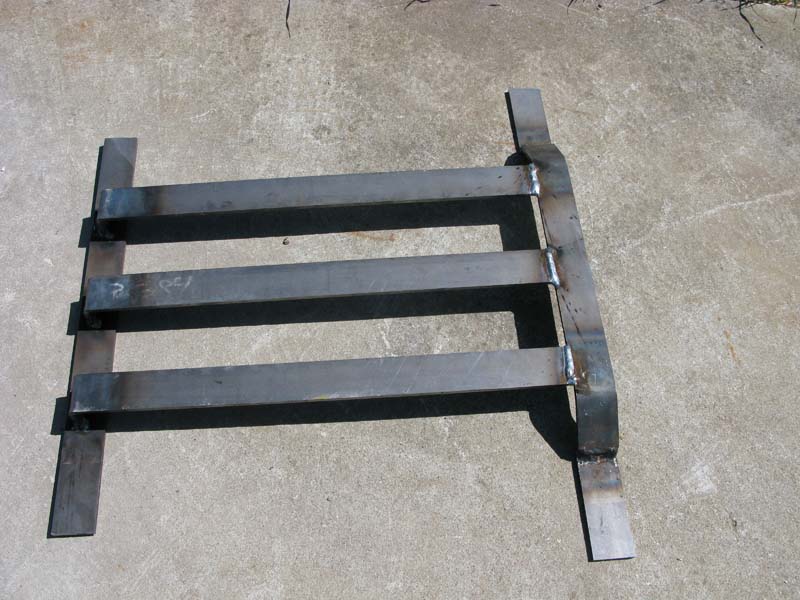
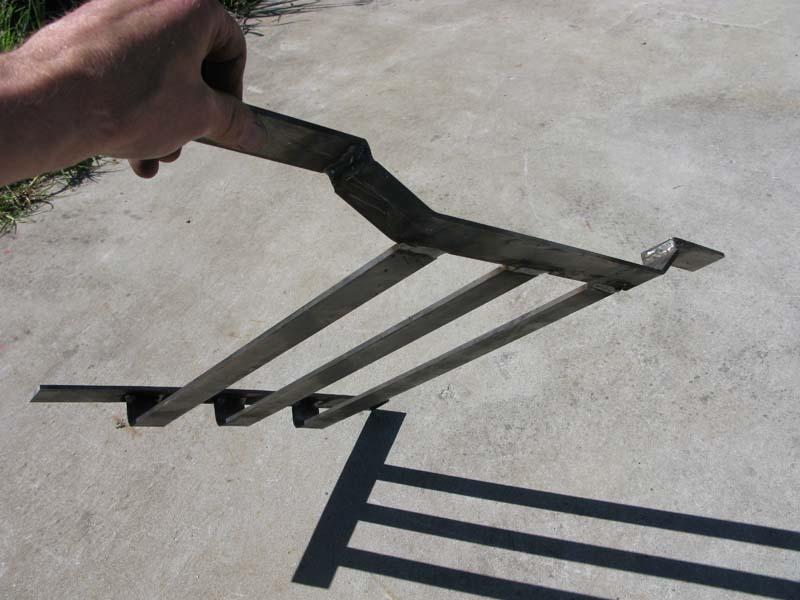
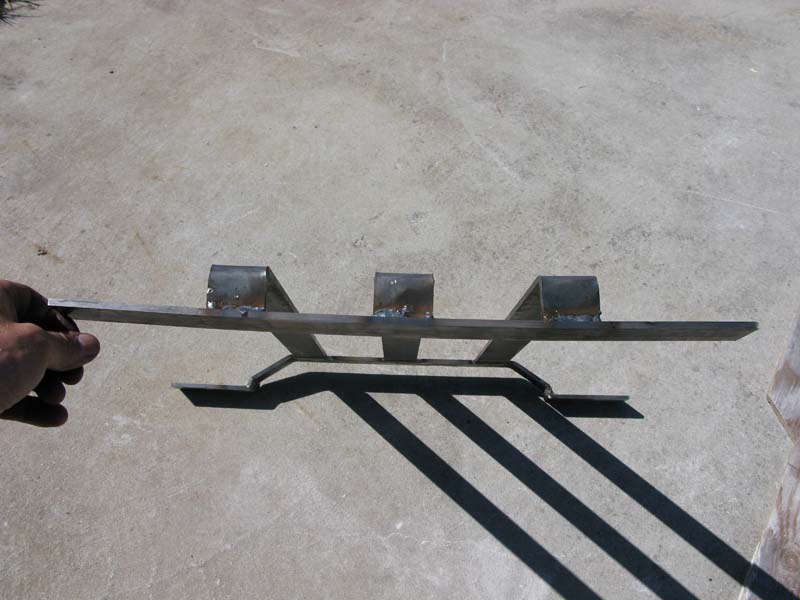
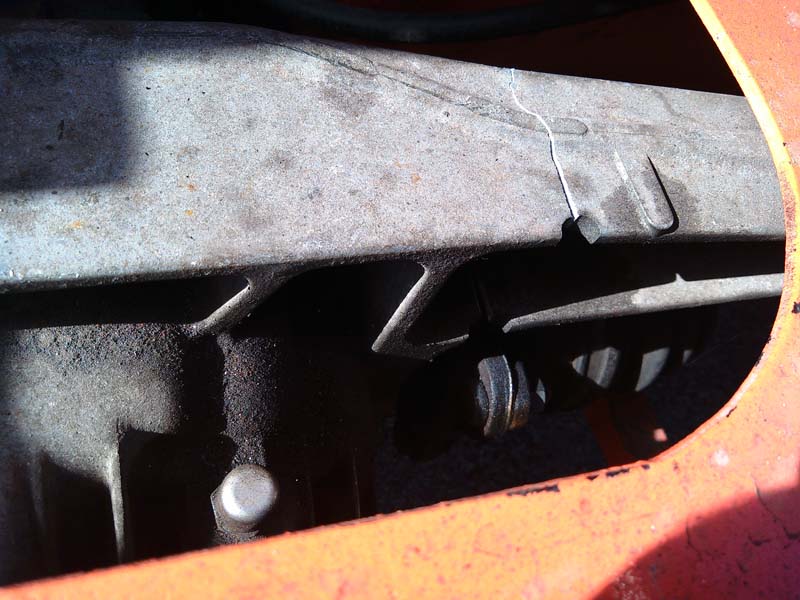
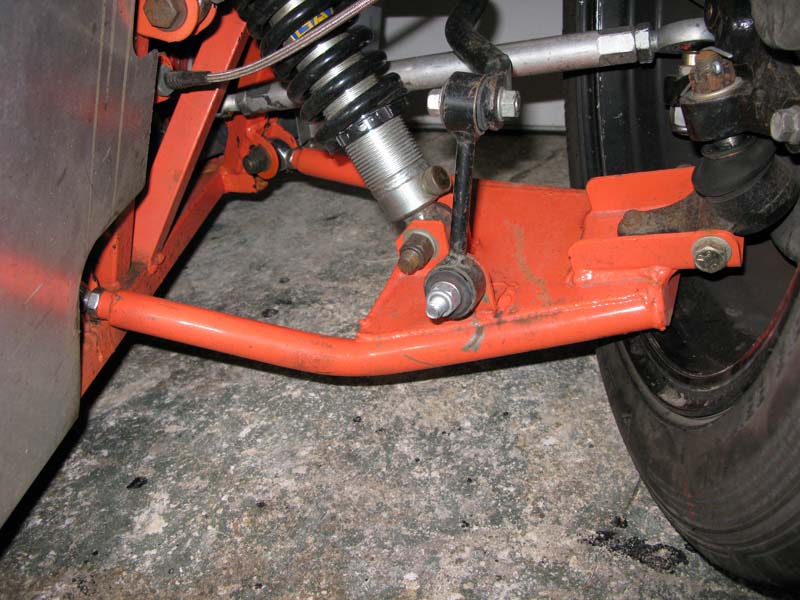
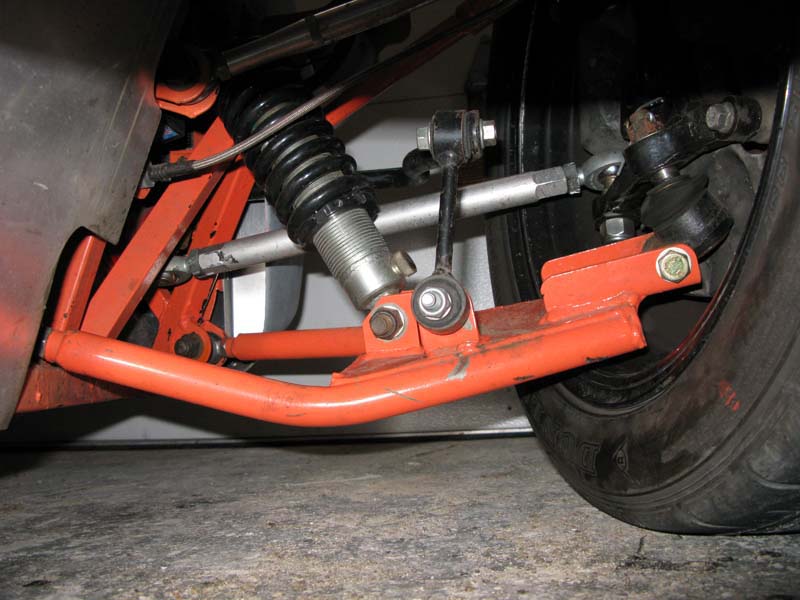
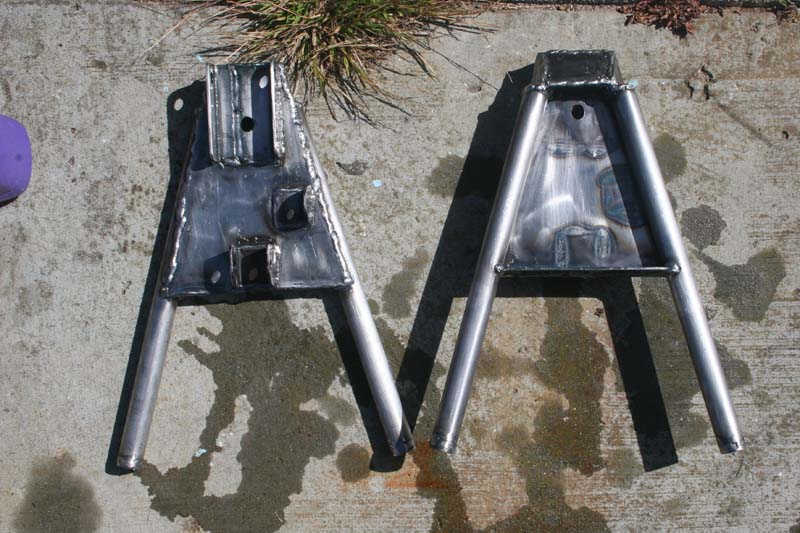
The CMC chassis seems to be ok, their control arms weren't. The rear control arms were not symetrical, the suspension mounts were not in the right place. As it came from CMC the rear suspension could only achieve positive camber and not even the same amount from left to right. I had to cut the top mounts and move them inboard 1". After that I opted to make new lower control arms because the arms that CMC made had no provision for toe control, and needed to be rebuilt anyhow.
25 Jun 2005
I bought one of the last CMC partial kits from Kinetic Vehicles back in 2005 and I'm still working on it.

30 Sep 2006
07 Oct 2006


21 Oct 2006
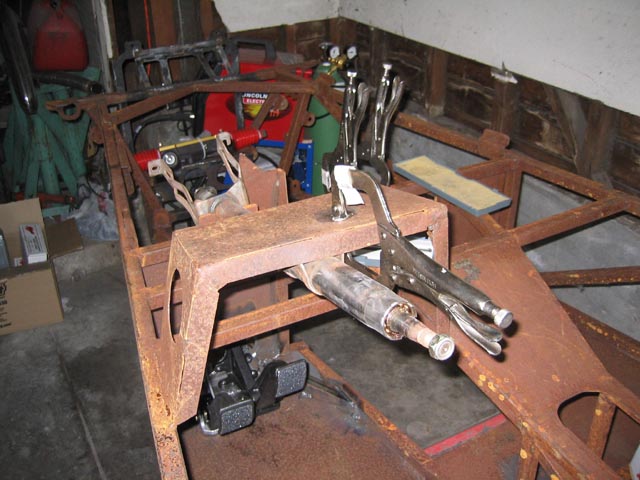
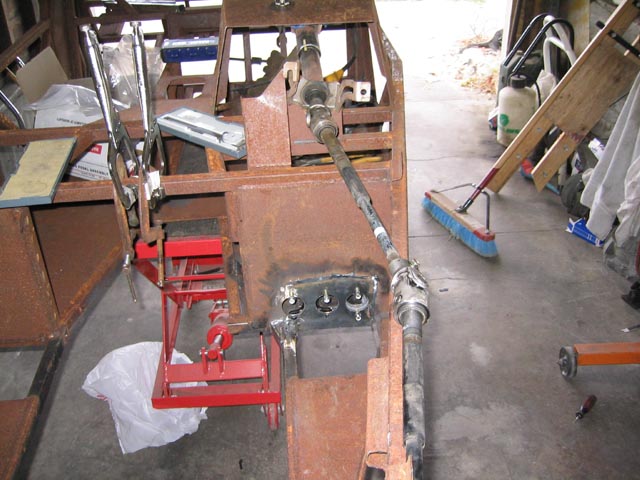
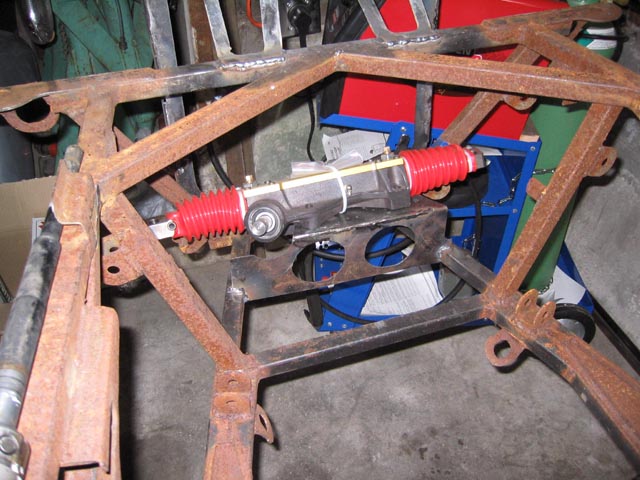
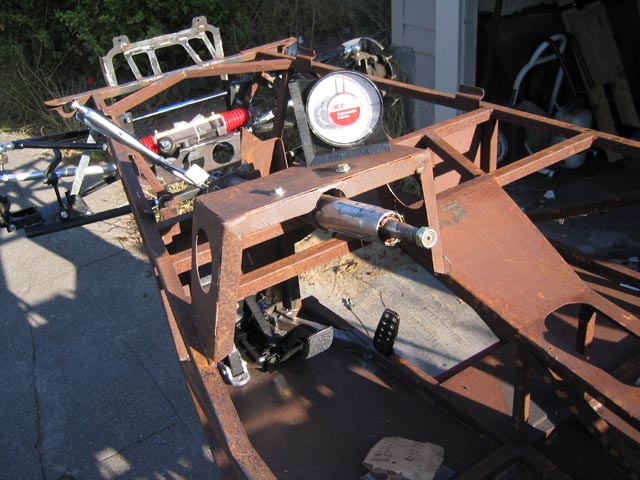
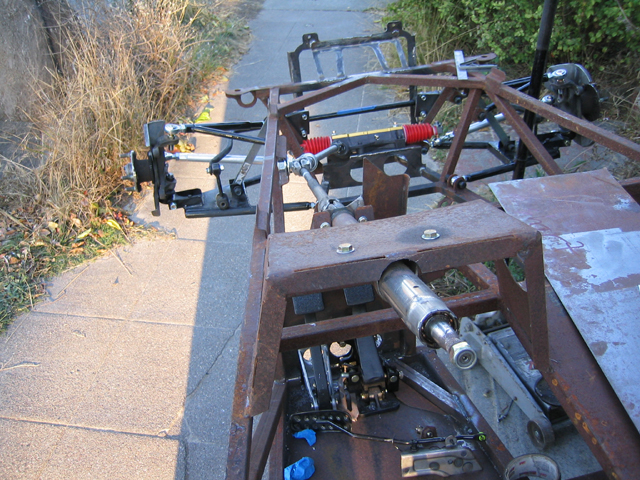
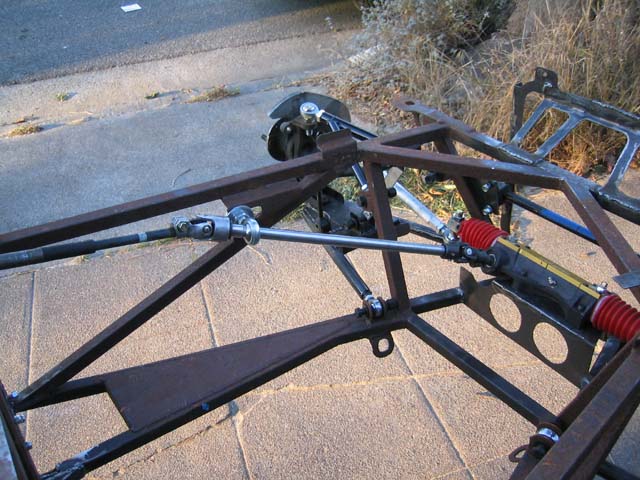
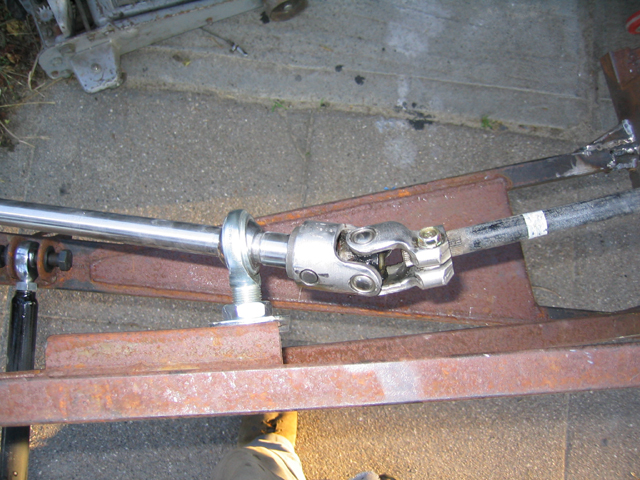
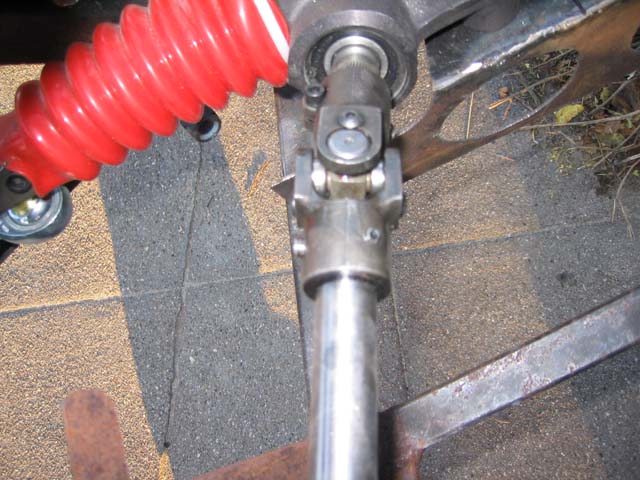
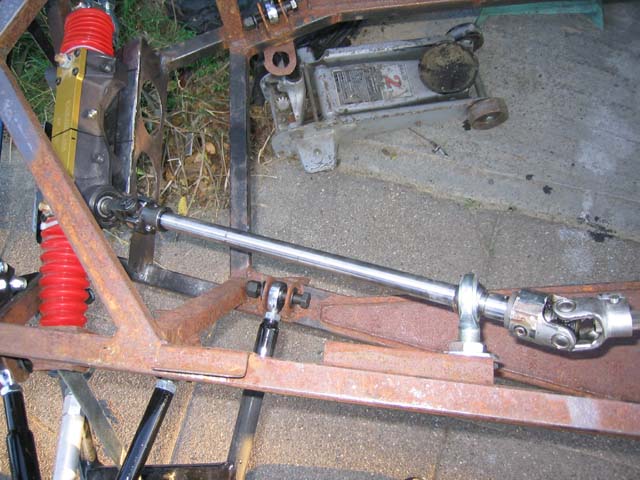
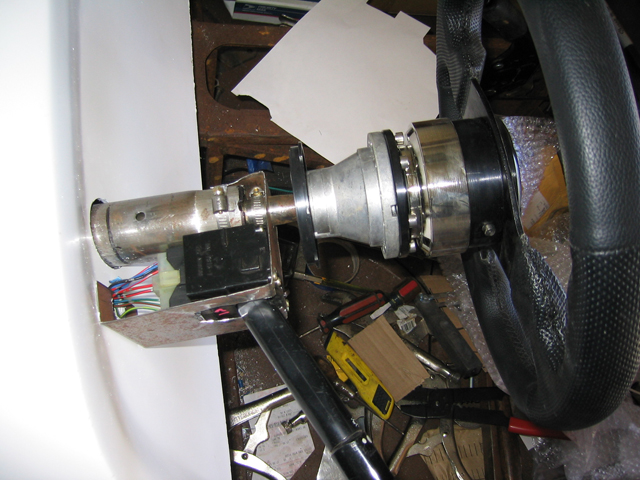
Routing steering column.
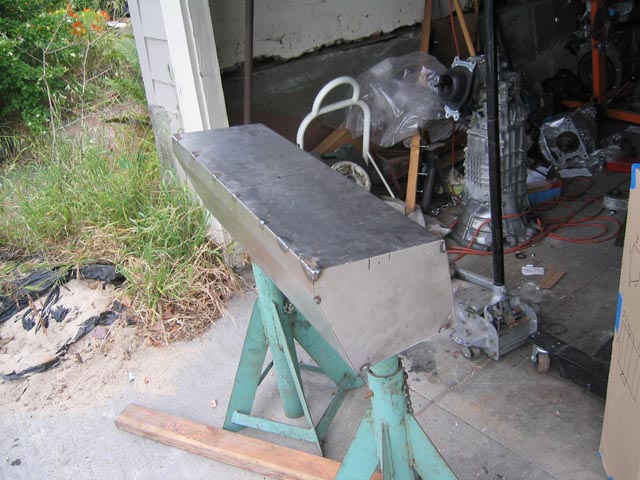
26 May 2007
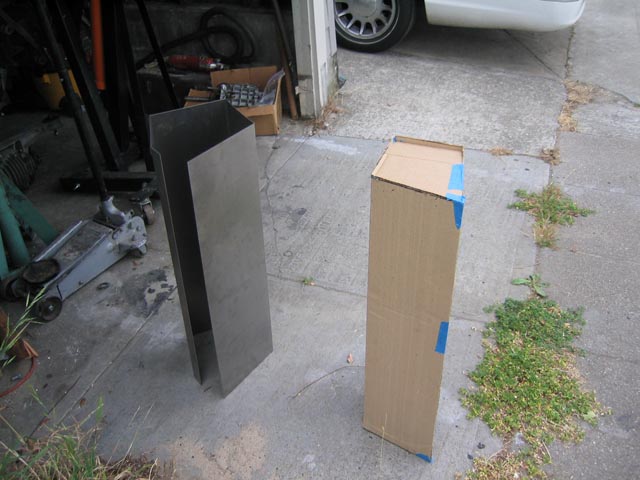
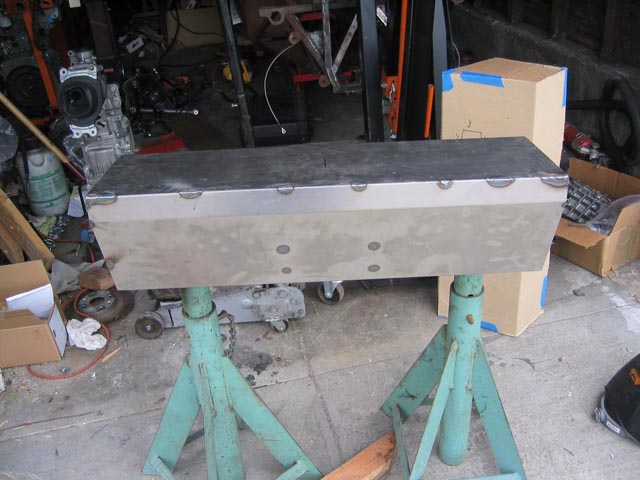
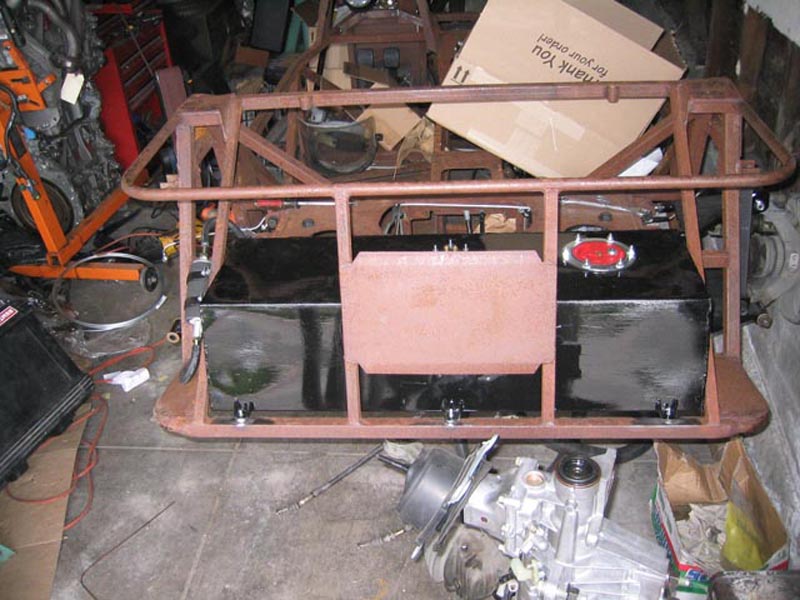
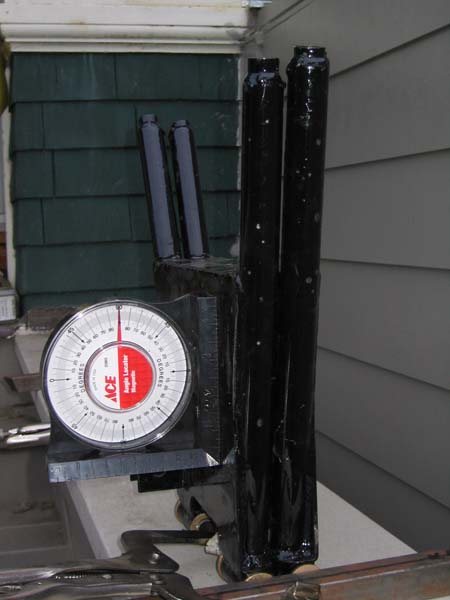
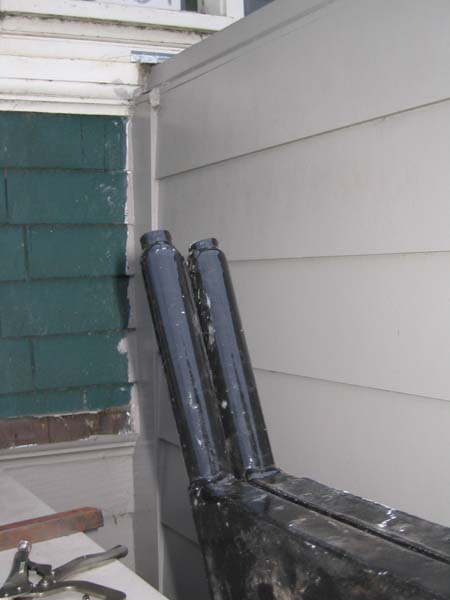
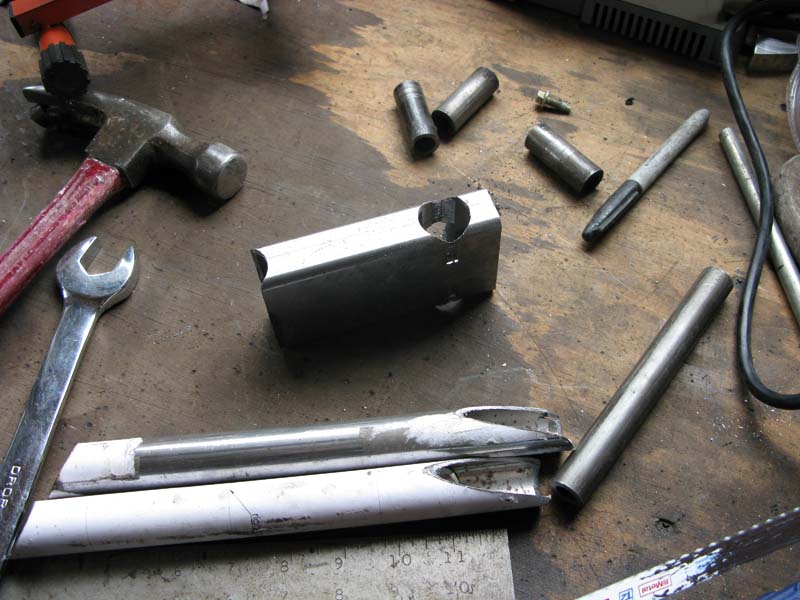
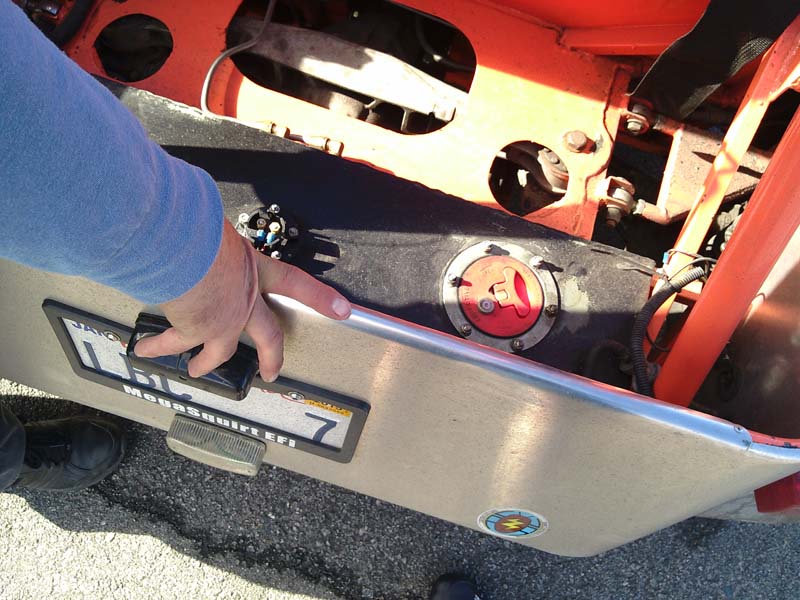
Welding up a gas tank.


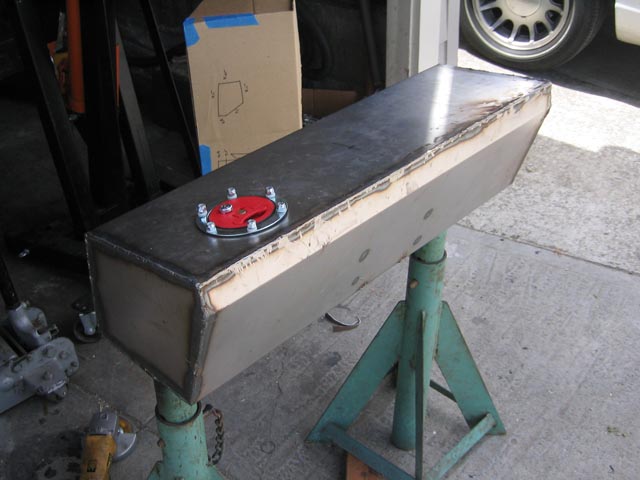
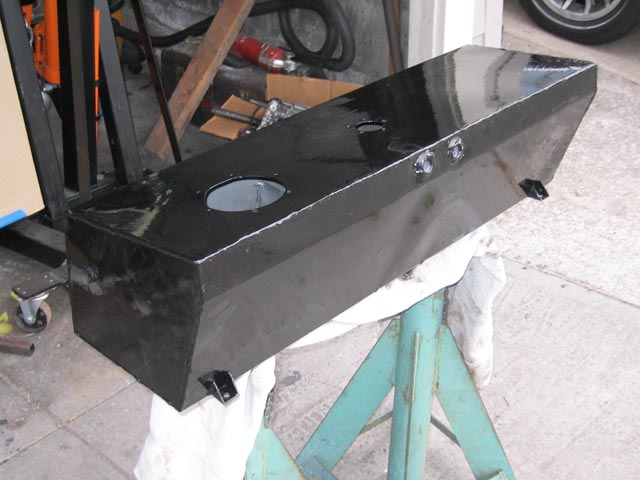
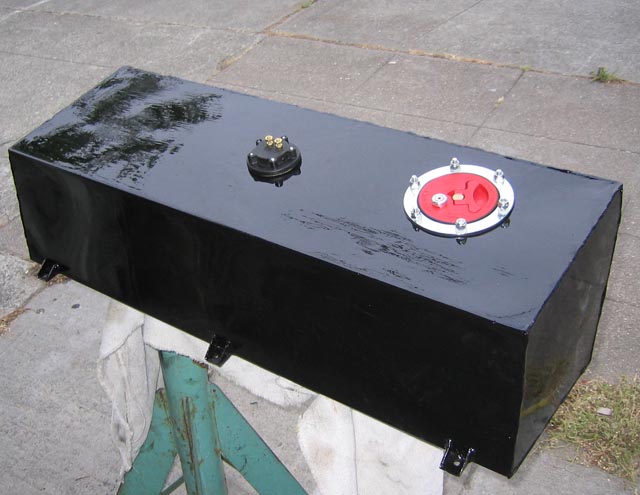
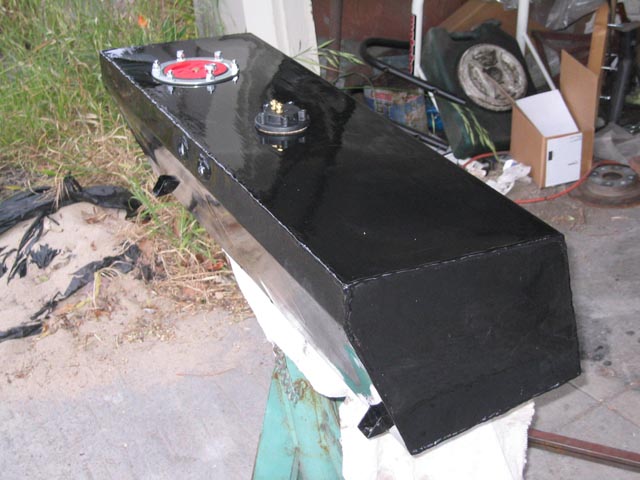
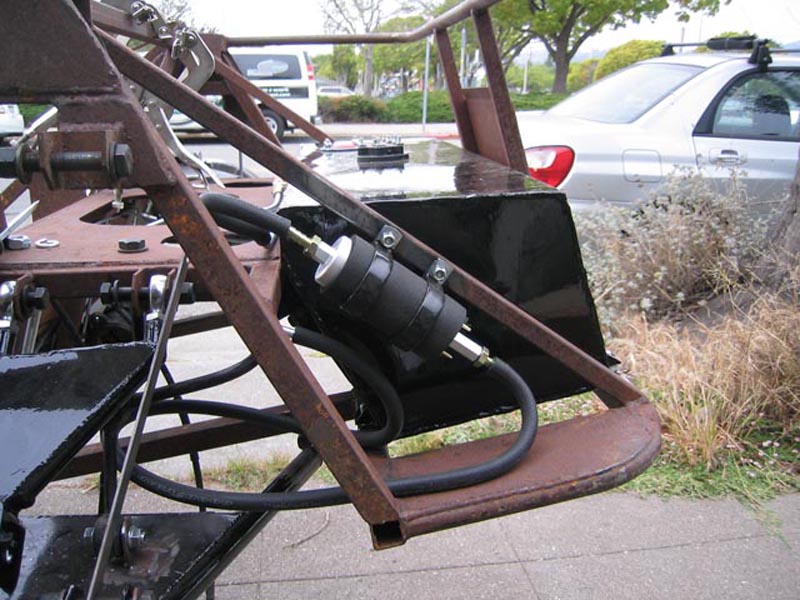
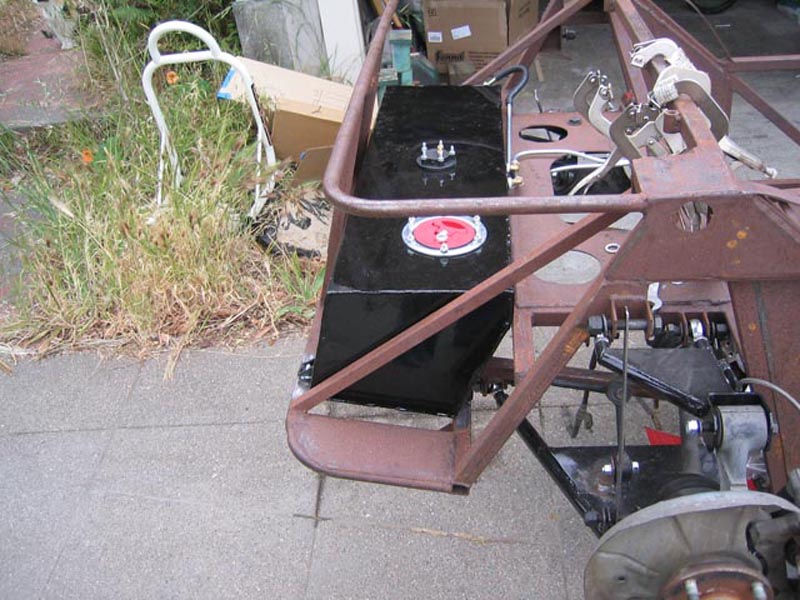
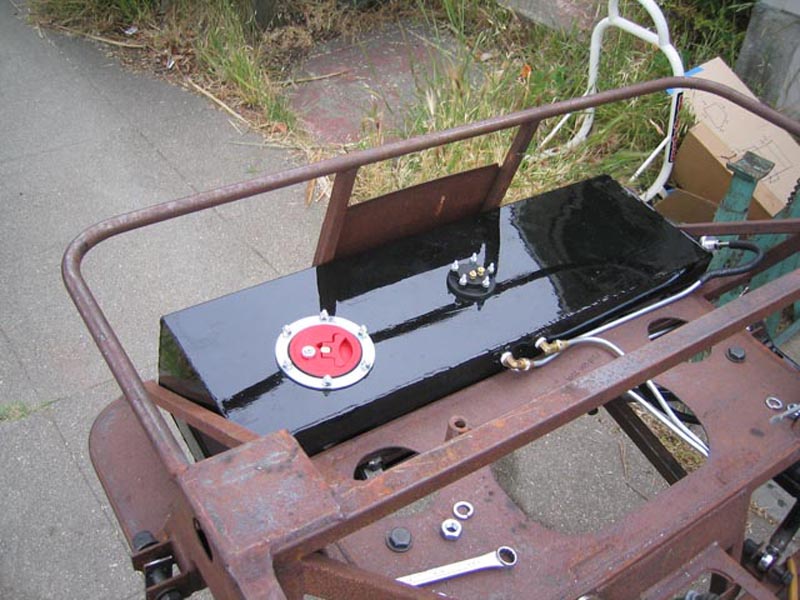
02 Jun 2007
Fitting the gas tank to the chassis.

23 Jun 2007
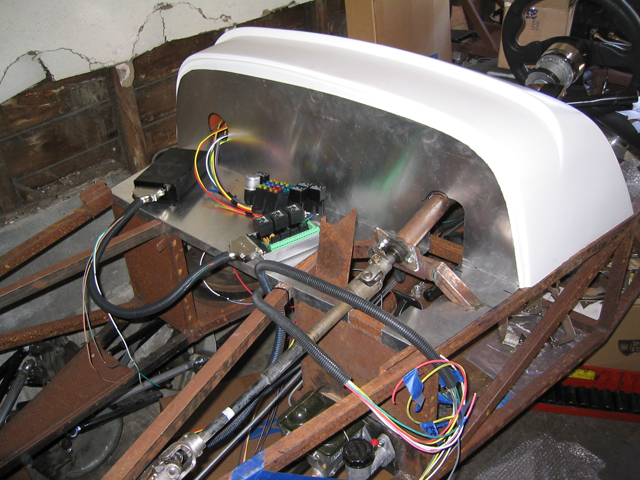
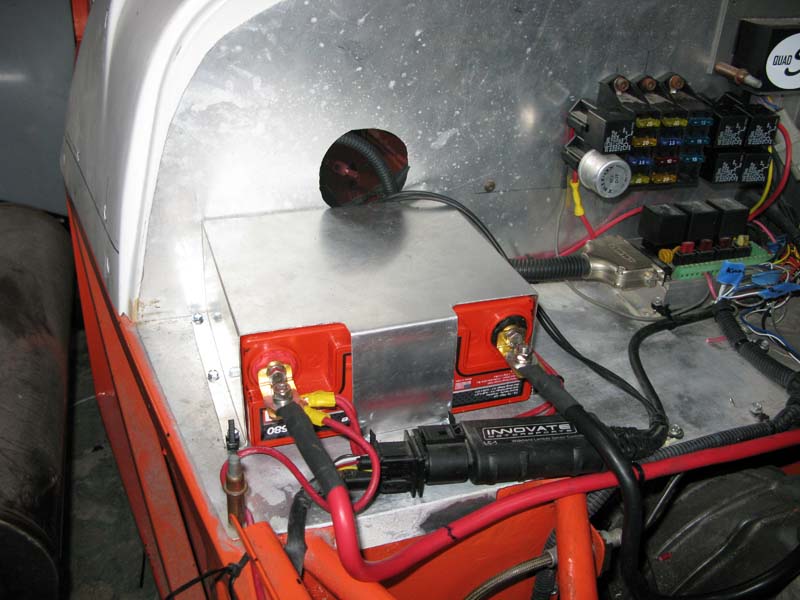
I found a set of Caterham style CSR stainless headers for cheap on UK Ebay site. Got some work done on the wiring harness.
02 Feb 2008
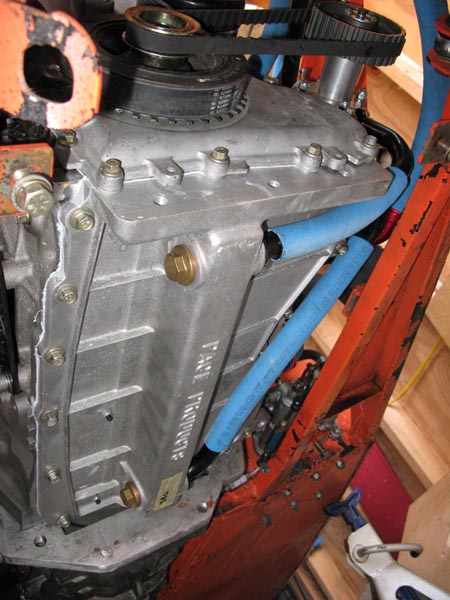
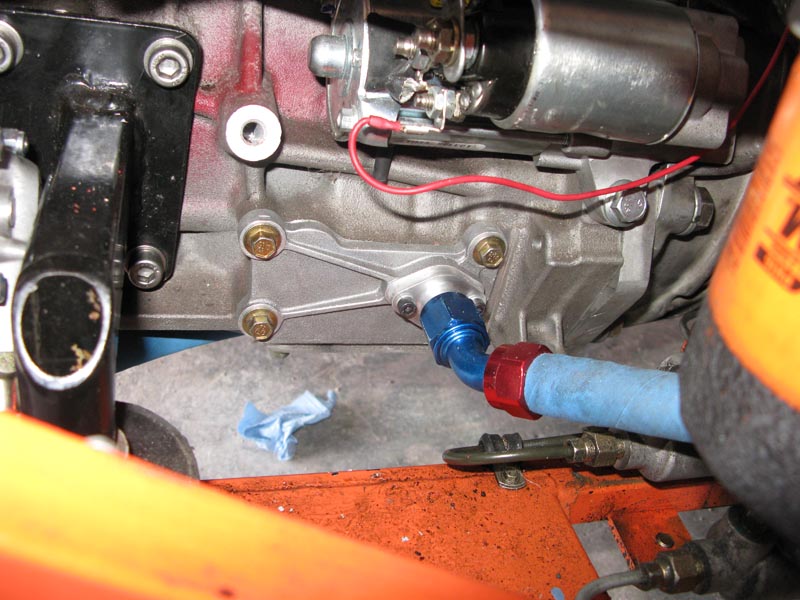
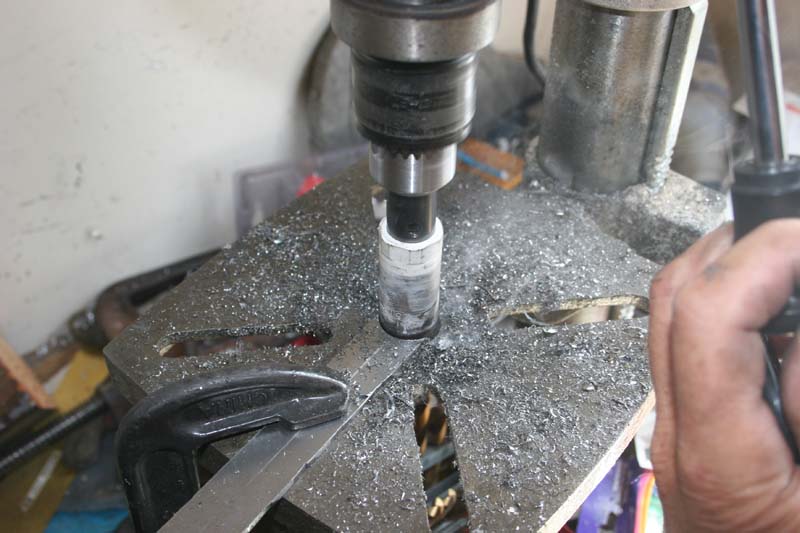
I had to make up an adapter plate to mate a NB Miata 6sp transmission to a Ford Ranger Duratec 2.3 liter since I didn't have the stomach to drop $1500 on a NC Miata 6sp that would bolt right up to the Duratec engine.
15 Mar 2008
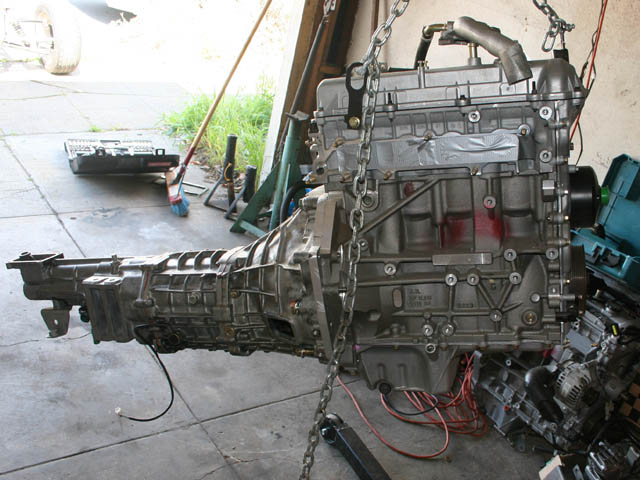
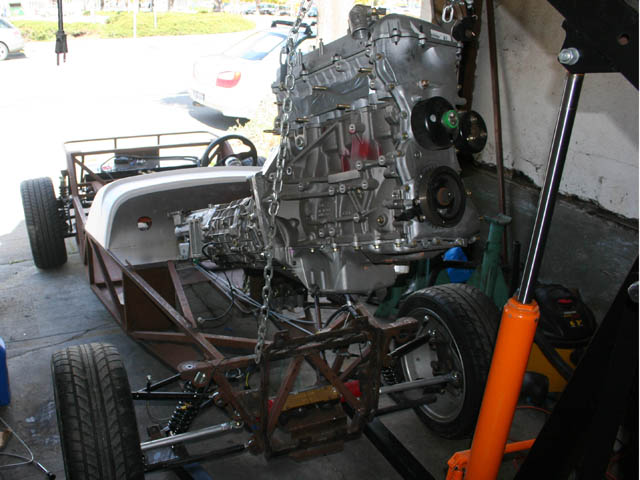
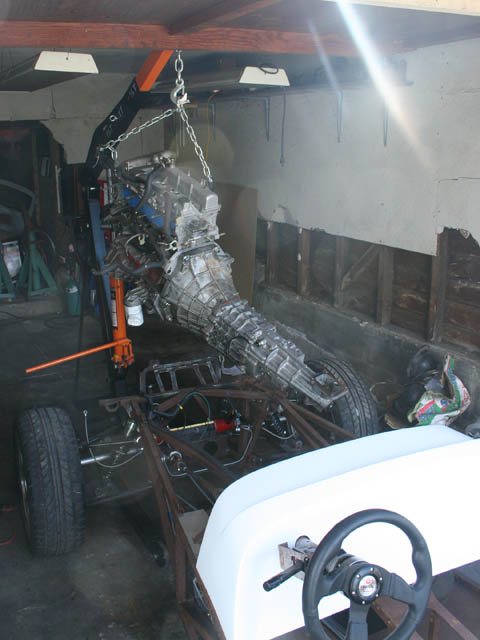
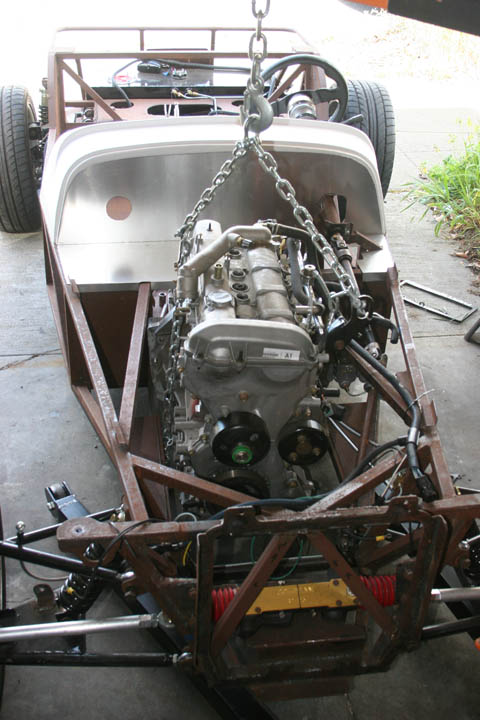
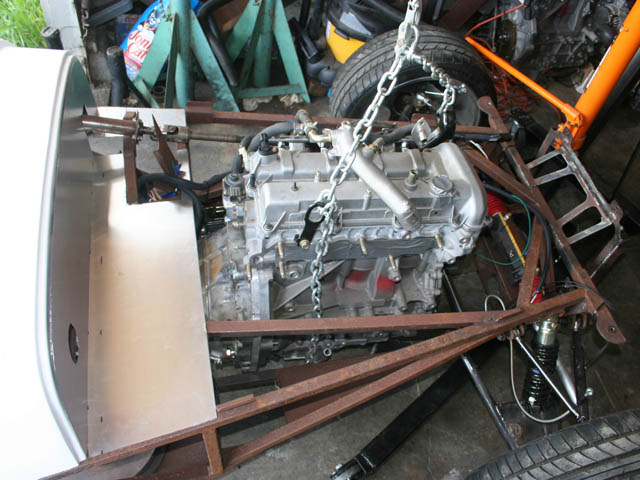
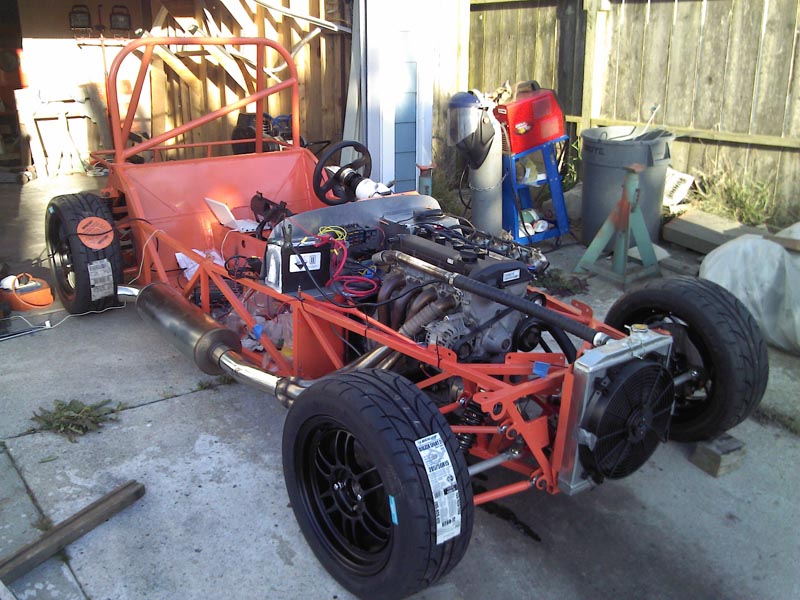
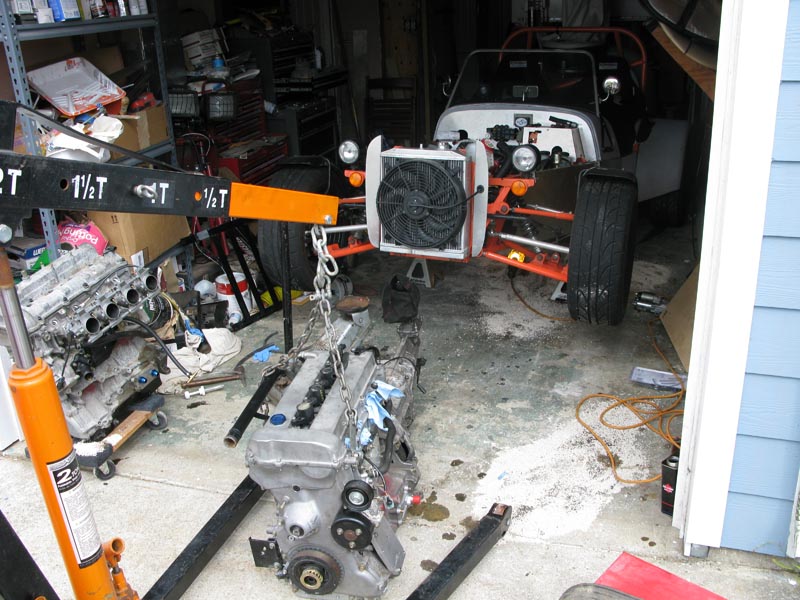
Dropping the engine in the chassis.
02 April 2008
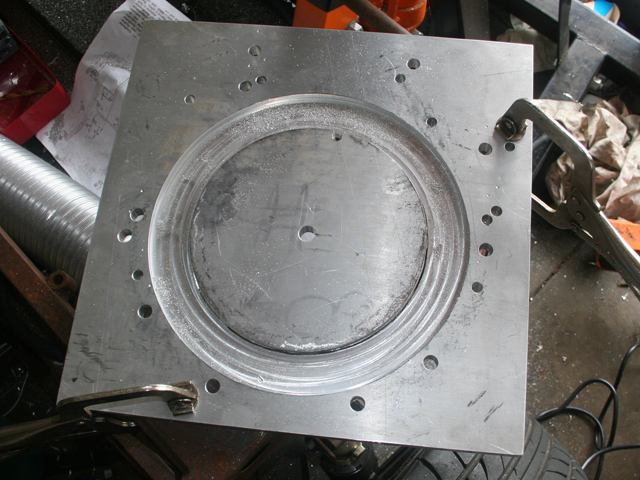
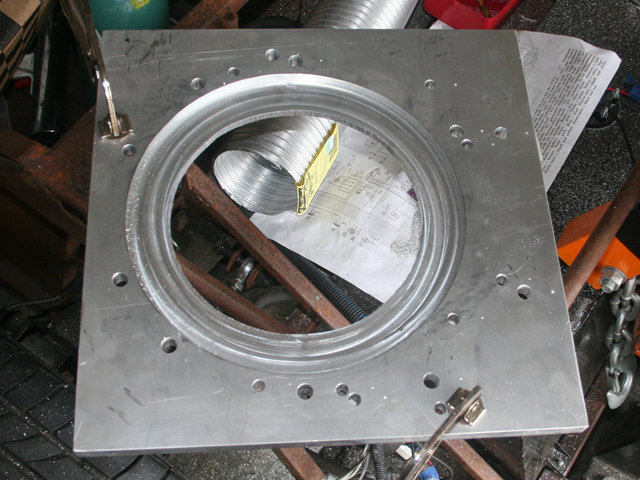
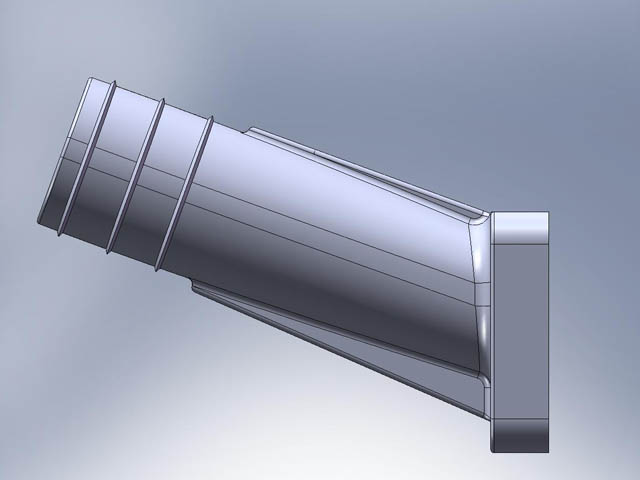
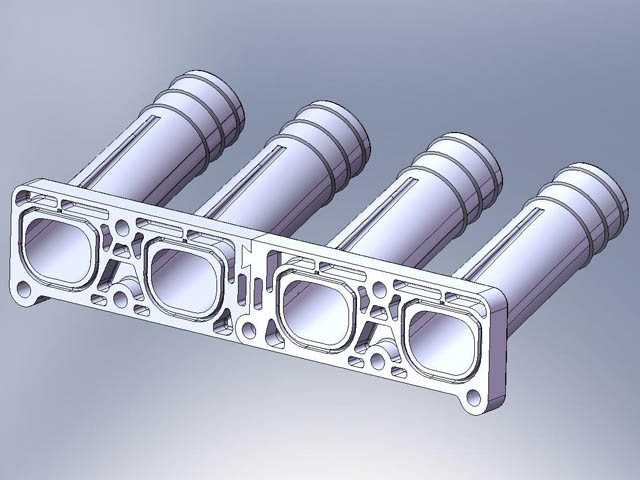
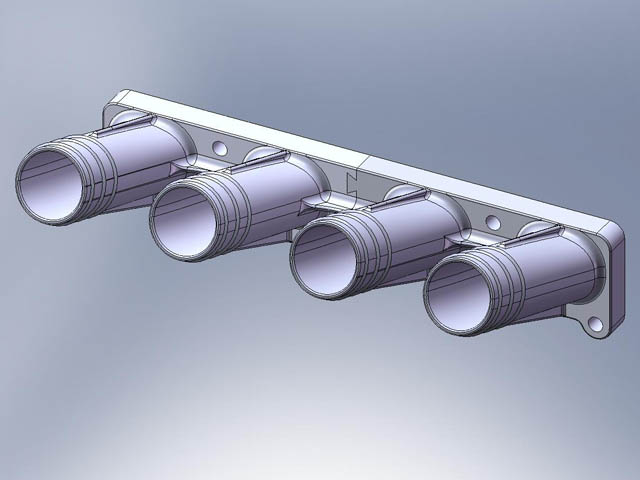
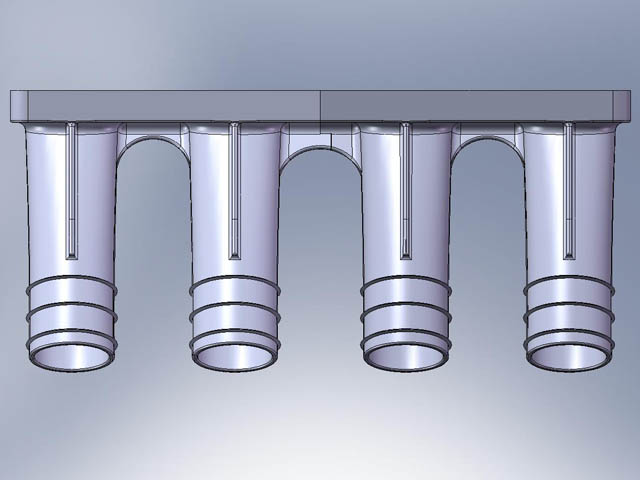
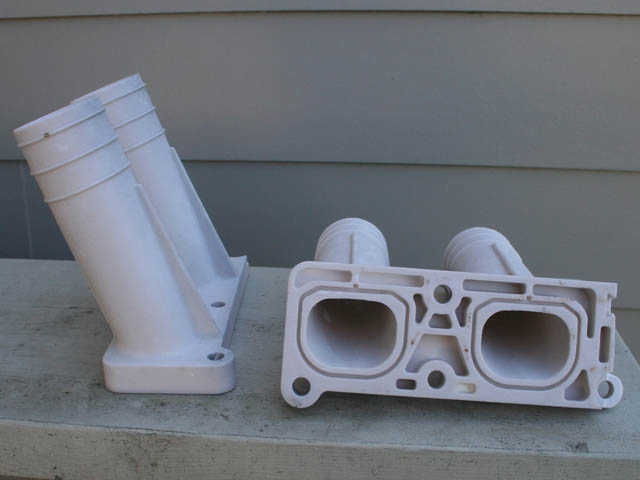
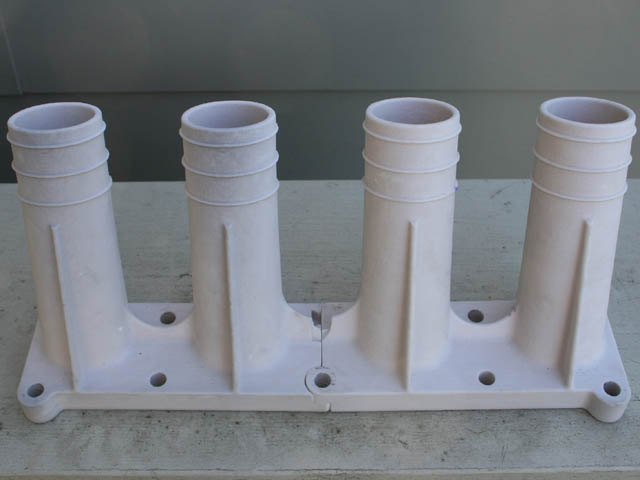
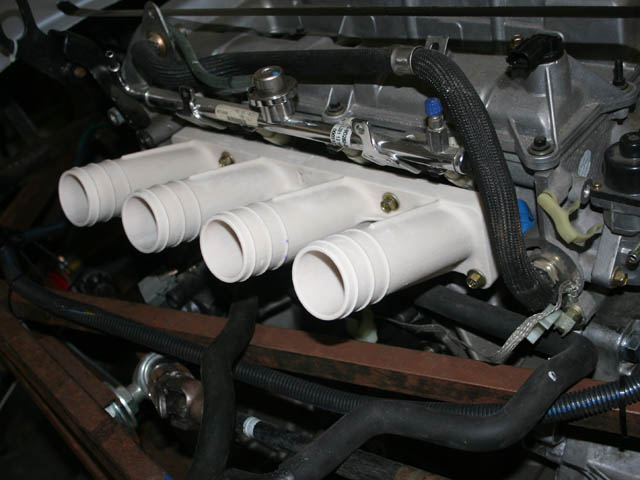
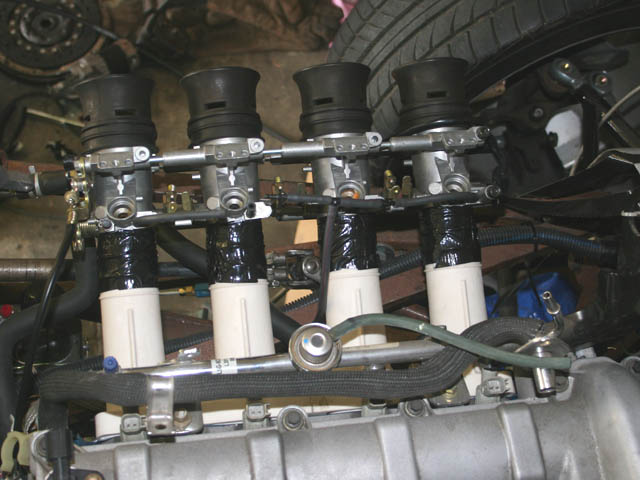
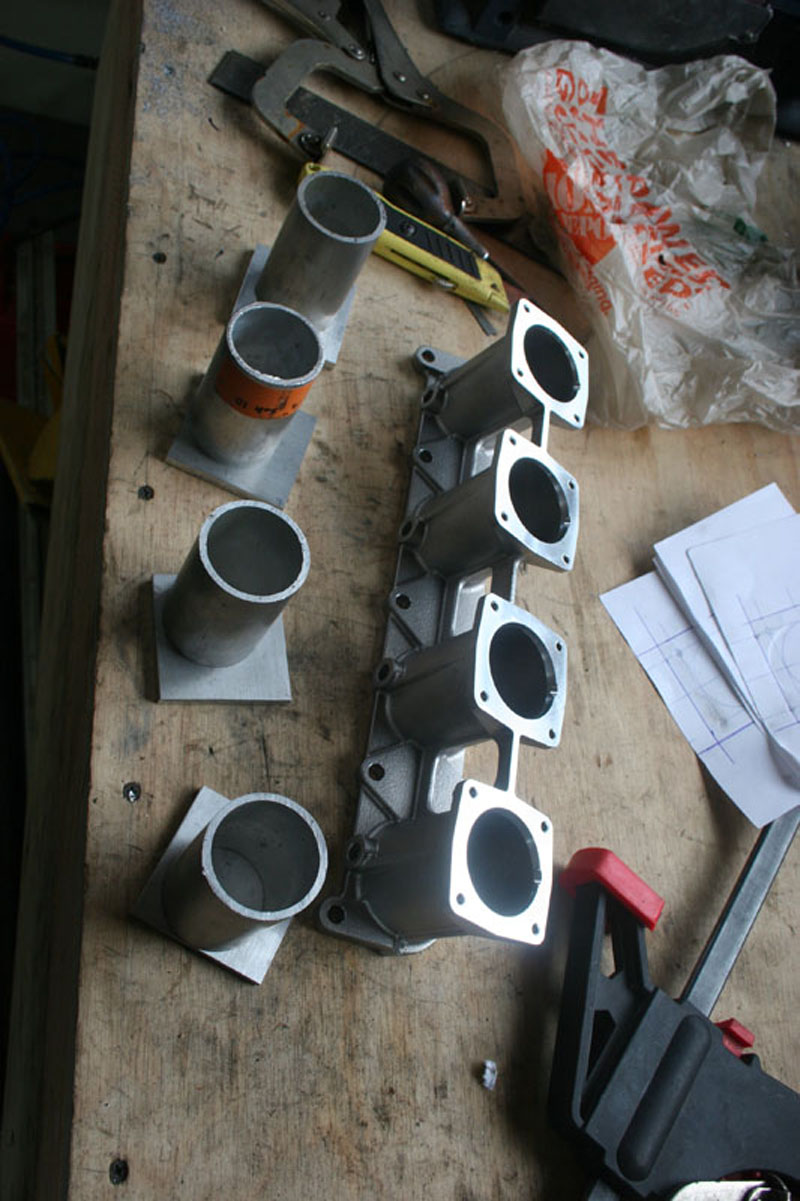
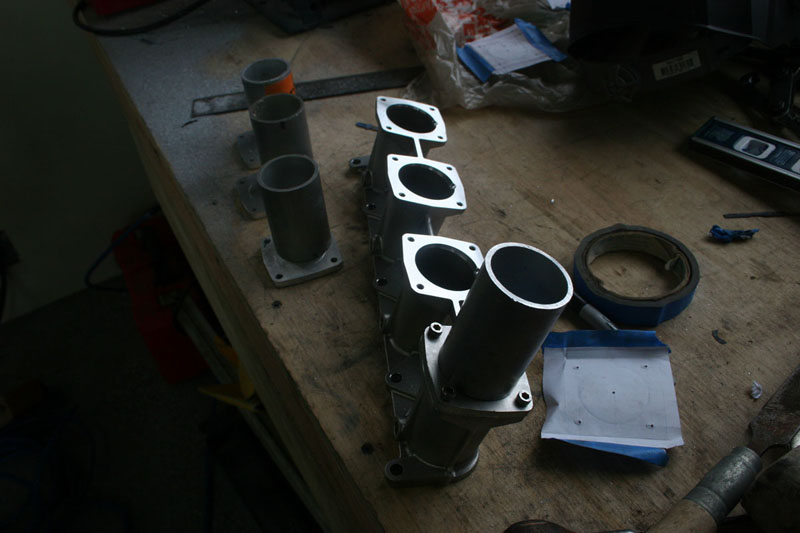
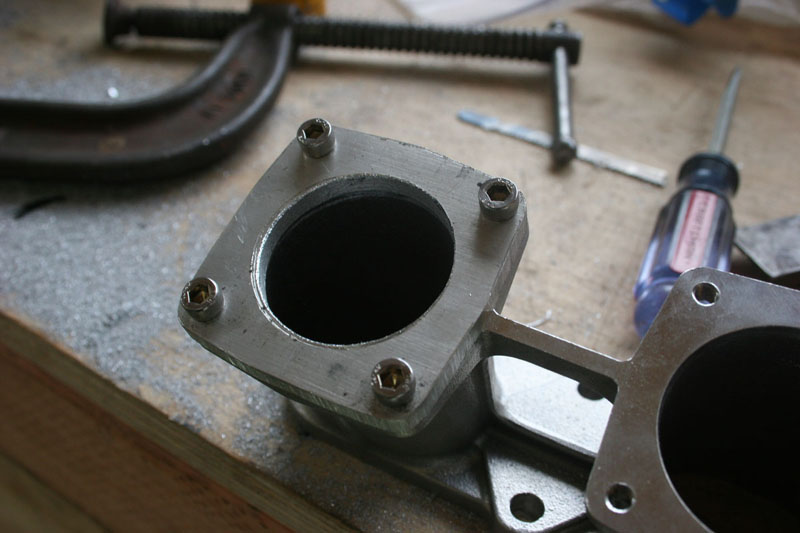
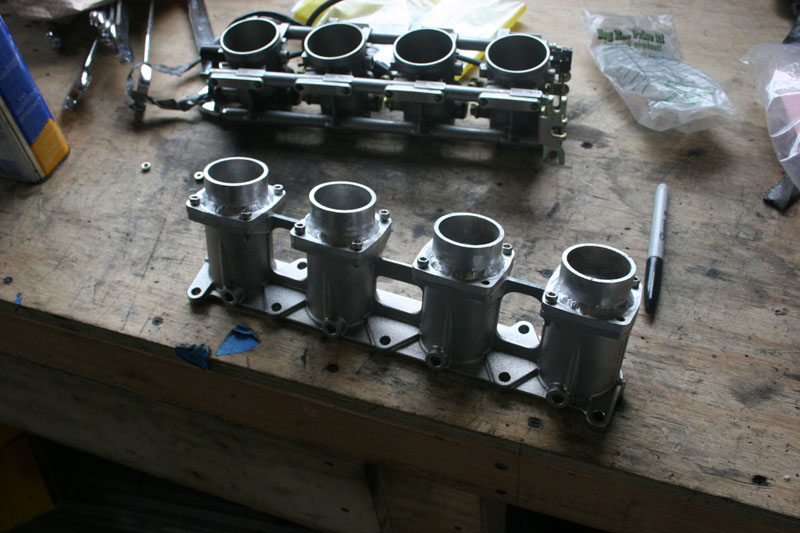
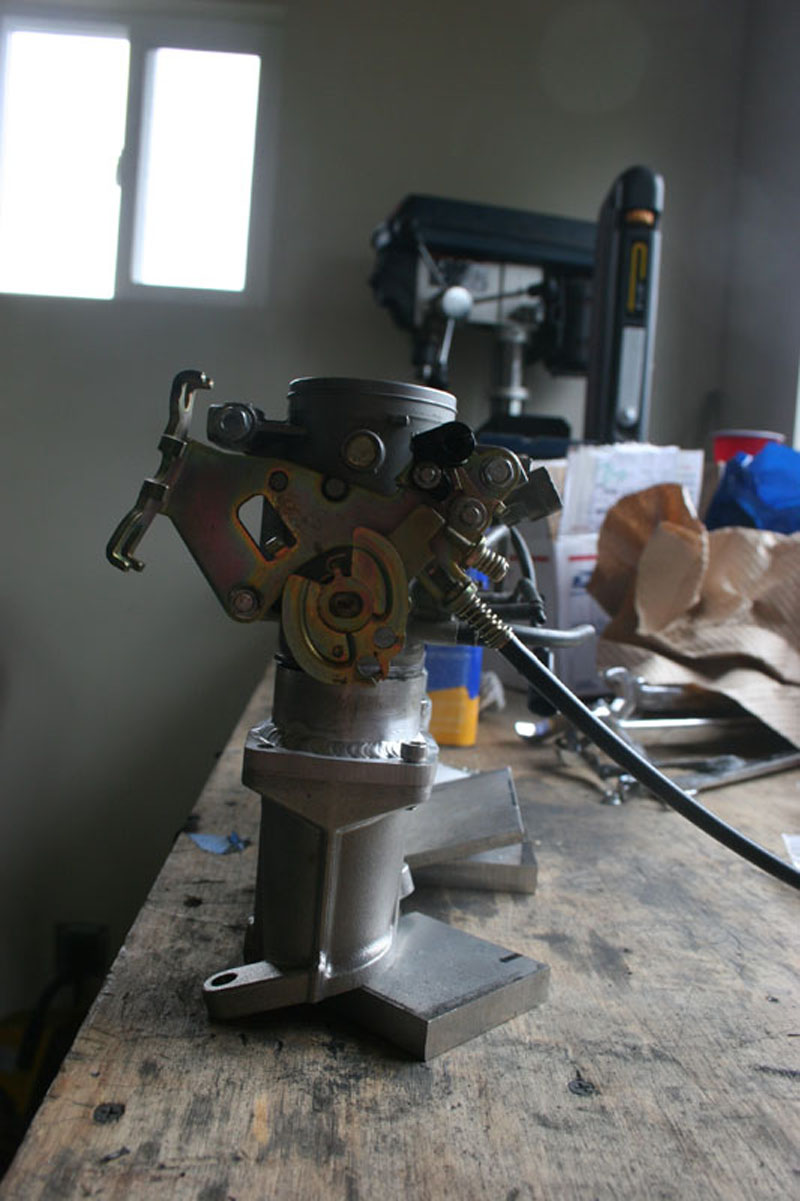
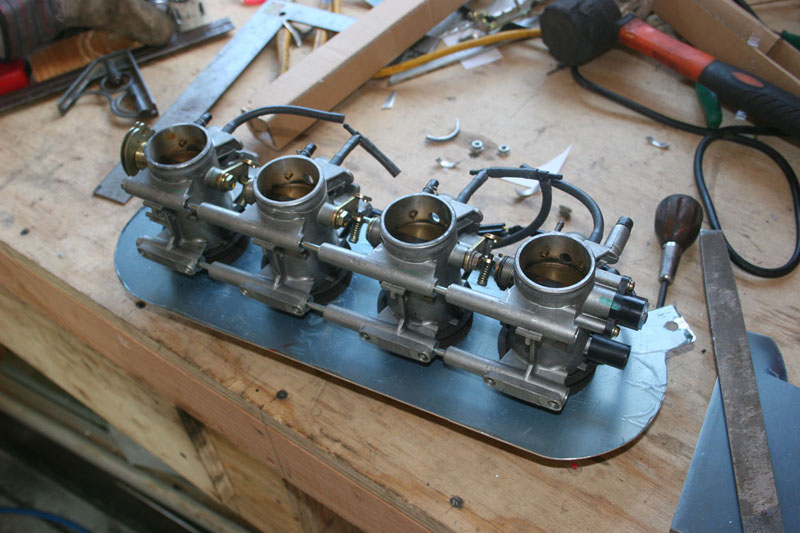
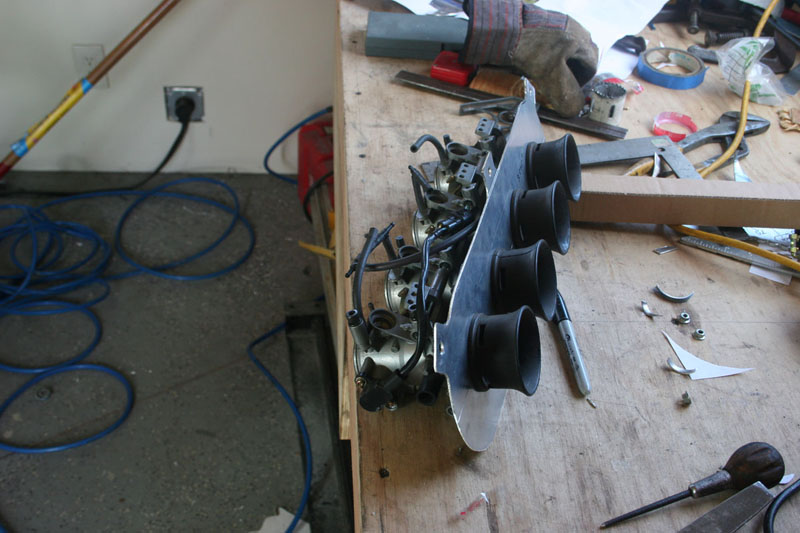
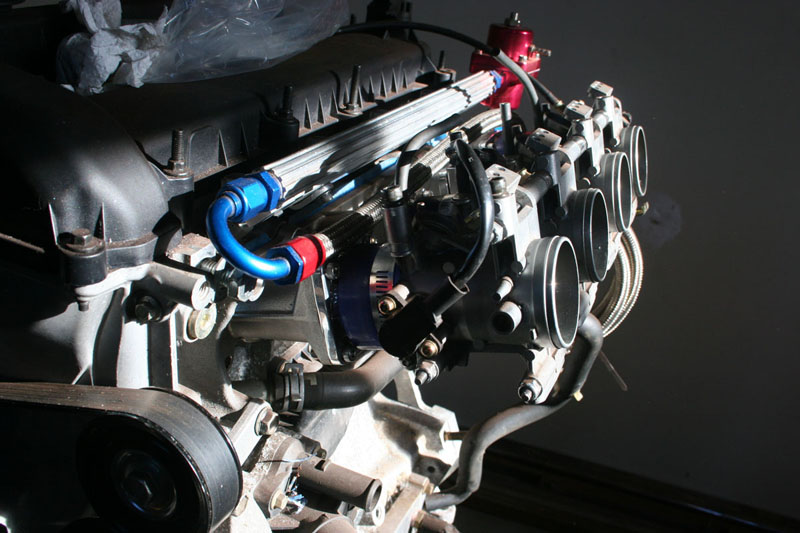
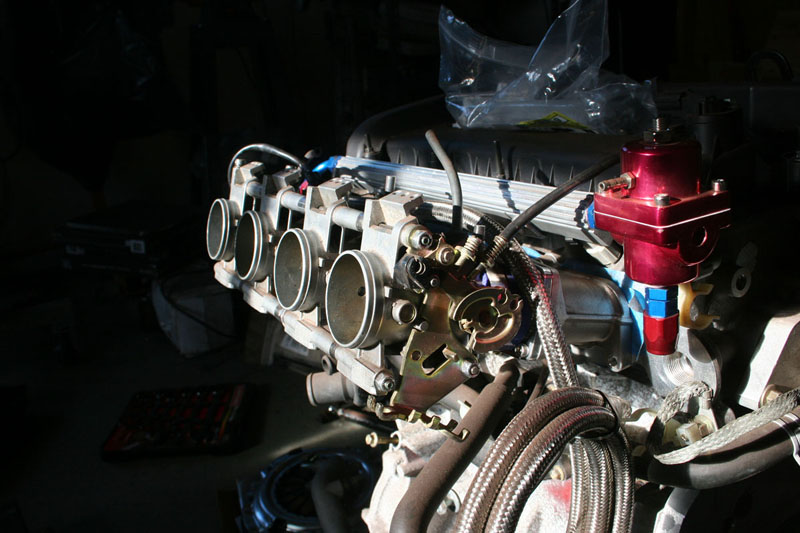
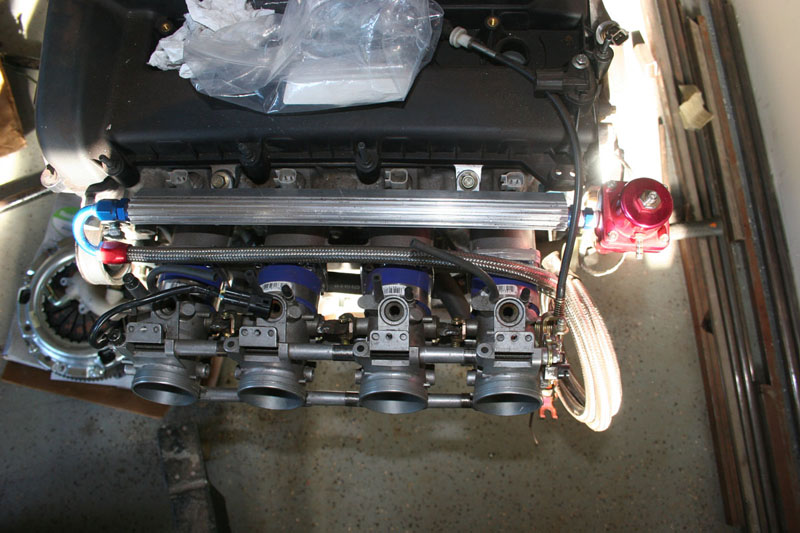
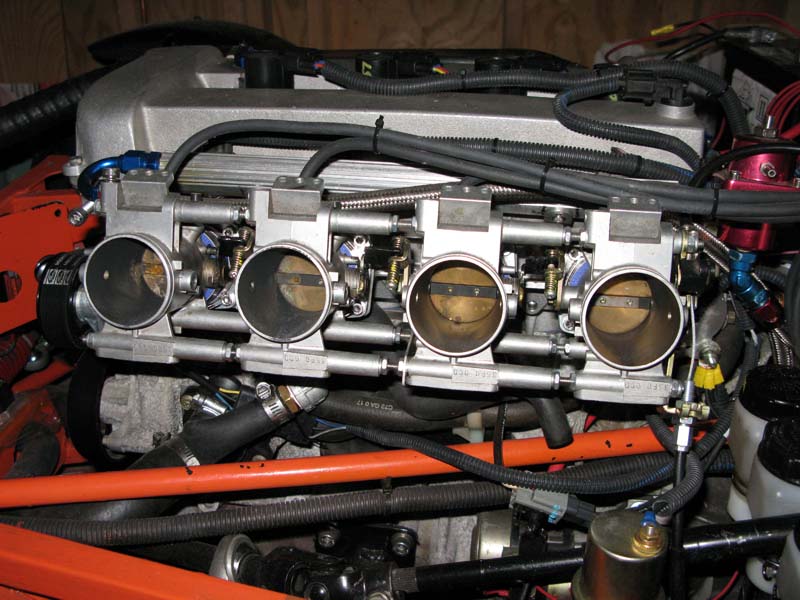
We have a 3d printer where I work so I designed and printed up an intake manifold for Suzuki GSXR 1000 throttle bodies. Started on the motor mounts.

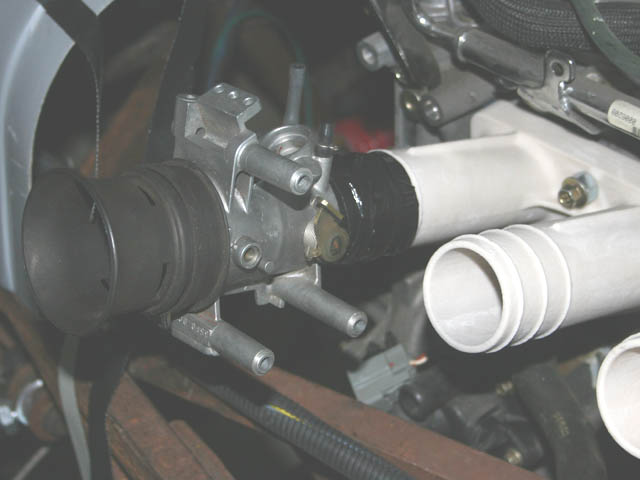
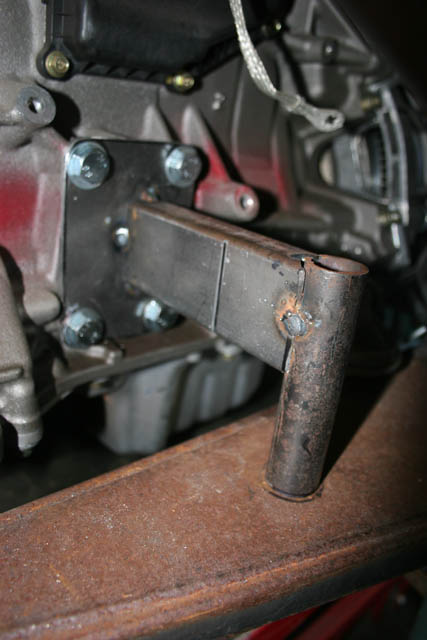

12 April 2008
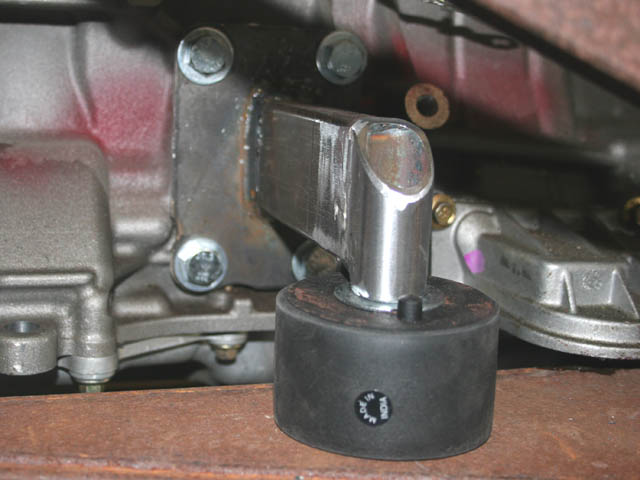
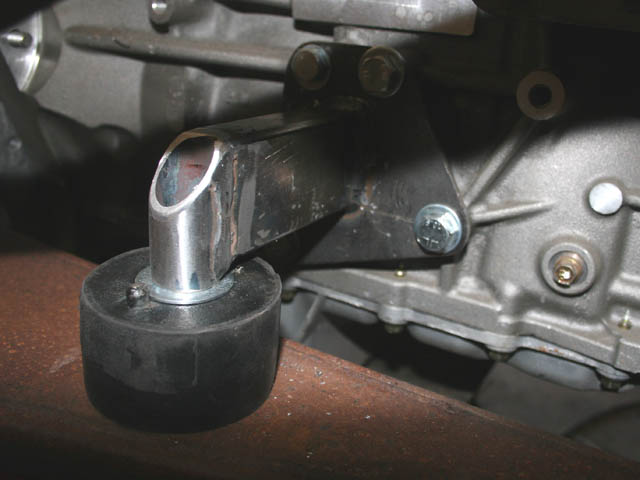
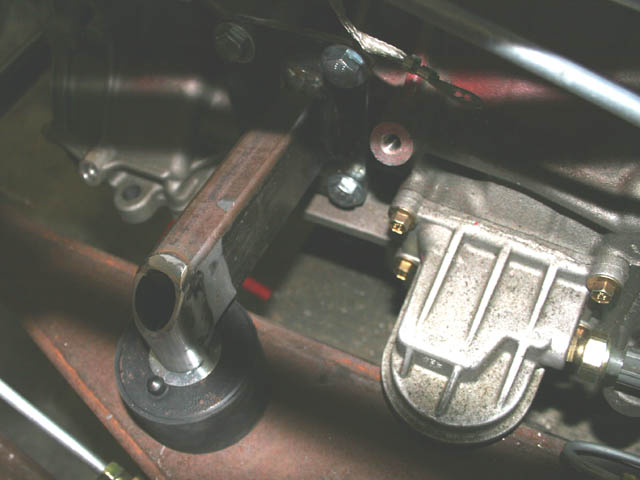
Checking the fit of the printed intake manifold to the throttle bodies and cylinder head. Finished up the motor mounts.
20 April 2008
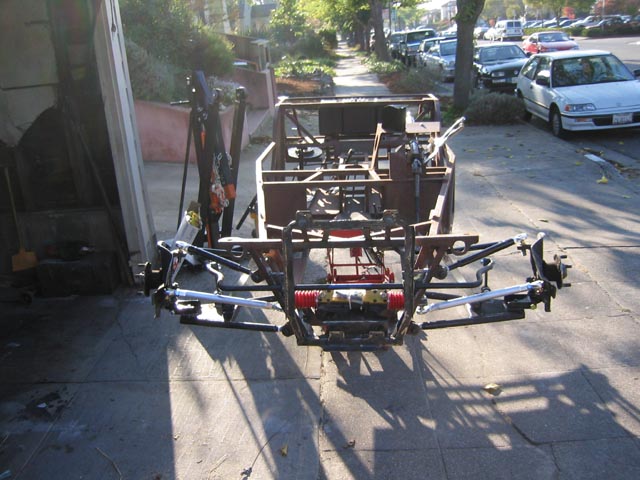
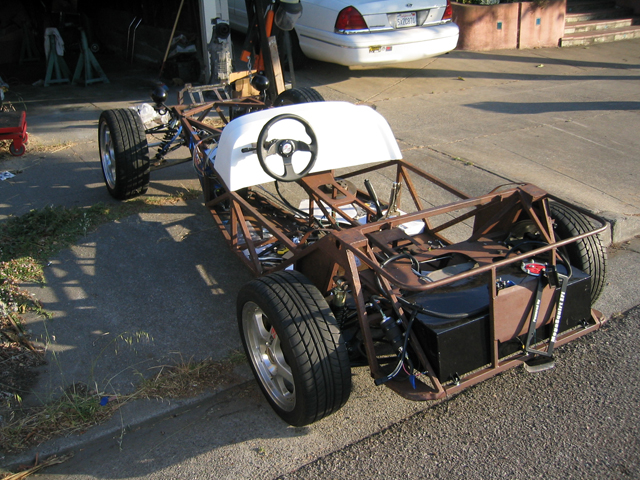
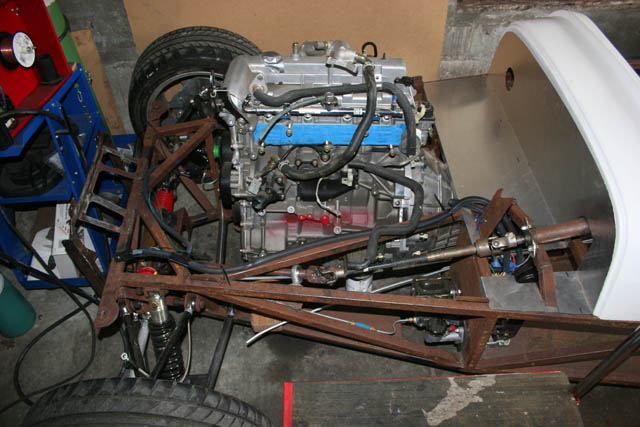
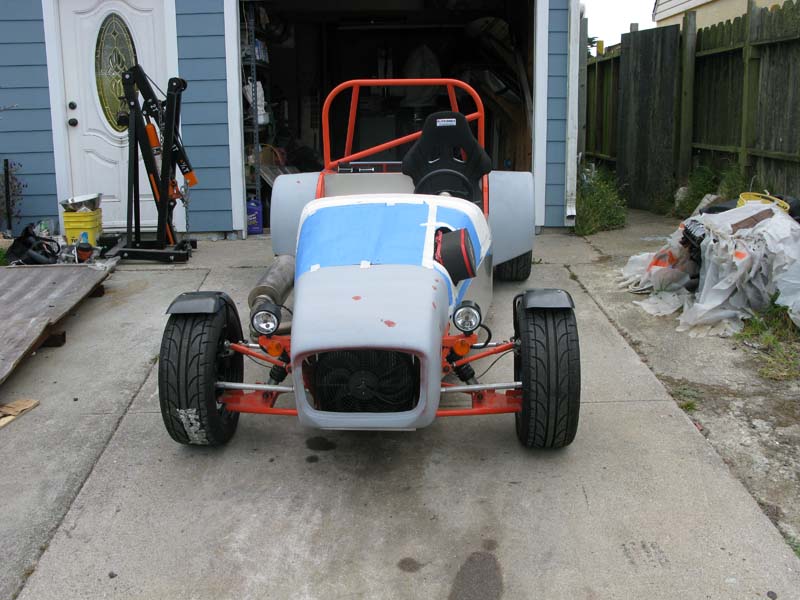
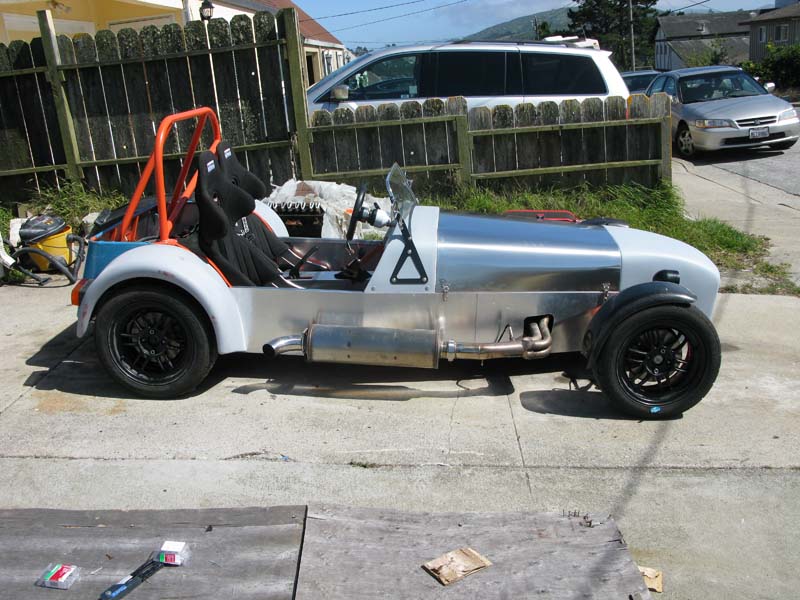
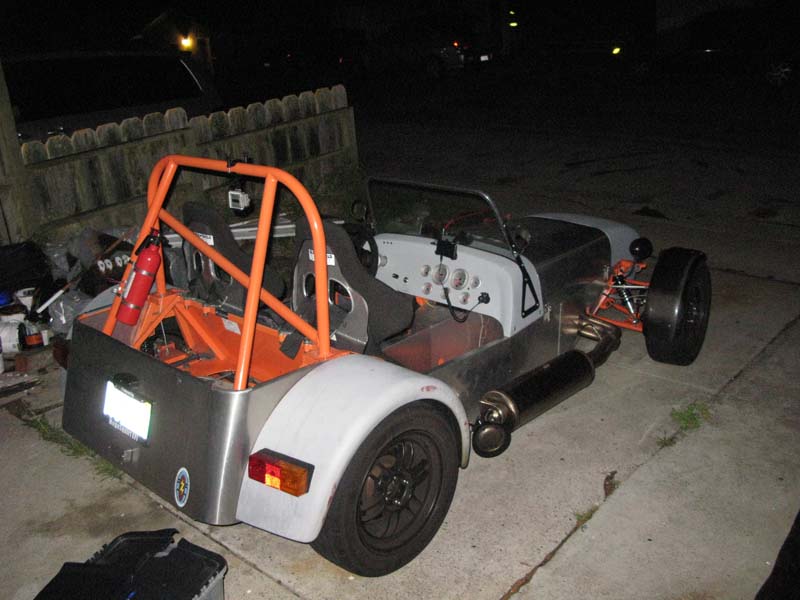
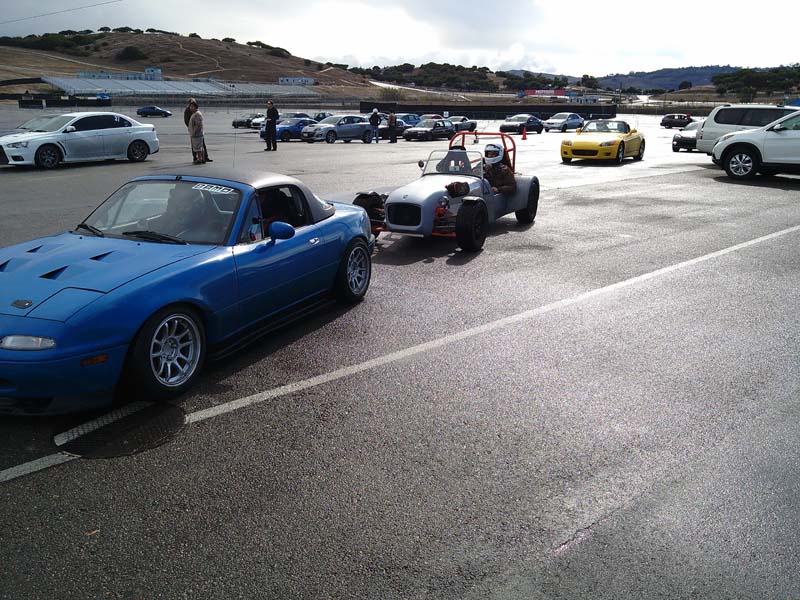
Got the locost on all 4 wheels, steering hooked up, and engine mounted.
26 Sept 2008
I bought a new house and work on the Locost has come to a stand still...need to put all that energy into my new "fixer".
20 Oct 2010
It's a little closer to not being a "fixer" now although the yard needs some work.
08 June 2011
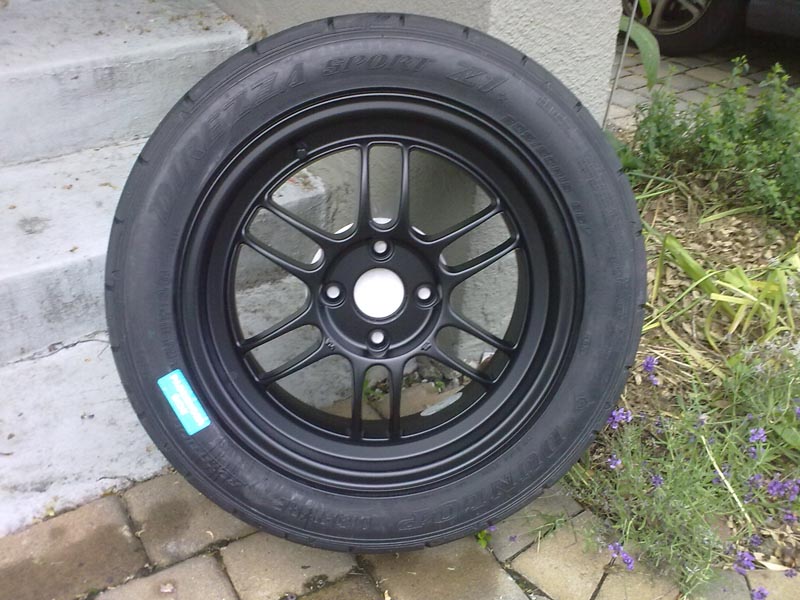
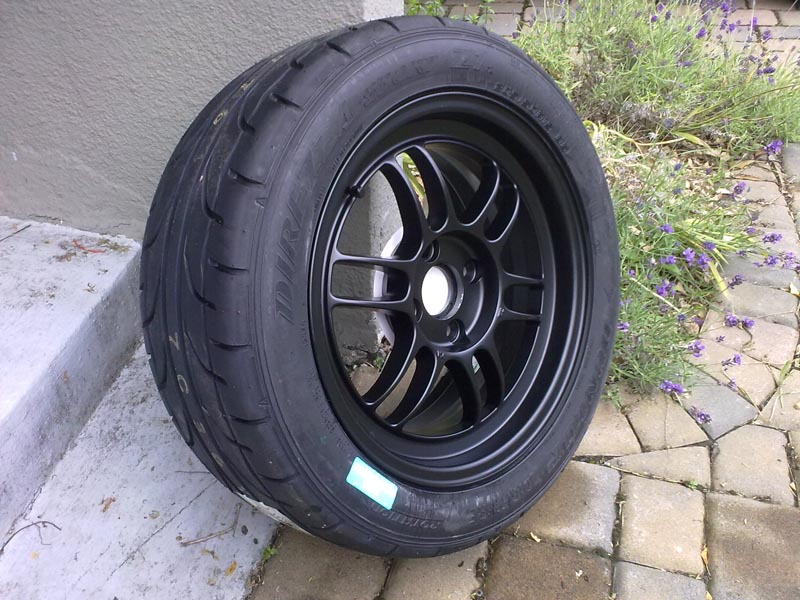
Work has resumed on the locost. What better way to start than with a new set of wheels and tires. Enkei RPF1s and Dunlop Direzza Sport Z1 Star Spec tires!
03 Dec 2011
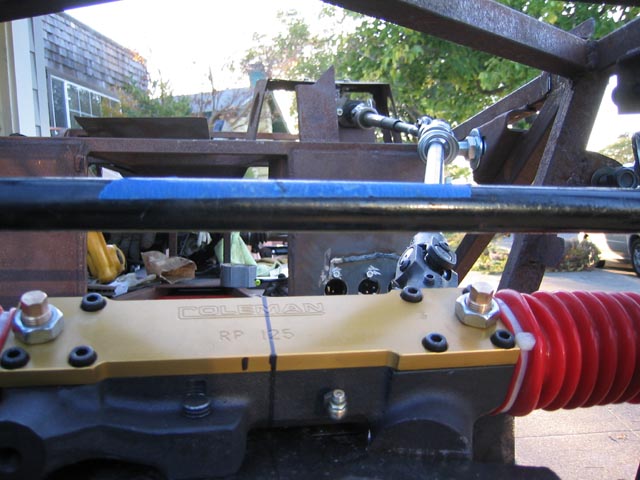
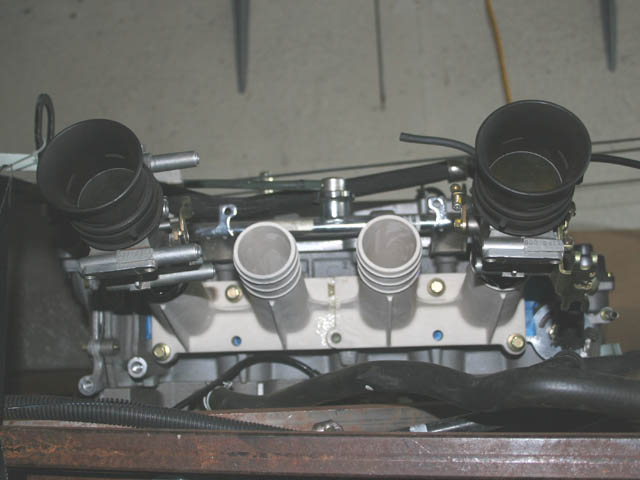
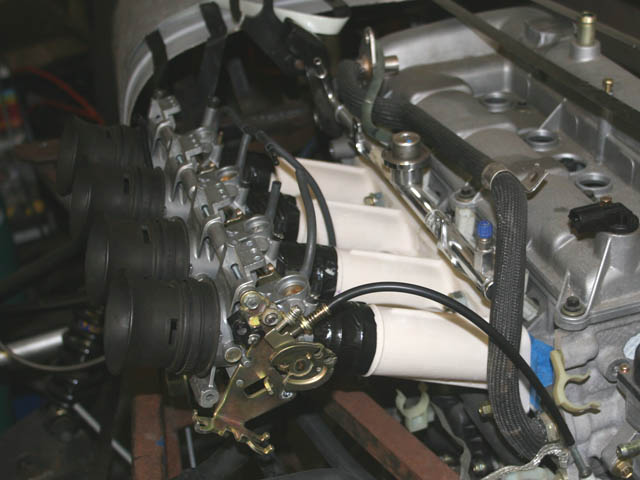
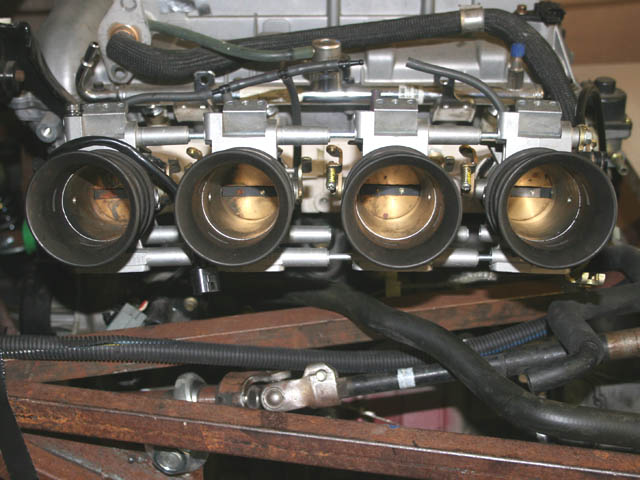
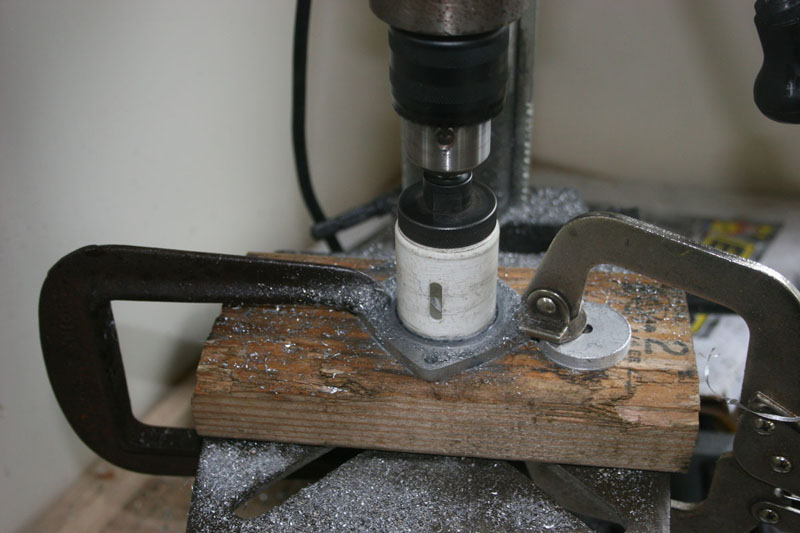
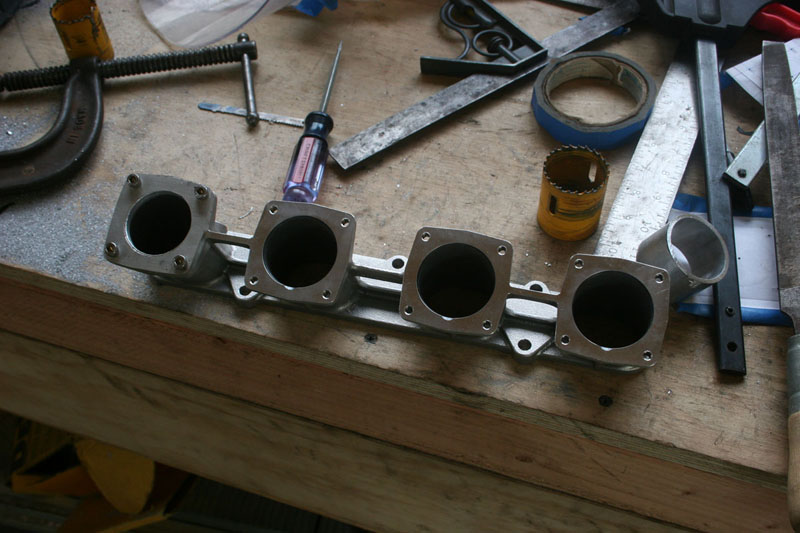
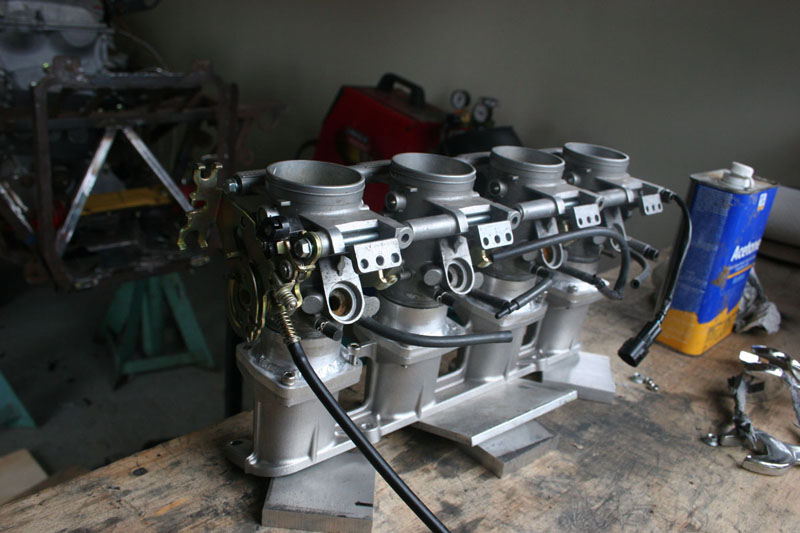
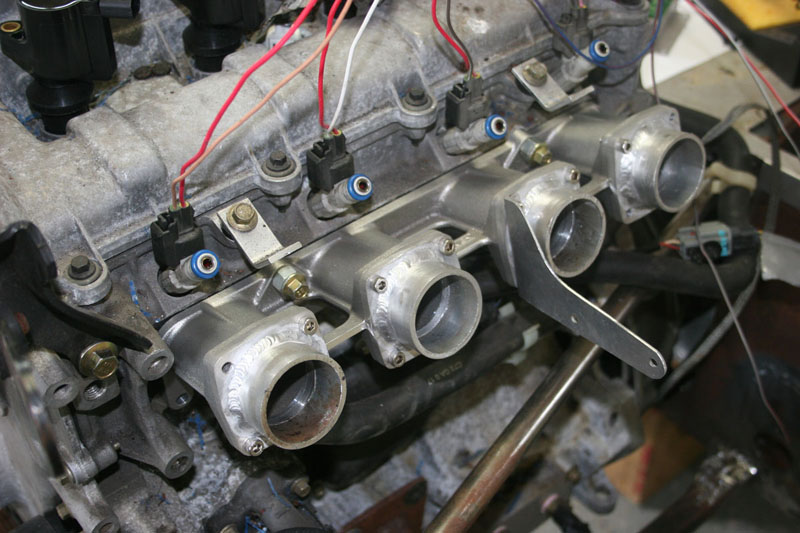
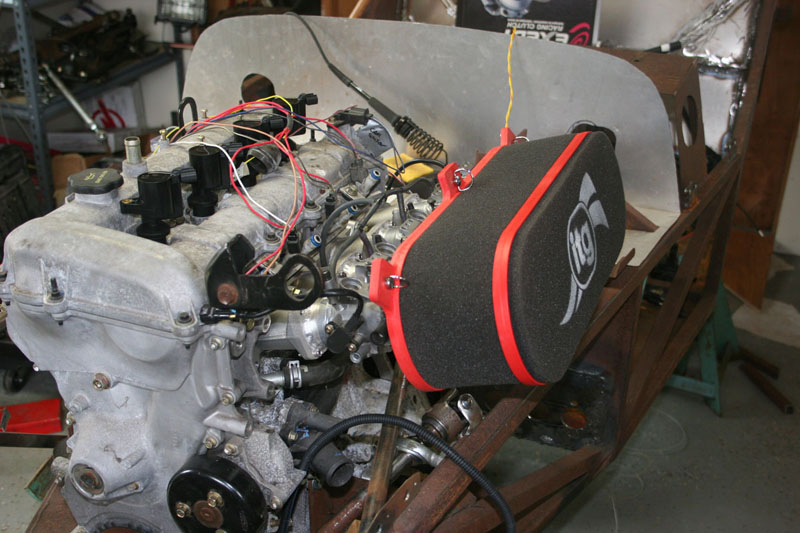
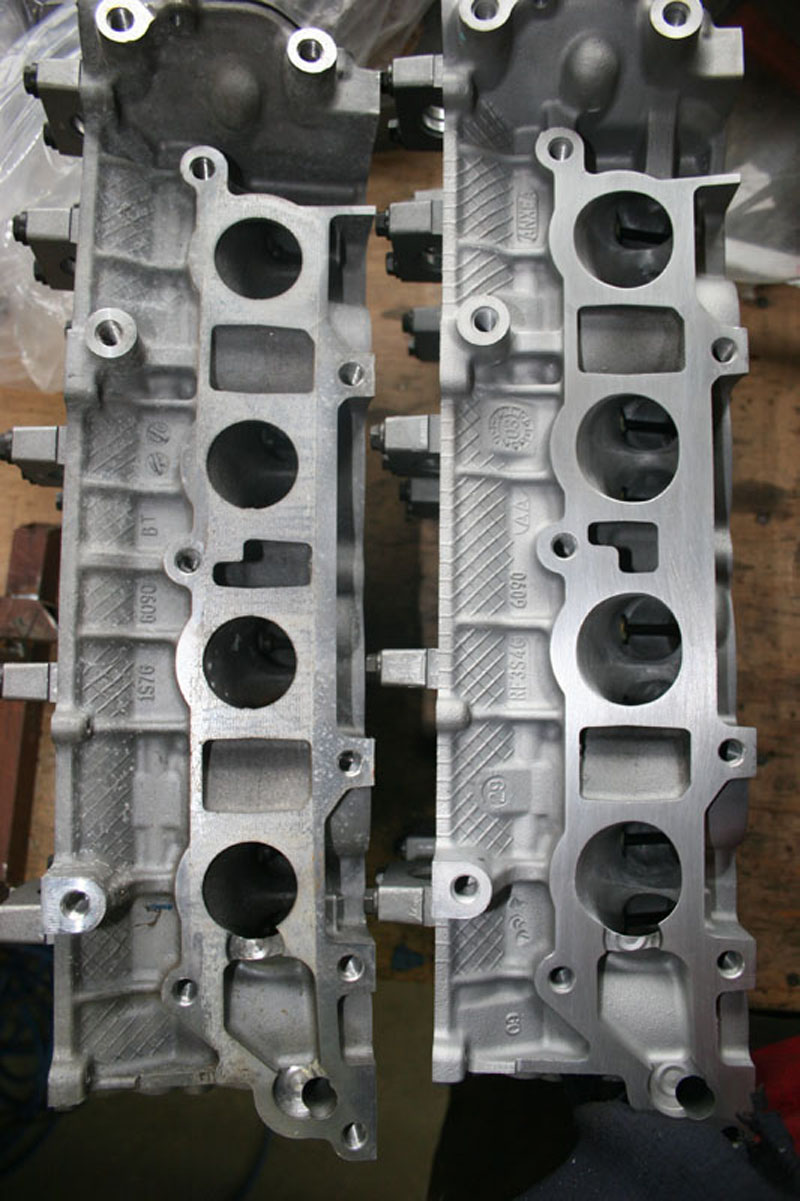
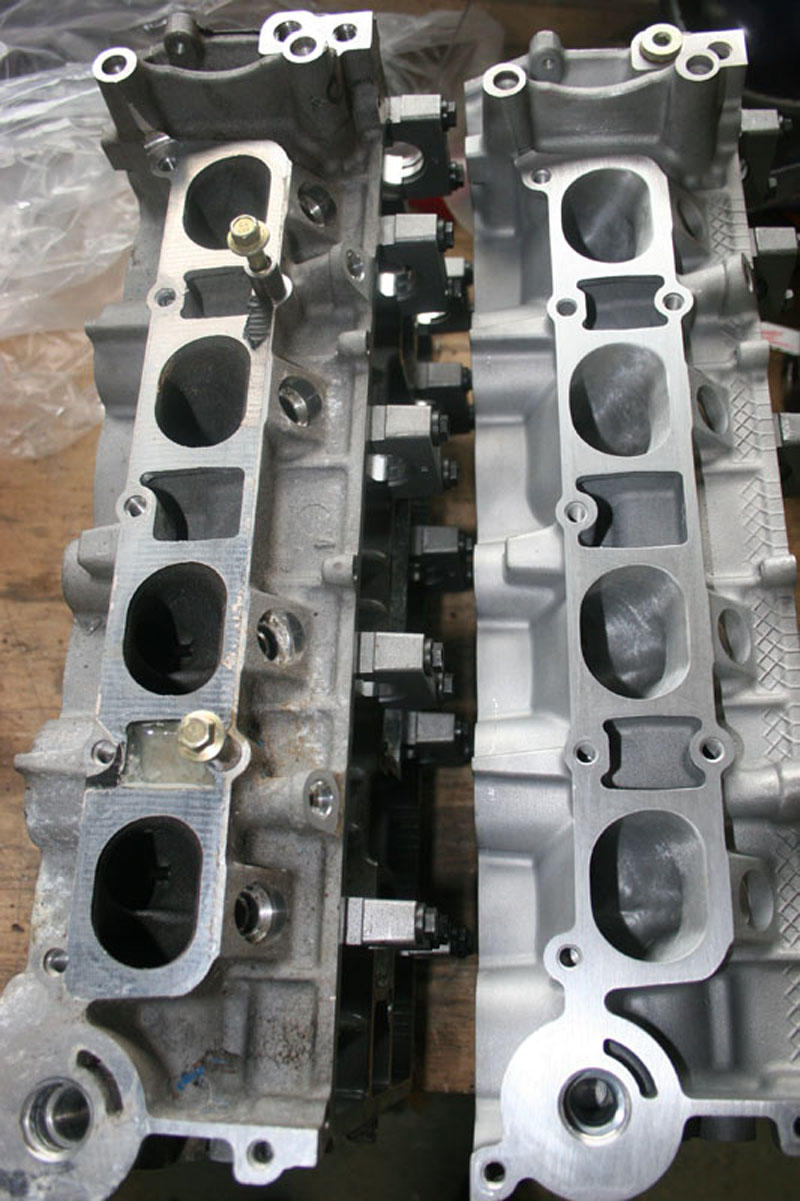
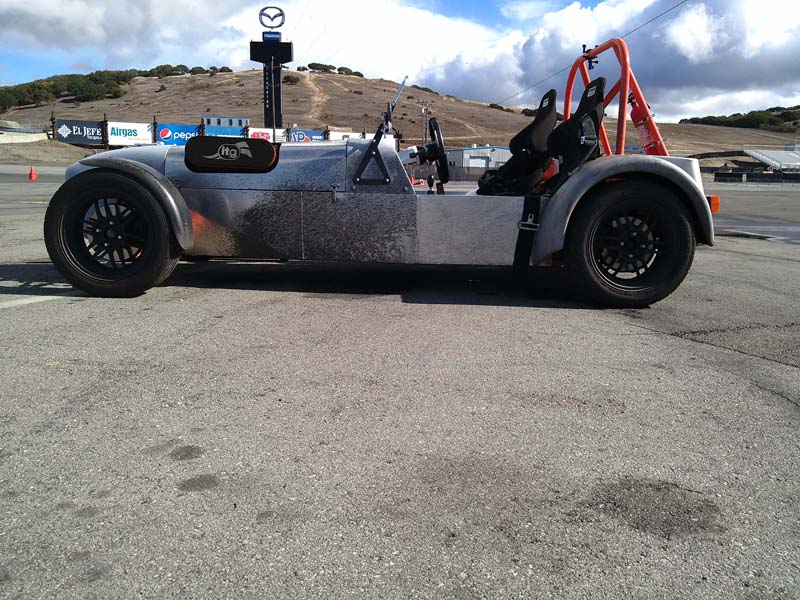
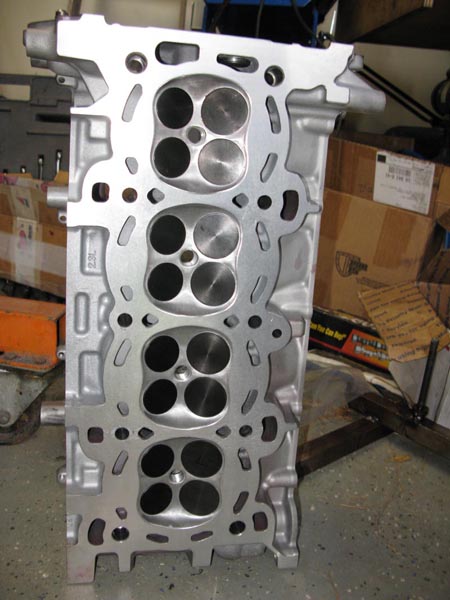
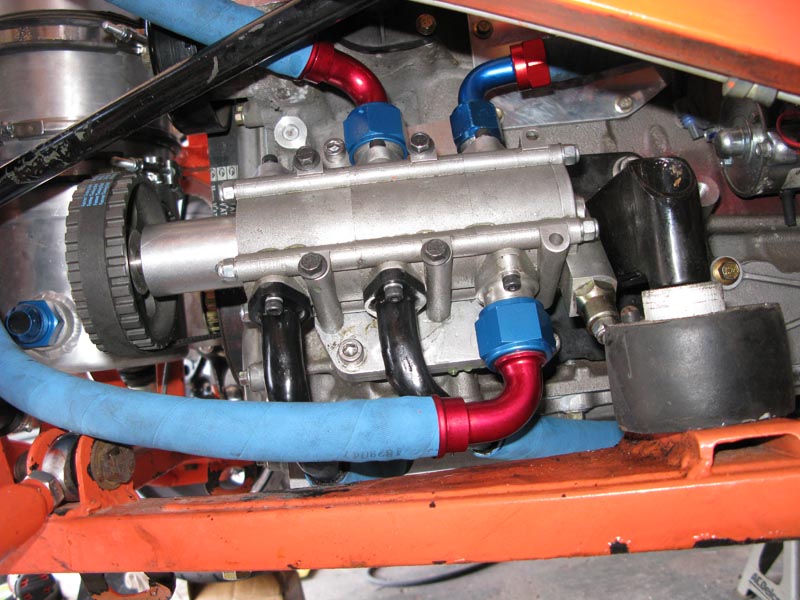
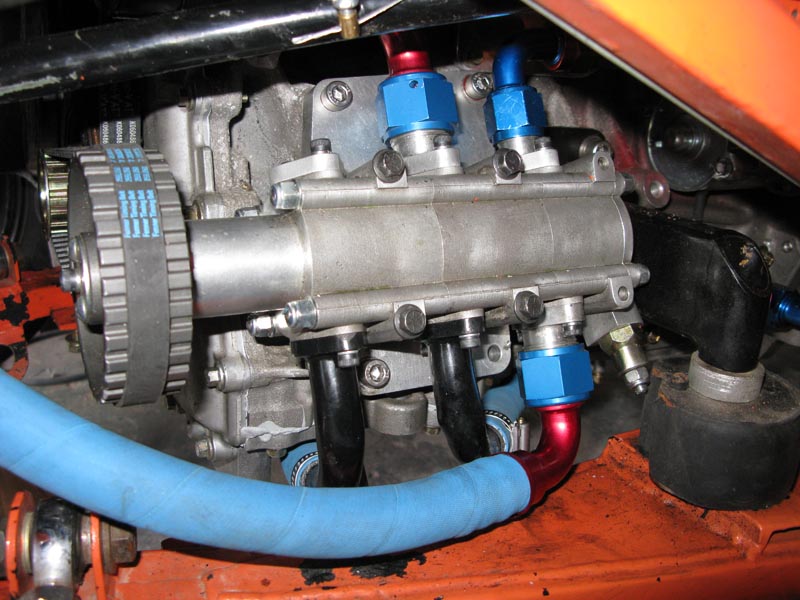
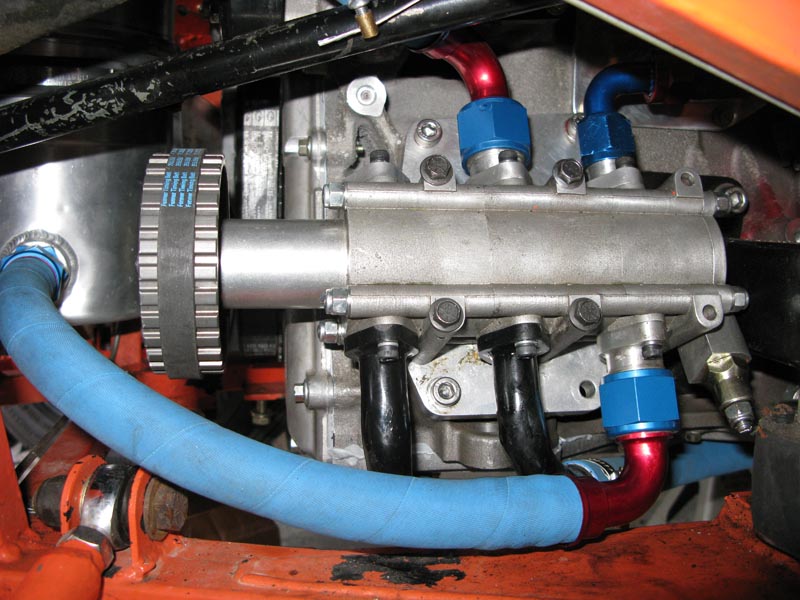
After pondering the futility of casting my own intake manifold I opted for the easier route and bought a Jenvey Duratec intake manifold and made adapters for the Suzuki ITBs.I bought a ported, big valve head to replace the small port Ford Ranger truck head. Look at the difference in the ports!
03 Mar 2012
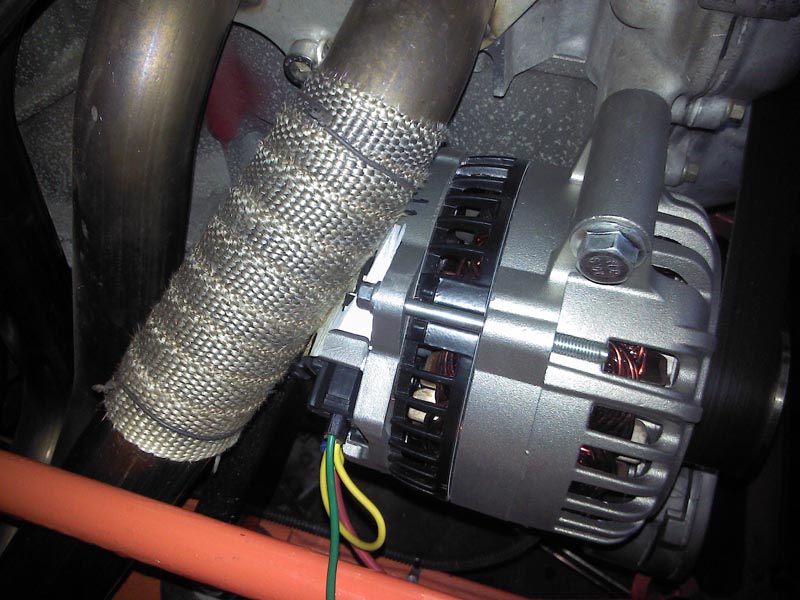
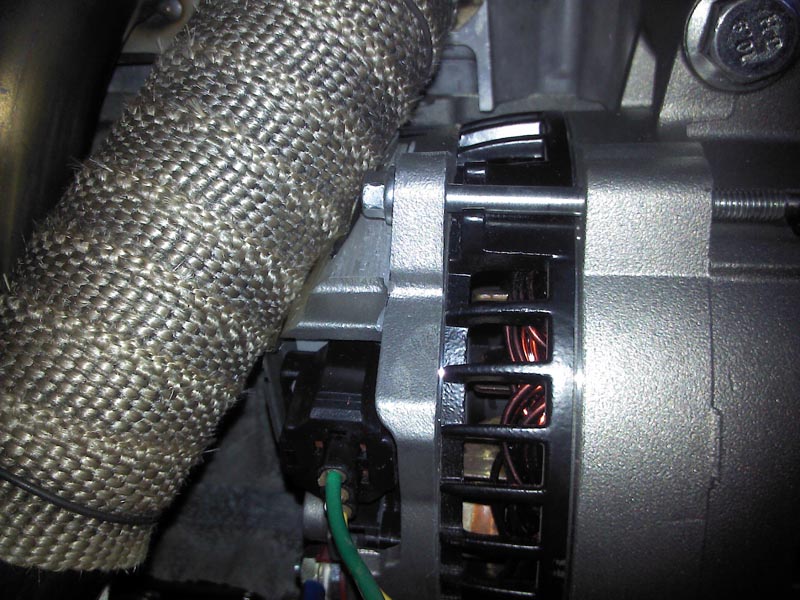
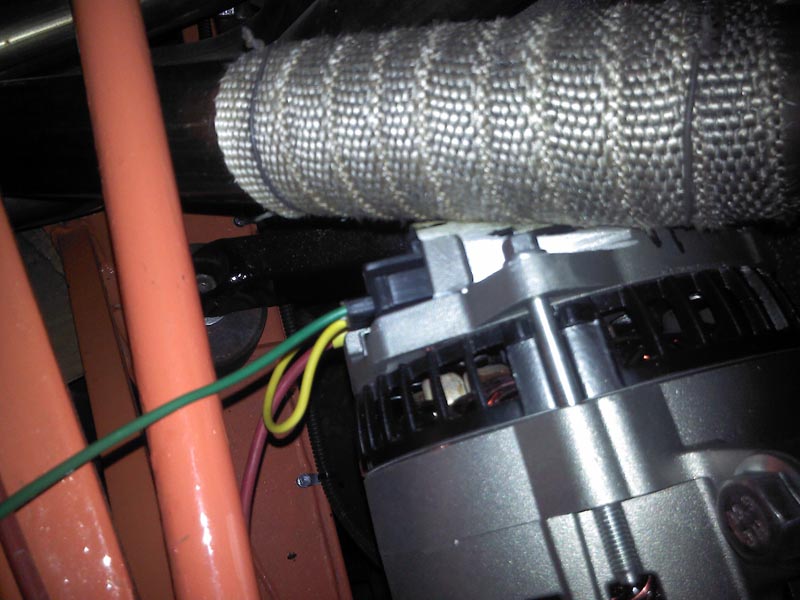
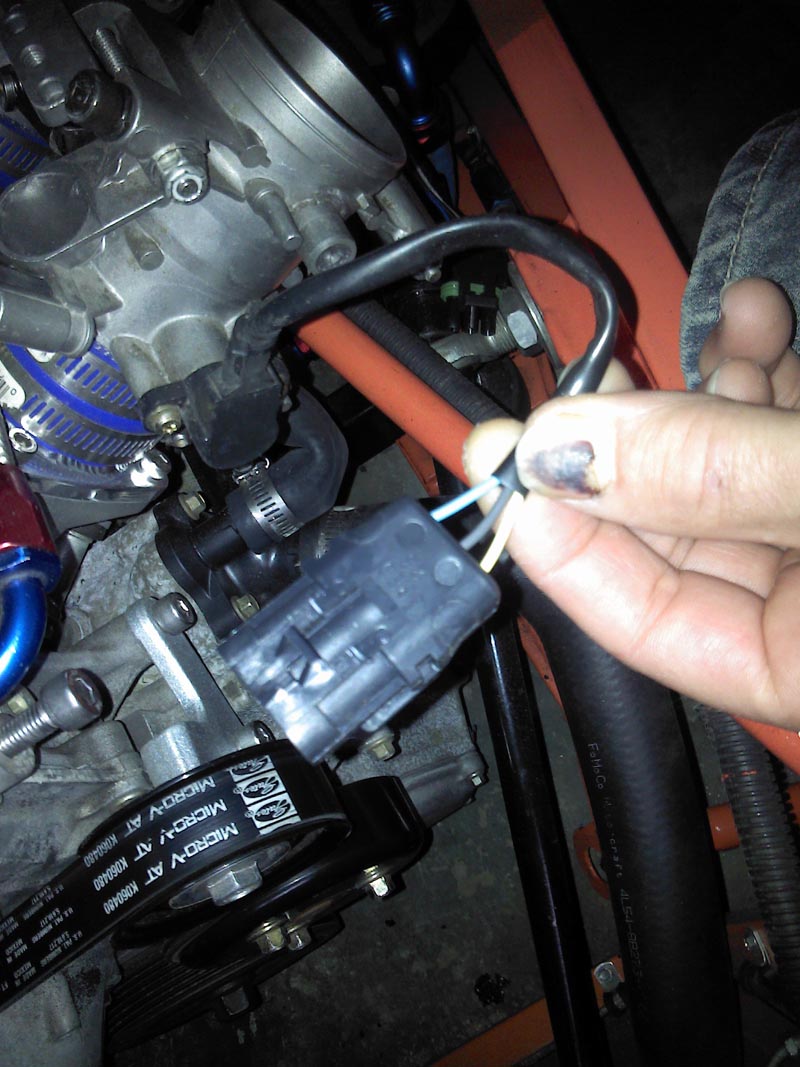
The stock alternator is too long to fit under the CSR headers. Pulled the locost out of the garage and ran it for the 1st time!! Discovered I had a bad TPS plug.
12 May 2012
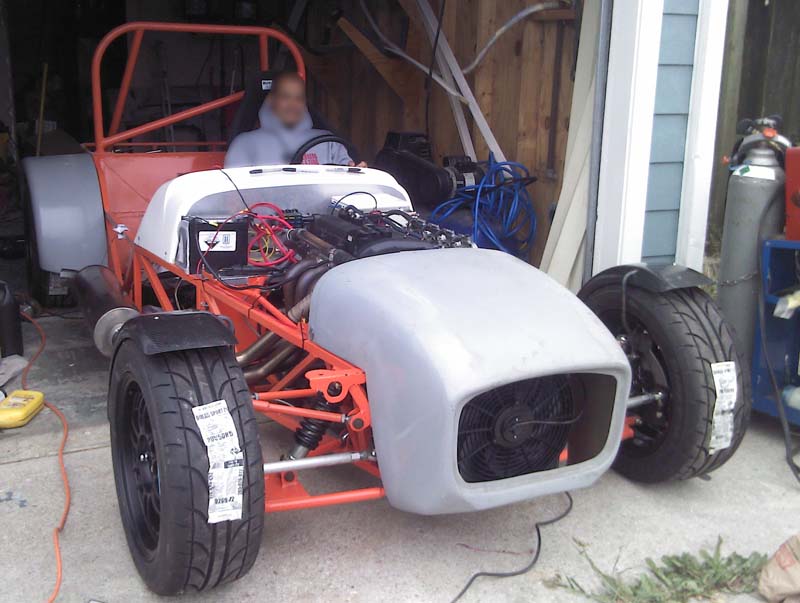
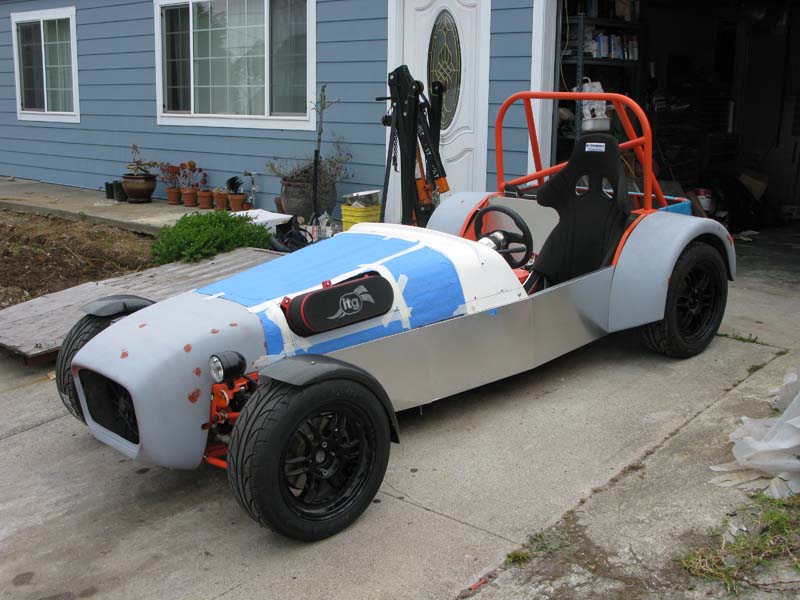
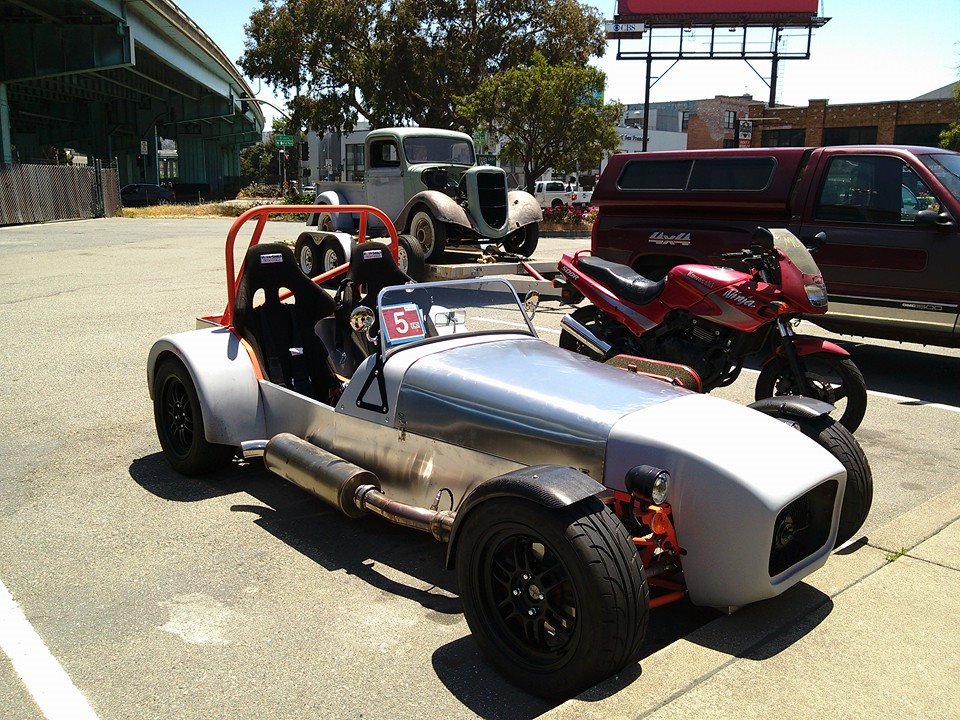
Getting closer to the finish line.
14 Sept 2012
15 Mar 2014
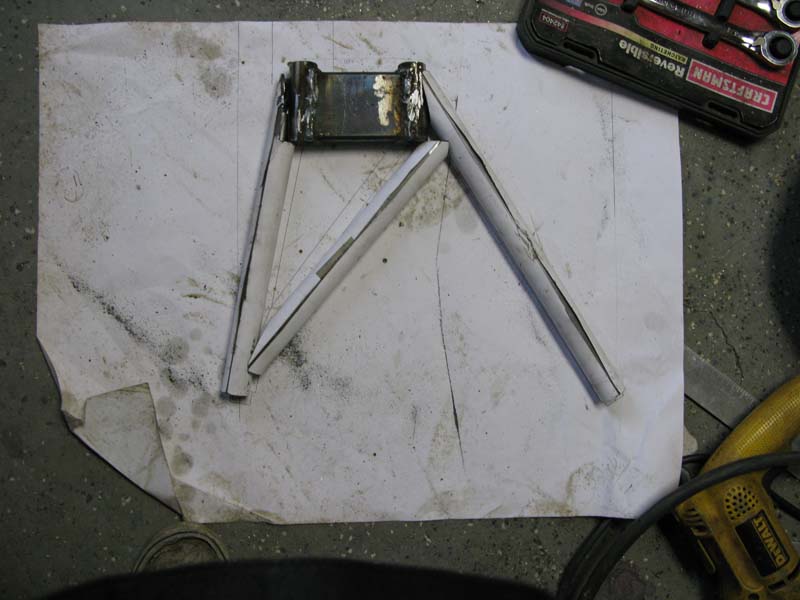
Back in 11/2006 I started to assemble the rear suspension but the control arms and spindles didn't line up when assembled. After some inspection it turned out that the arms were not symetrical.
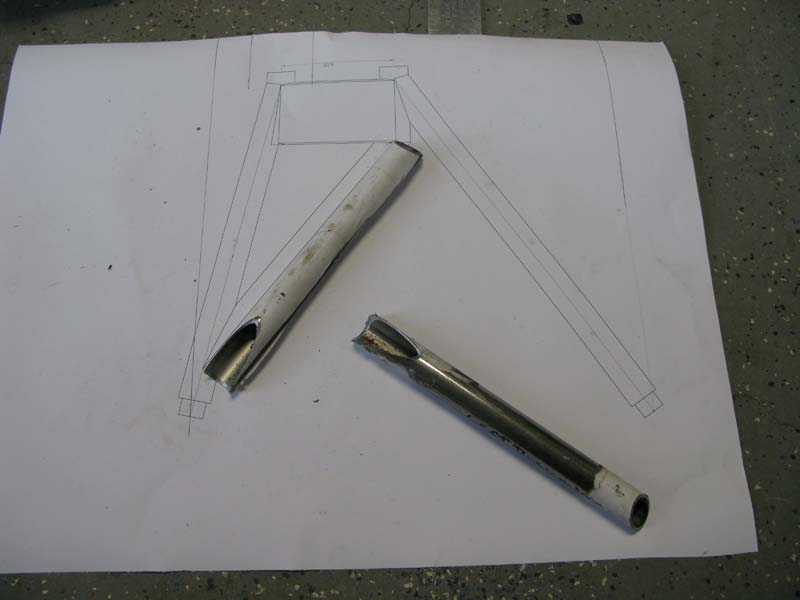
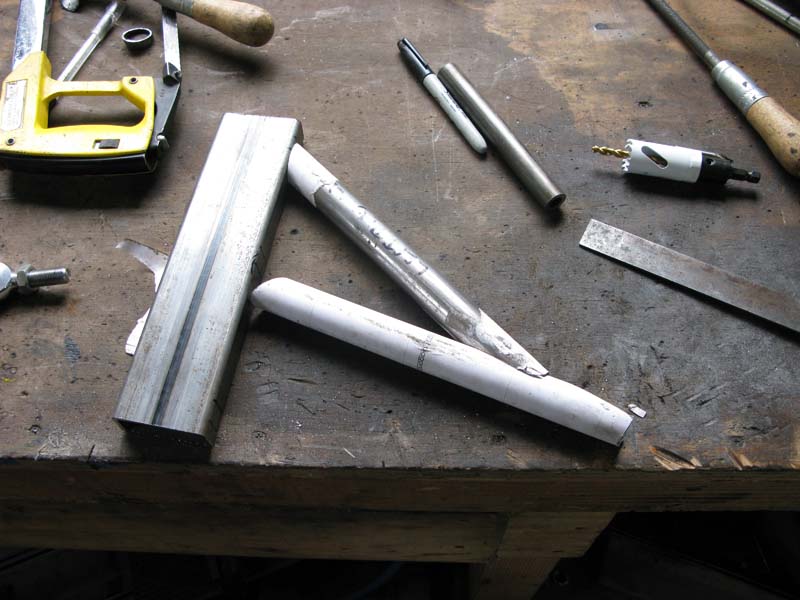
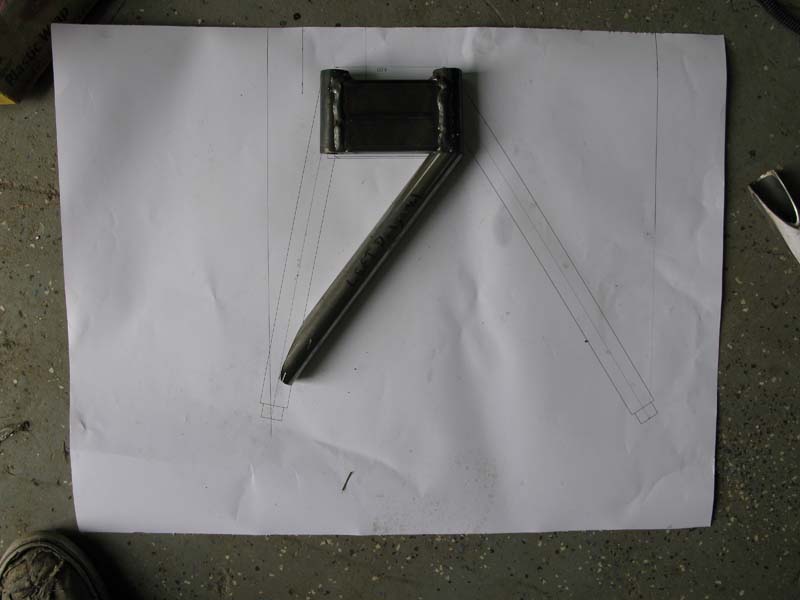
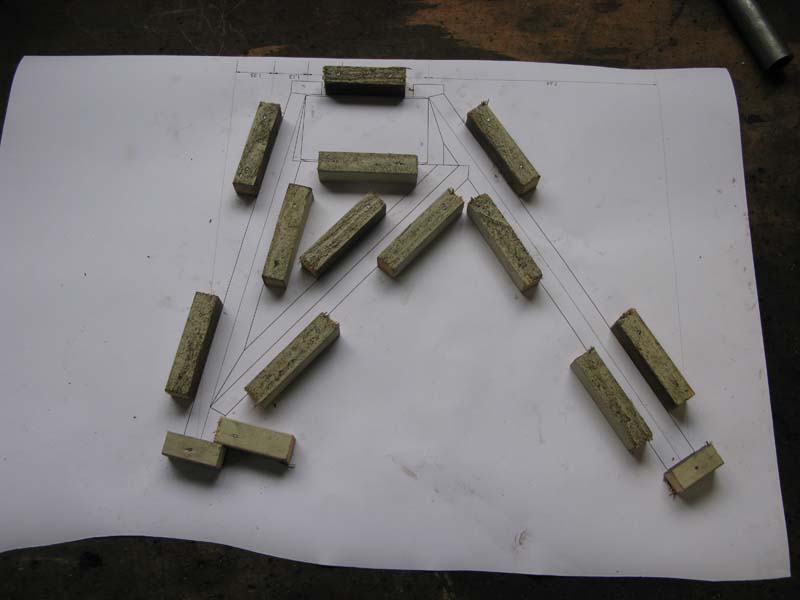
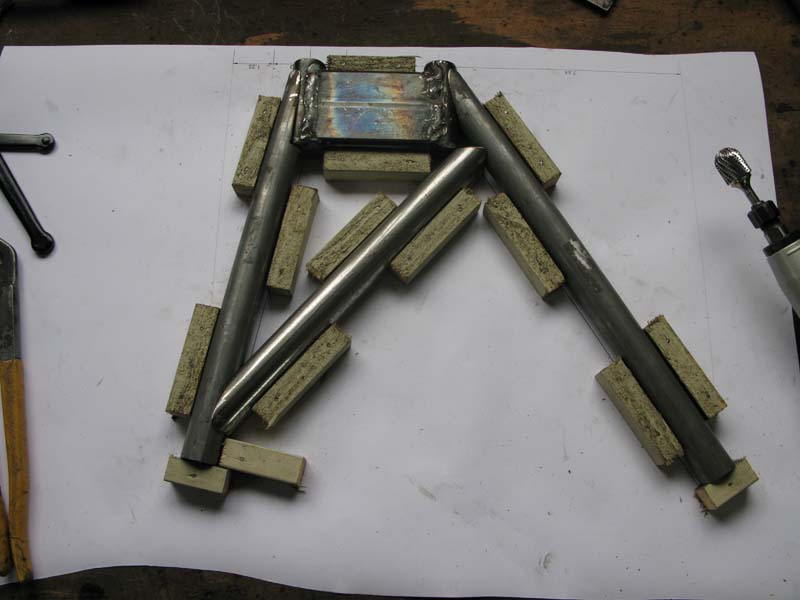
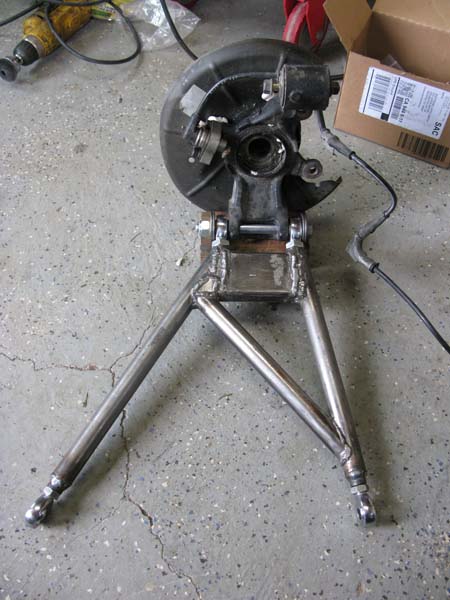
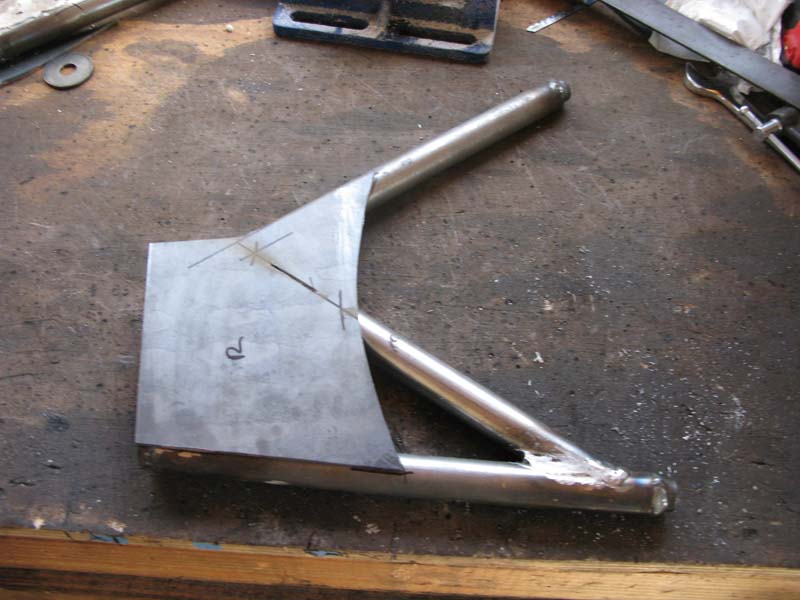
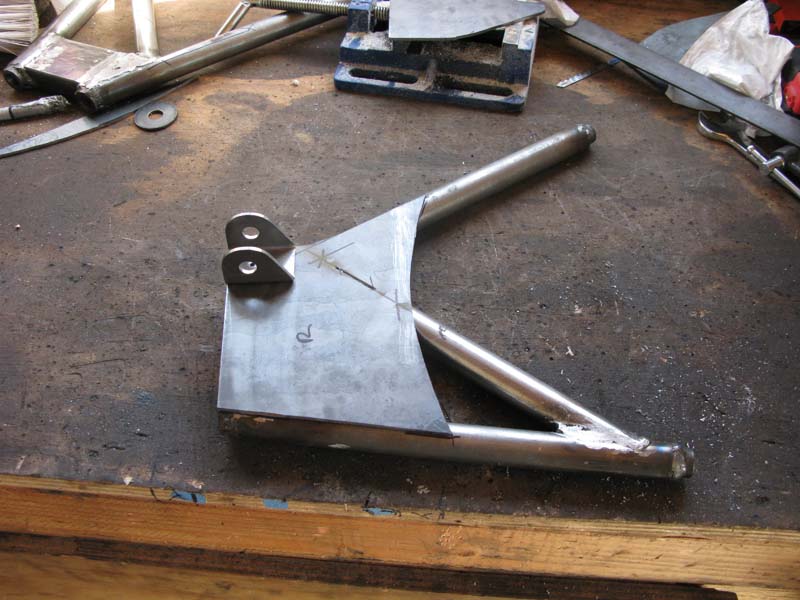
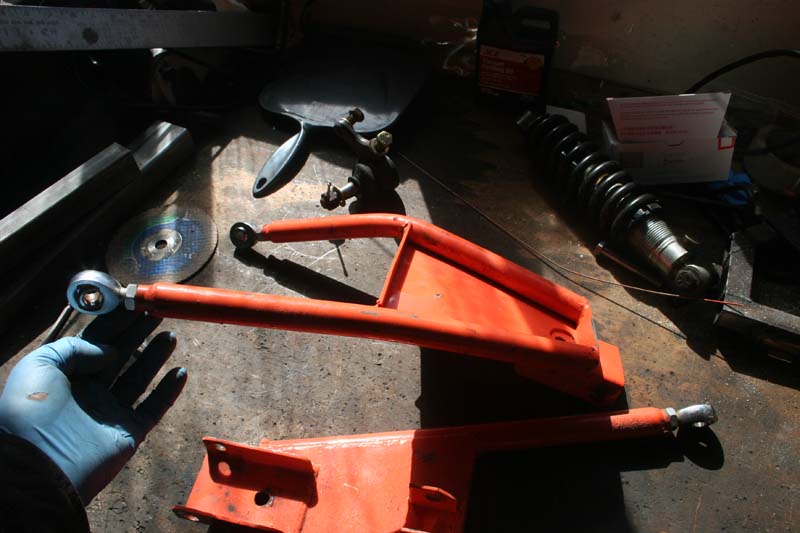
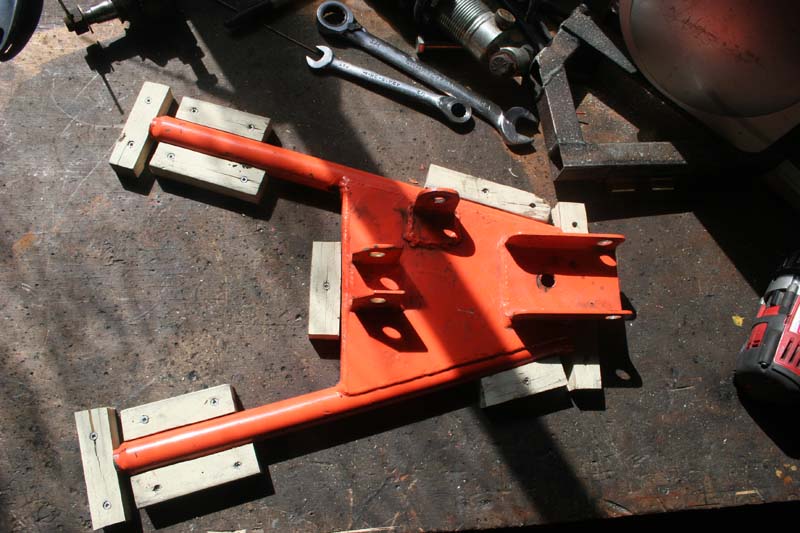
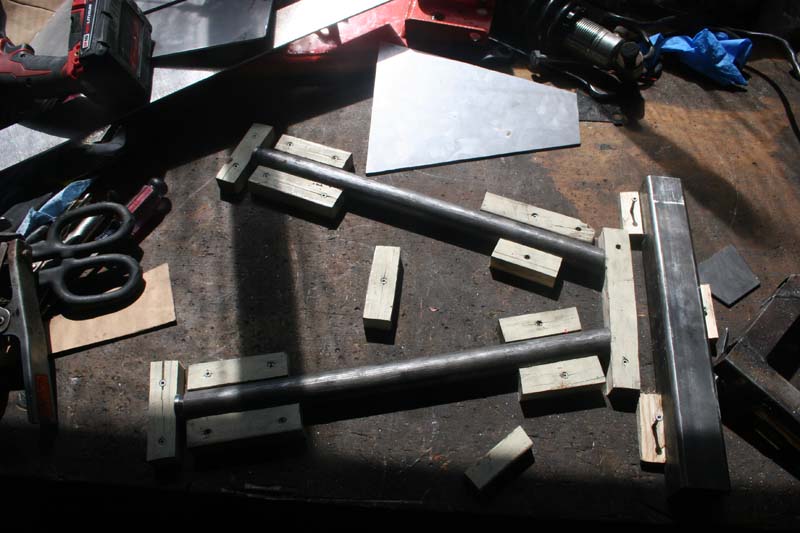
I cut and rewelded the arms so they were symetrical and thought I was done with it...but 6 years later when I finally got around to doing an alignment and installing the rear fenders it became apparent that the rear control arms were not even close to being the right size. To get the toe correct the arms had to be moved back and forth by adjusting the rod ends in and out. when this was all done I installed the rear fenders and to my suprise when I centered the fenders over the wheels the drivers side fender was almost 2" forward of the passenger side. With some more measuring it was confirmed the drivers side rear wheel was indeed 2" forward of the passenger side wheel. Because the original CMC rear control arms had no provision for adjusting the toe and they were just wrong from the begining I decided to scrap them and build my own rear control arms with the ability to adjust the toe angle.


25 Mar 2014
I finally got around to removing the Miata battery that was leaking acid all over the new aluminum sheet metal in the engine compartment and replaced it with an Odyssey PC680 dry cell battery that won't leak and is quite a bit lighter. I fabbed up an aluminum bracket to hold the battery down out of some aluminum left over from body panels.
14 April 2014
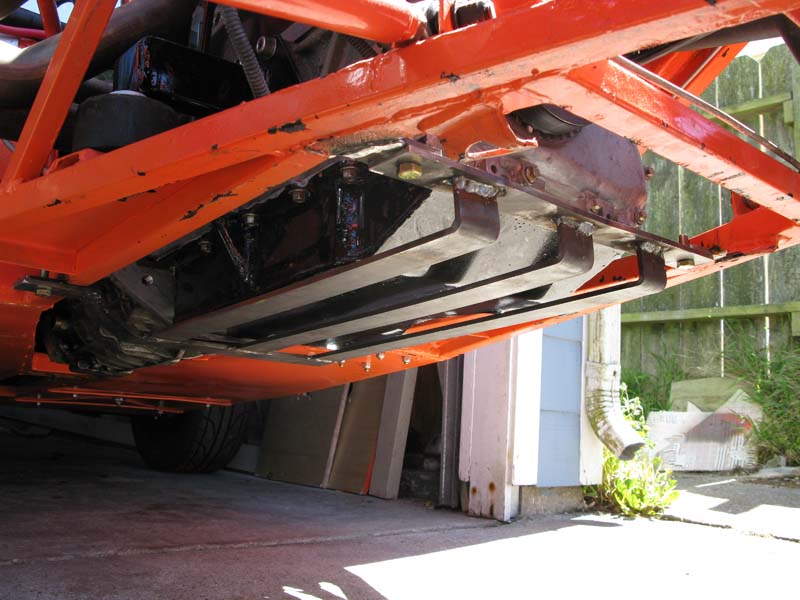
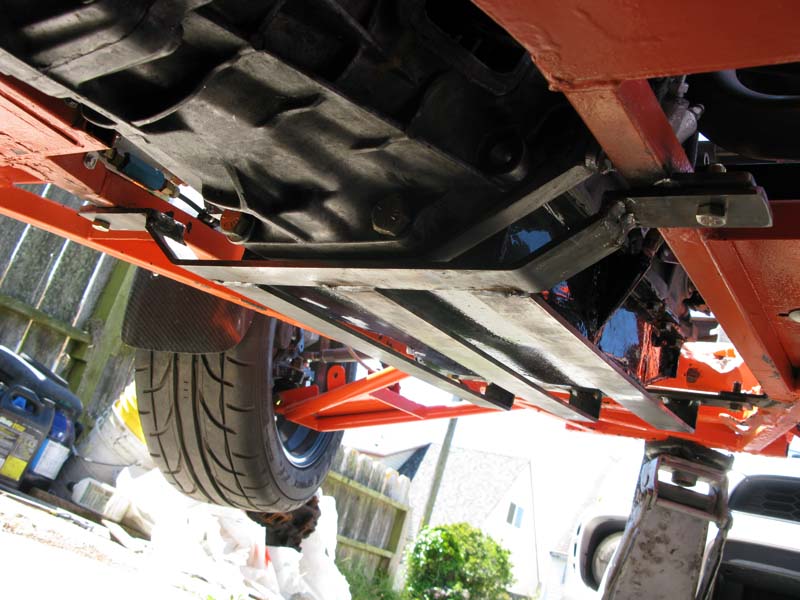
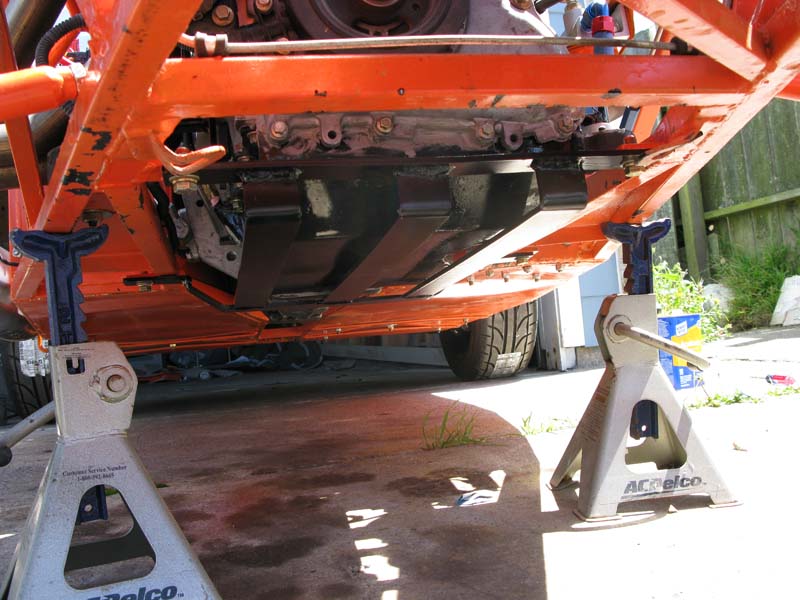
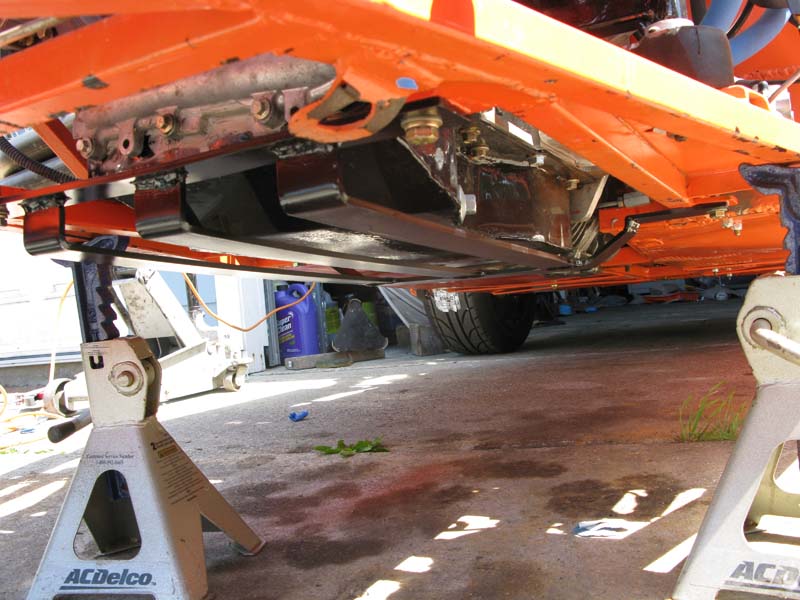
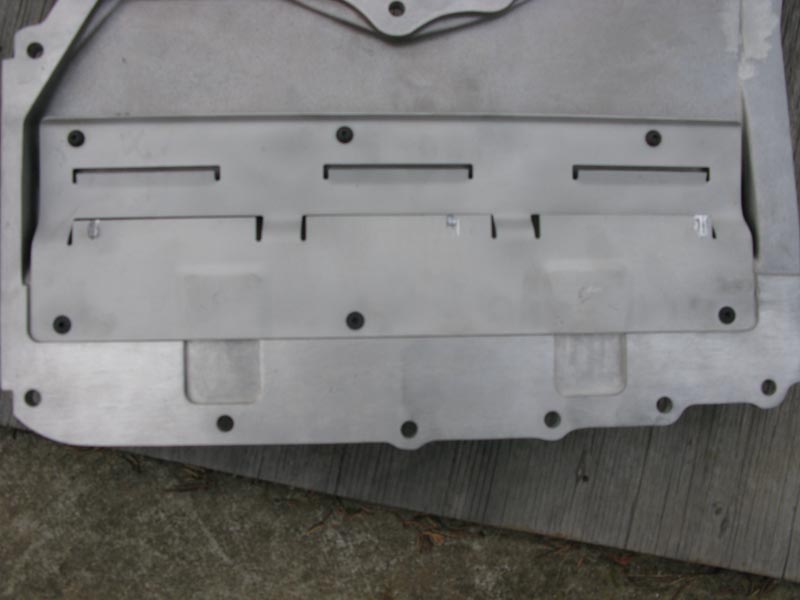
welded up a sump guard
05 May 2014
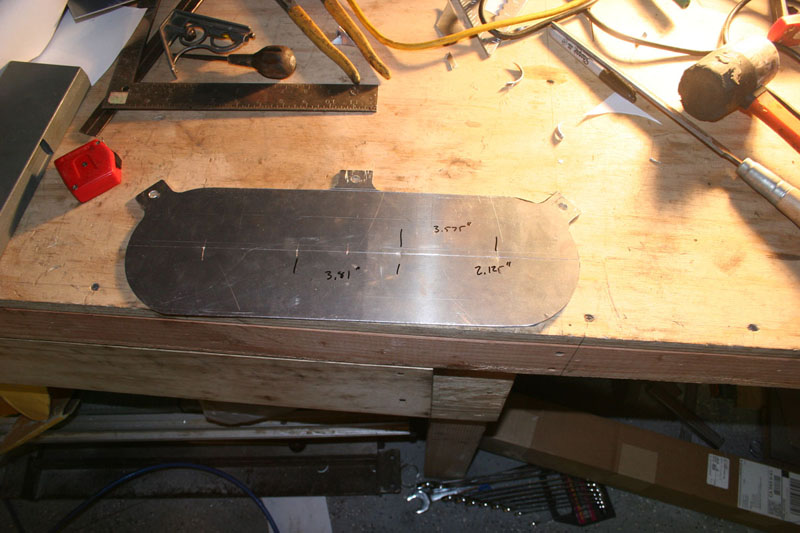
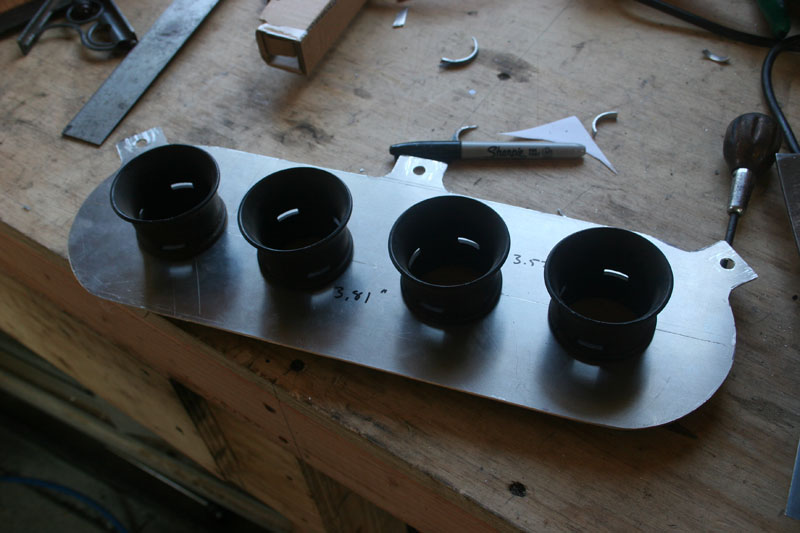
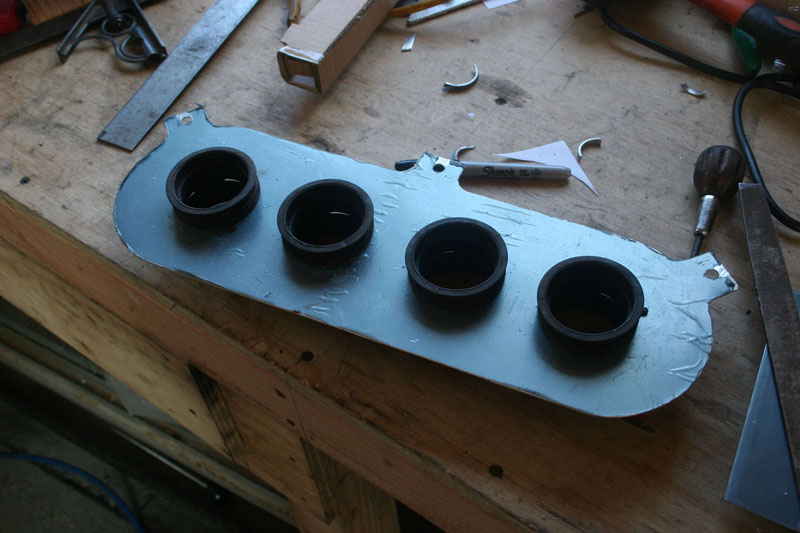
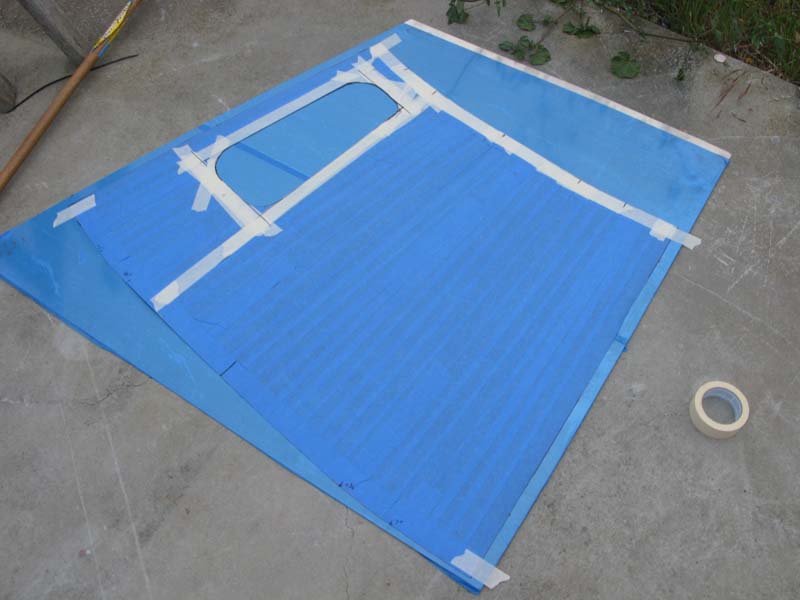
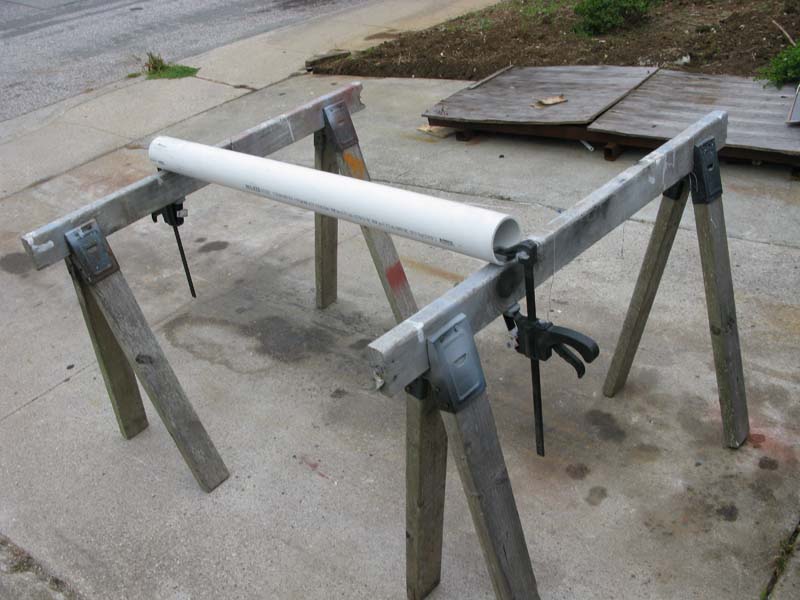
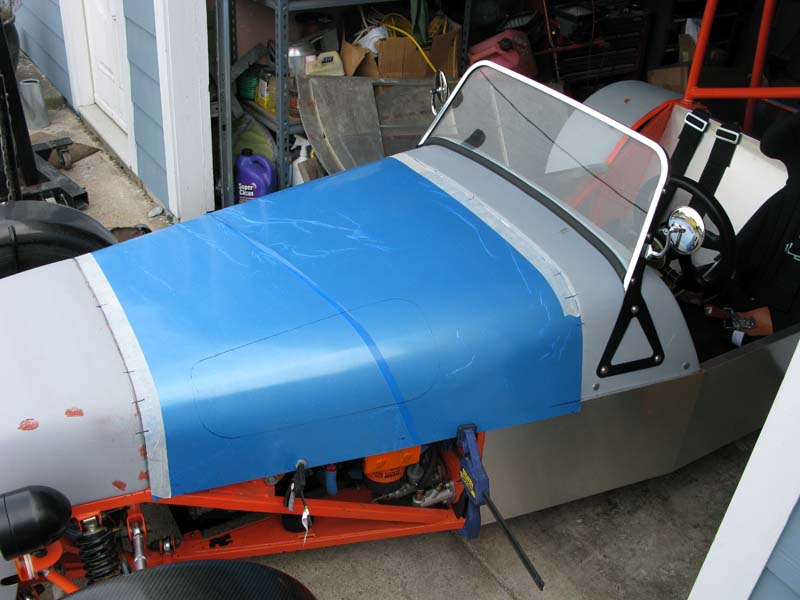
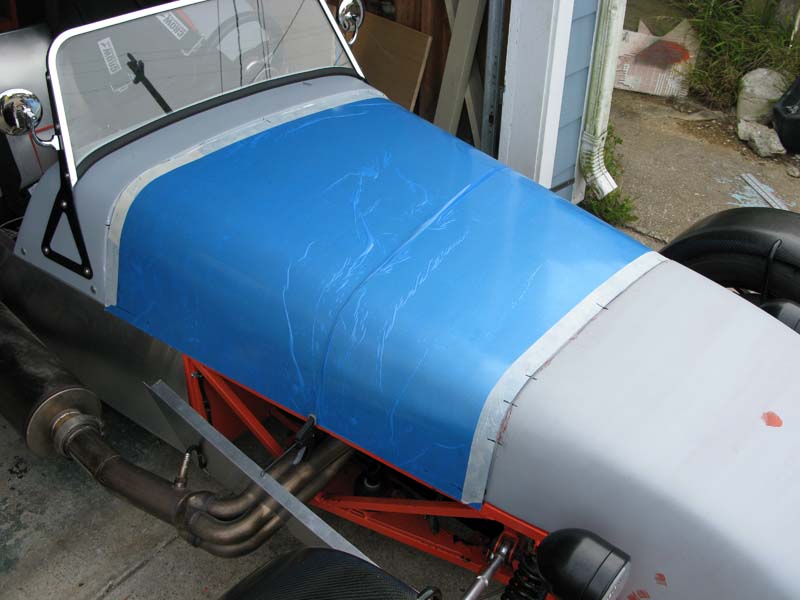
I made a hood or "bonnet" for the Locost over a couple of days. First I made a pattern from paper and masking tape
Then I got a sheet of .040" aluminum, a 4" pvc pipe, 2 saw horses, and lots of elbow grease and patience...something I'm not long on ;-) I bent the radii of the hood over the pipe trying not to put any kinks in the aluminum. I was mostly successful. I'll probably make another hood with thicker aluminum, .060", because the thinner aluminum stretched quite a bit when cutting the edges and I got some ripples that I couldn't work out.


14 May 2014
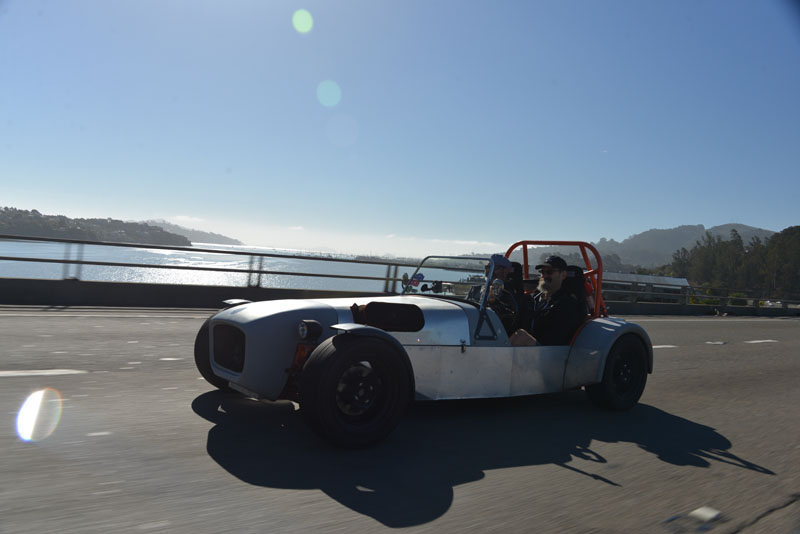
Drove the car for the 1st time today. Fast, scary, and making some unidentified noises that I'll have to track down.
21 May 2014
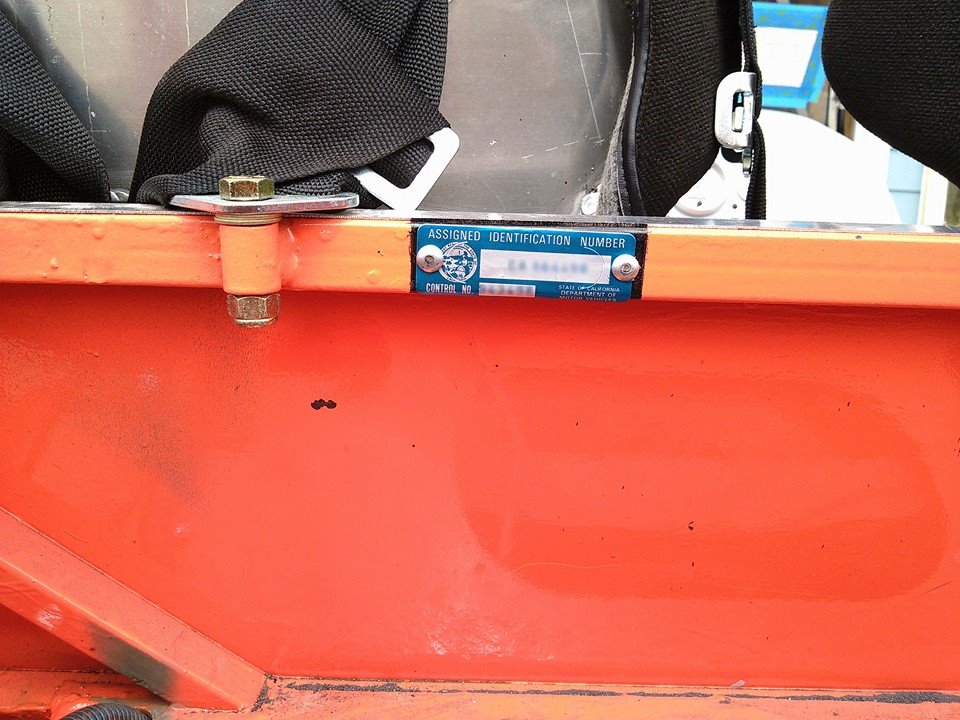
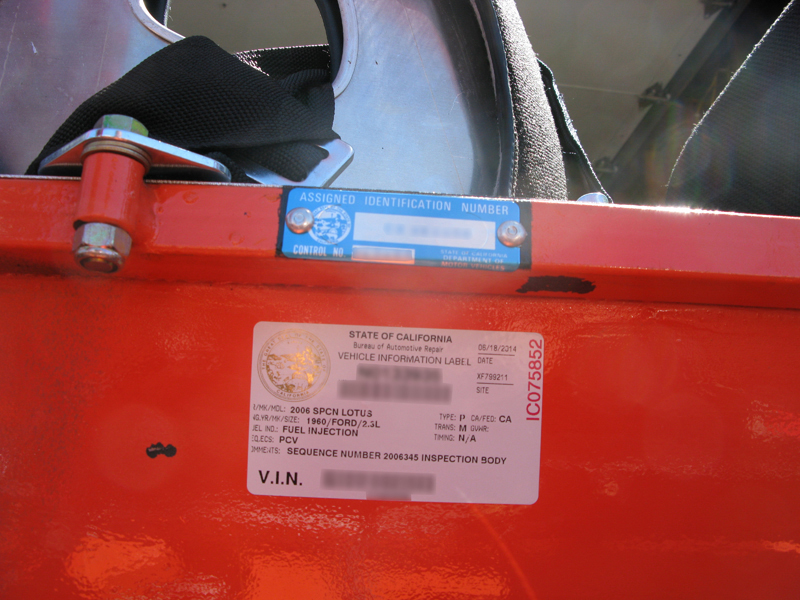
Got the car inspected by the DMV and assinged a vin number...WOOHOO!!
18 June 2014
I got one of the best birthday presents I've gotten in a long time...after 9 years the Lotus/Locost is finally registered. Passed the BAR inspection this morning and got my plates at the DMV an hour later. WOOHOO!!
12 Sept 2014
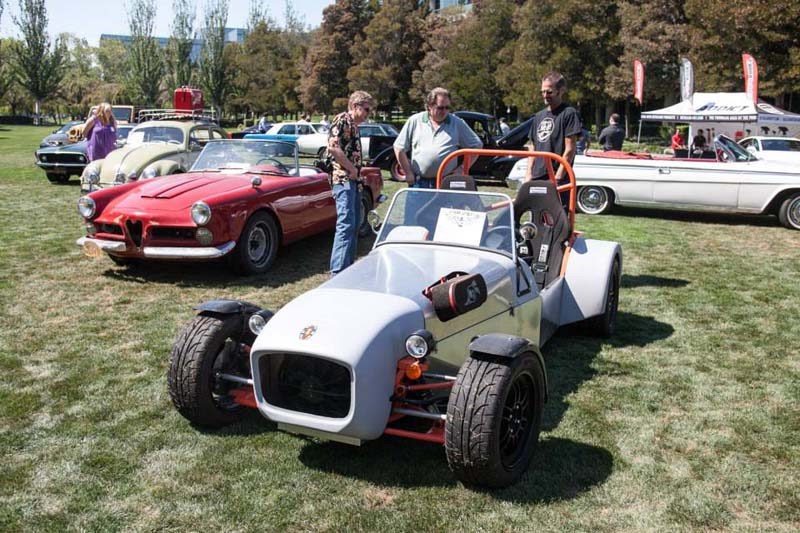
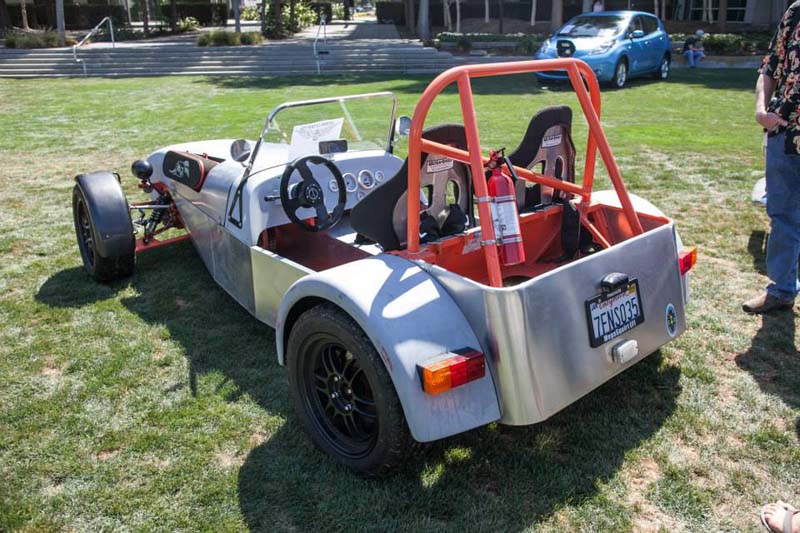
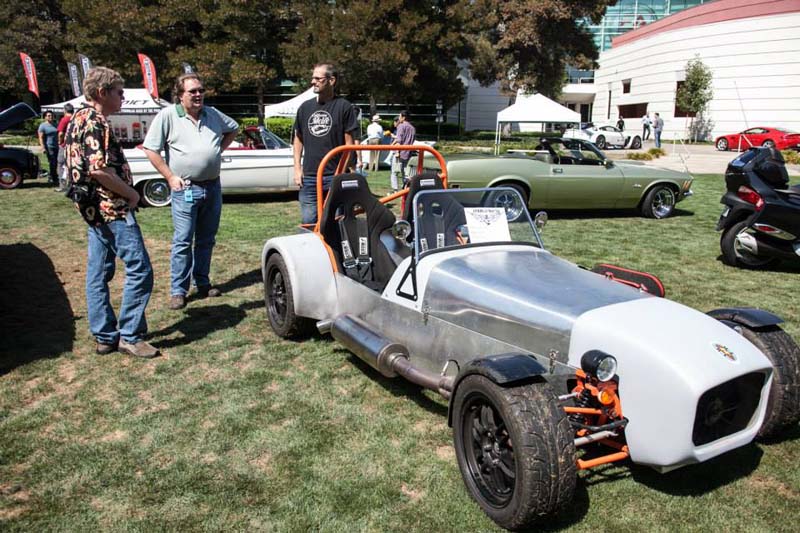
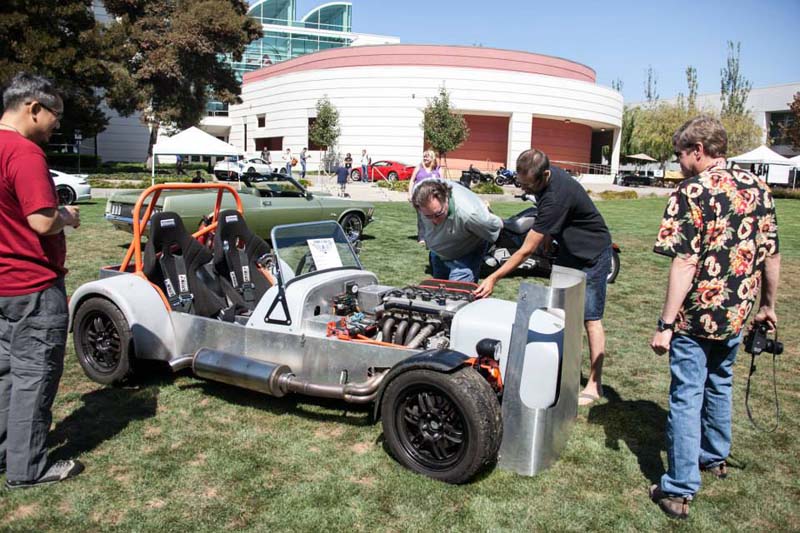
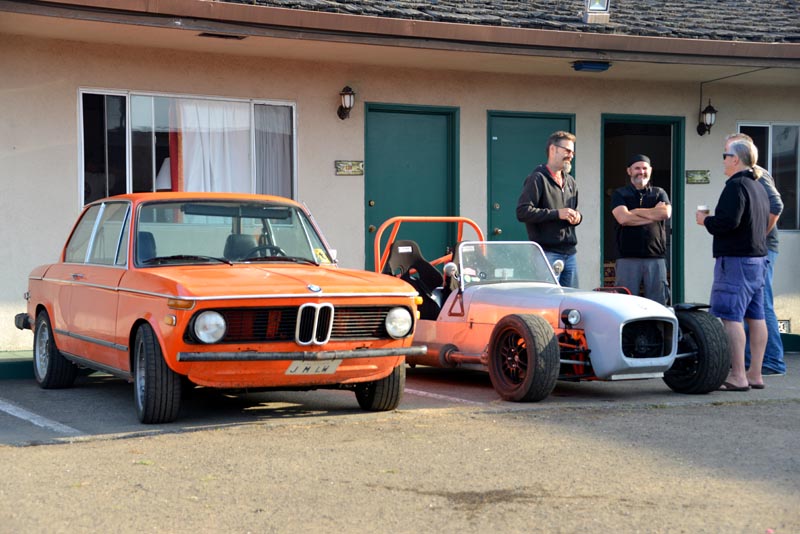
Every year we have a car show where I work with employees cars. I had two of mine in the show.
17 Sept 2014
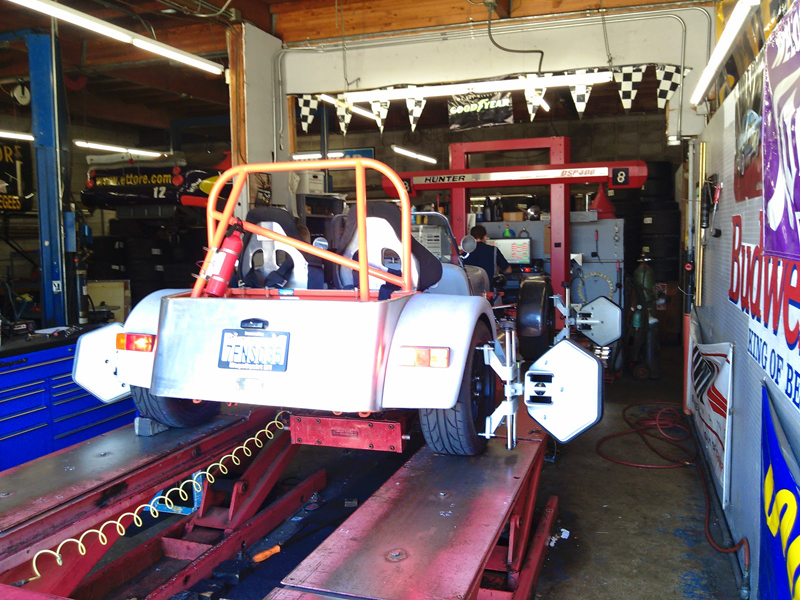
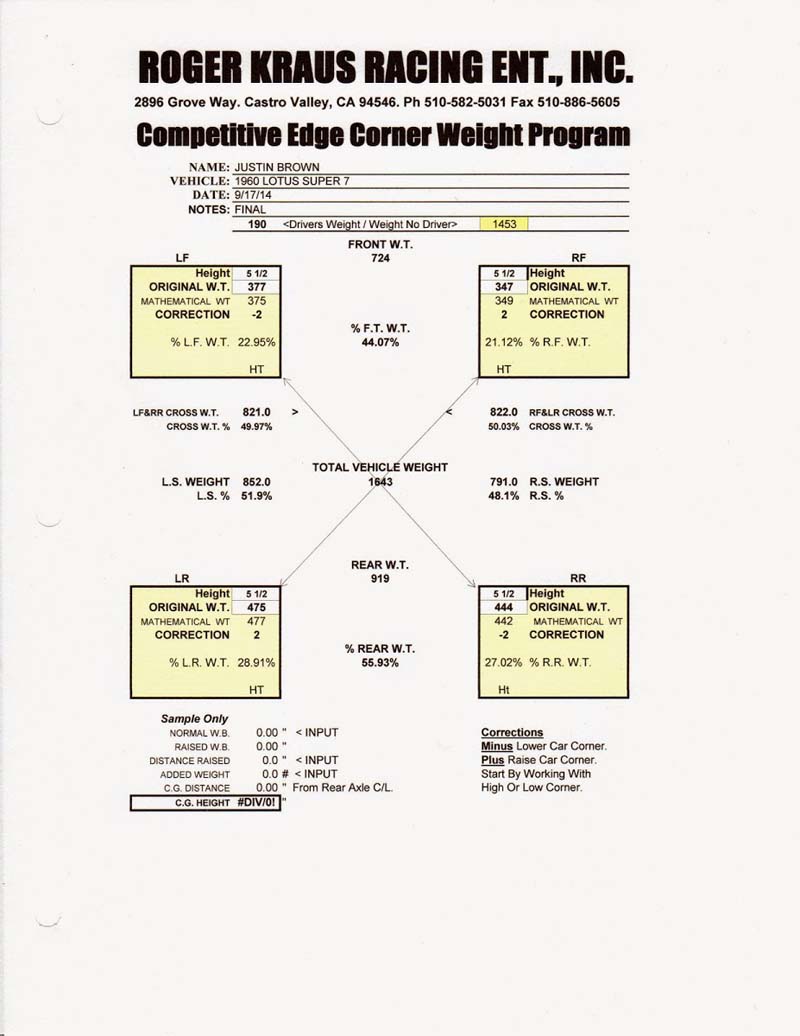
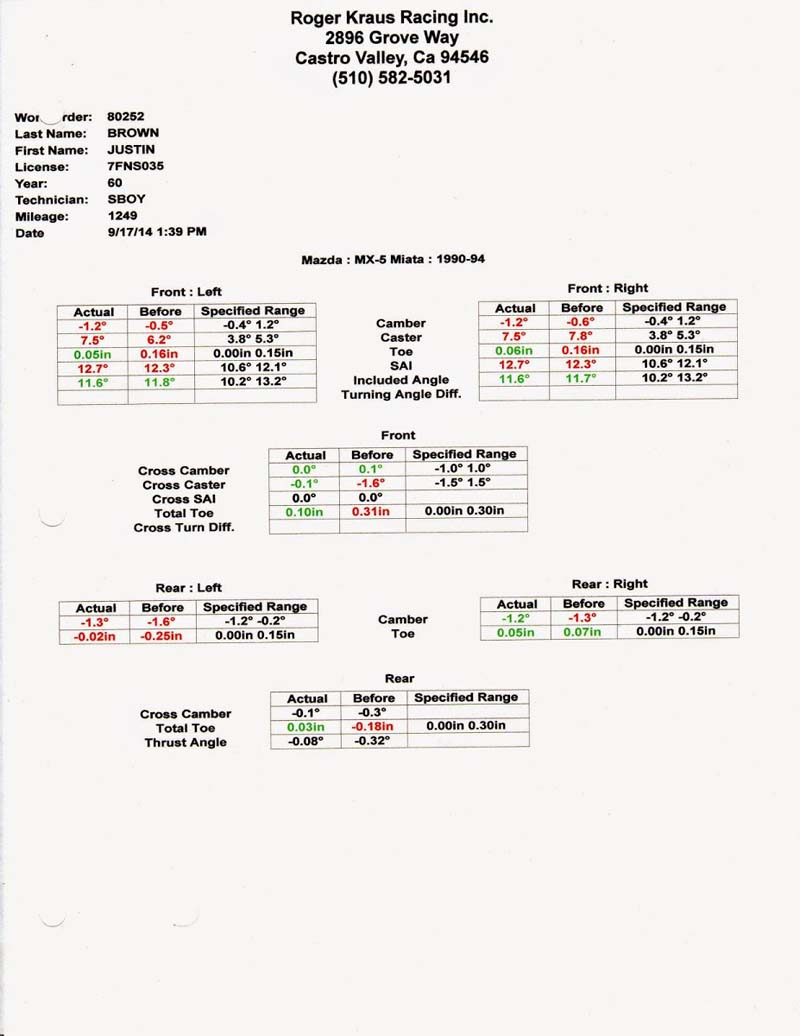
Got the car corner weighted and aligned today.


18 Oct 2014
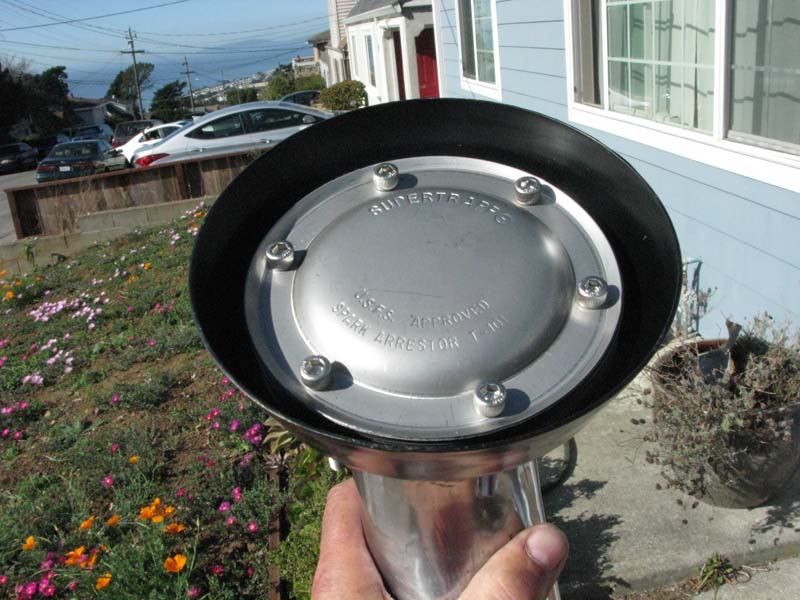
The exhaust on the was far too loud and the first autocross I was planning to attend was at Laguna Seca where there is a 90db sound limit so I had to quiet the exhaust down a bit.
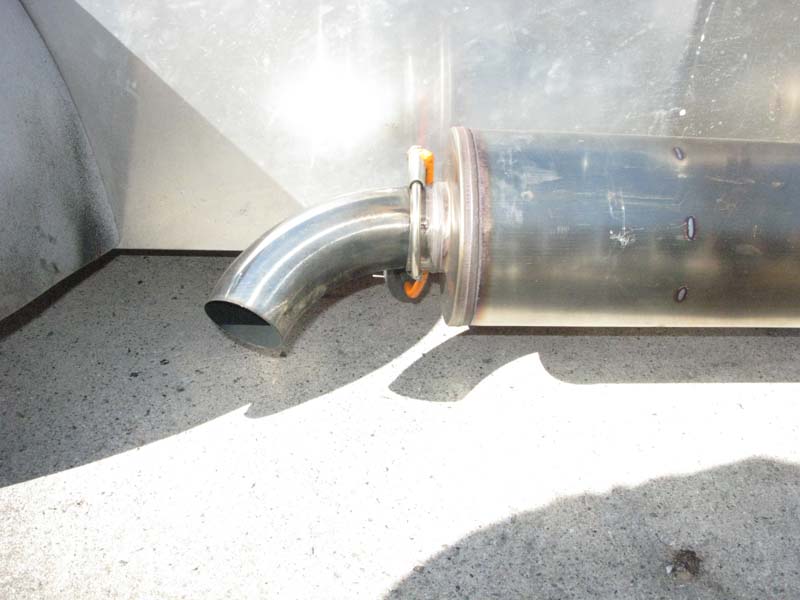
After a lot of research it was hard to get a objective idea of how loud different mufflers were so I went with the simplest solution for me...I added a SuperTrapp exhaust tip to the muffler I had. It's quite a bit quieter now.

01 Nov 2014
Packing up at 5:30 am for the 2 hour drive to Monterey for my first ever autocross!
Unfortunately it started raining about 10 minutes into the drive and there are no winshield wipers or top on the car...it was a long, wet, cold trip
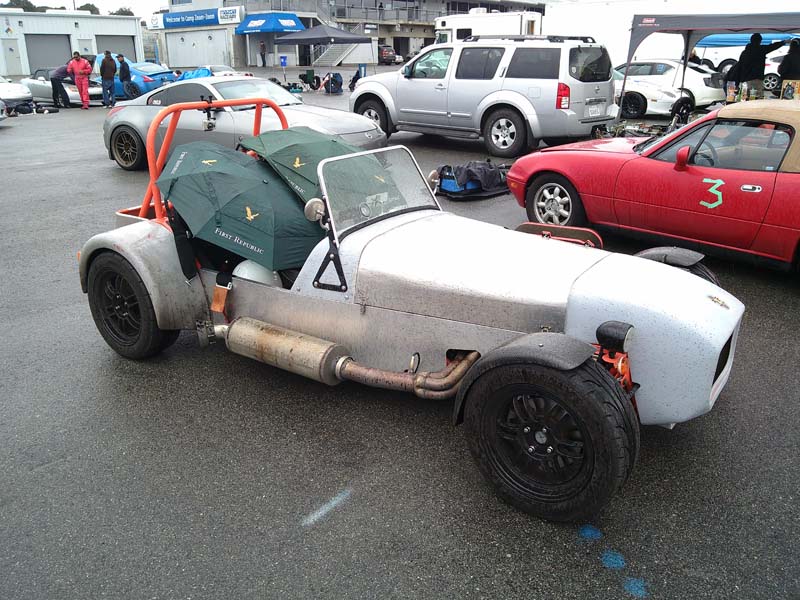
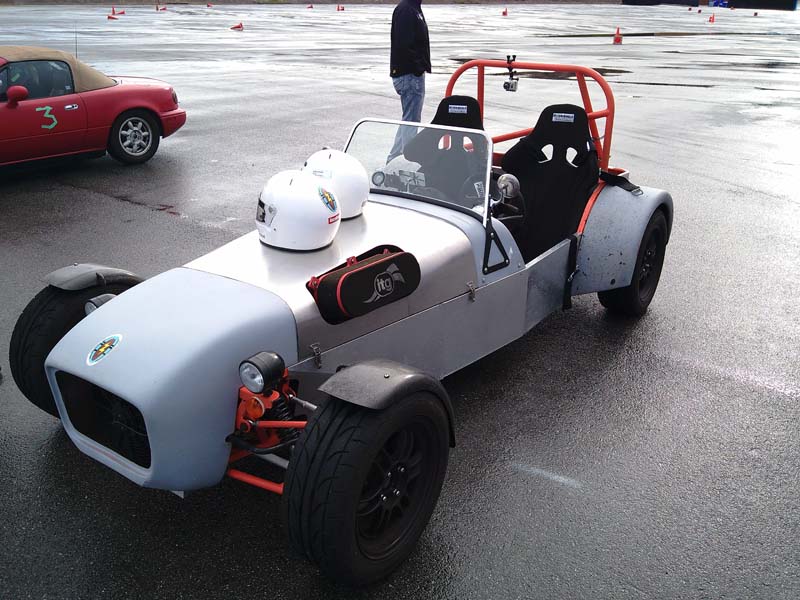
It eventually cleared up for some fun runs but not without a lot of dirt being kicked up onto the car.
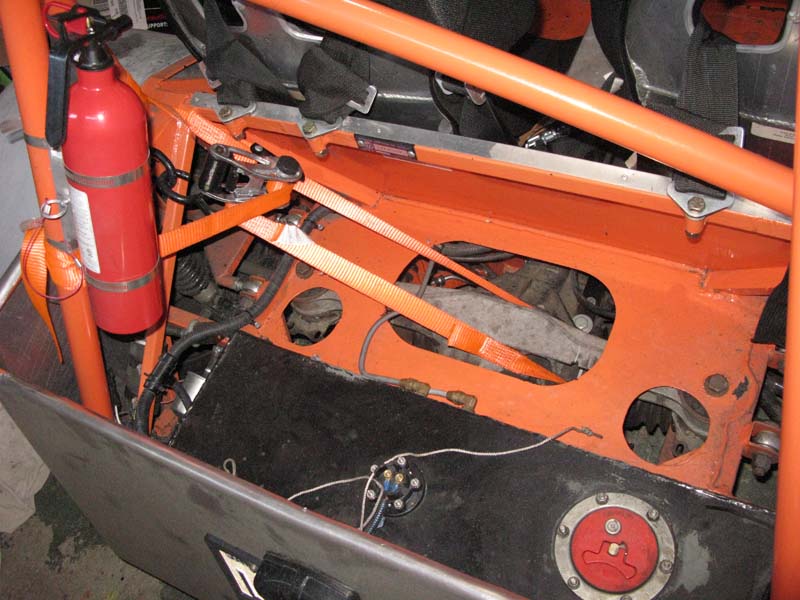
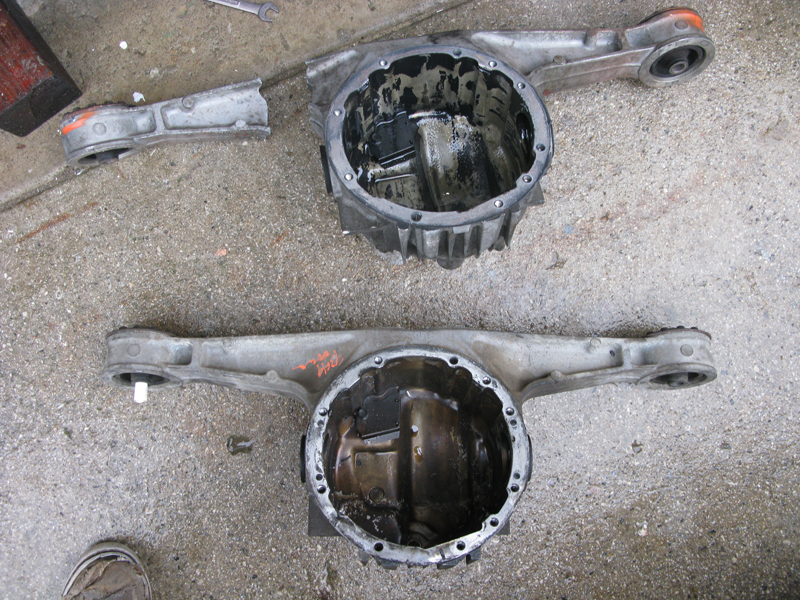
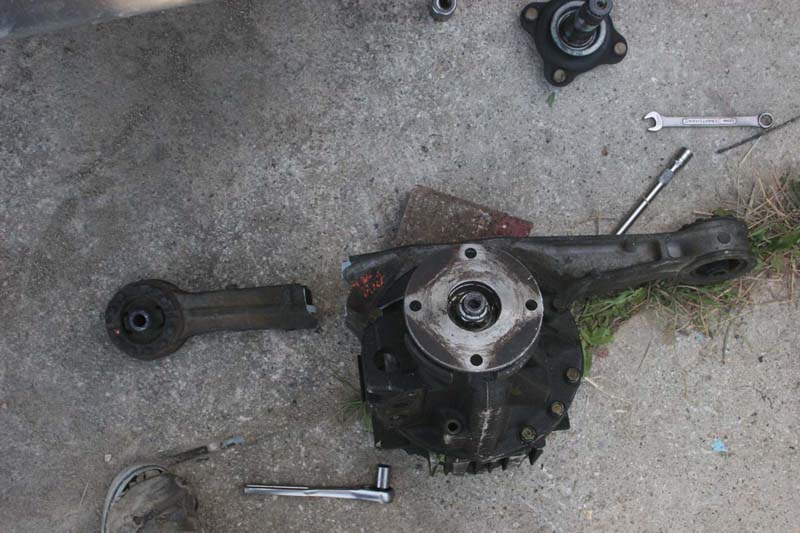
On the last run, for me, I heard a loud knocking coming from the rear end after the launch and I had to pull off the course to investigate...one of the mounting ears on the Miata diff had broken off causing the drive shaft to hit the chassis... :-/
We had a 120 mile drive home with a broken diff. Thanks to some quick thinking and out going personality of my co driver he was able to aquire a ratcheting strap from another generous racer and jerry-rigged up the diff to get us home...and it did!
14 Nov 2014
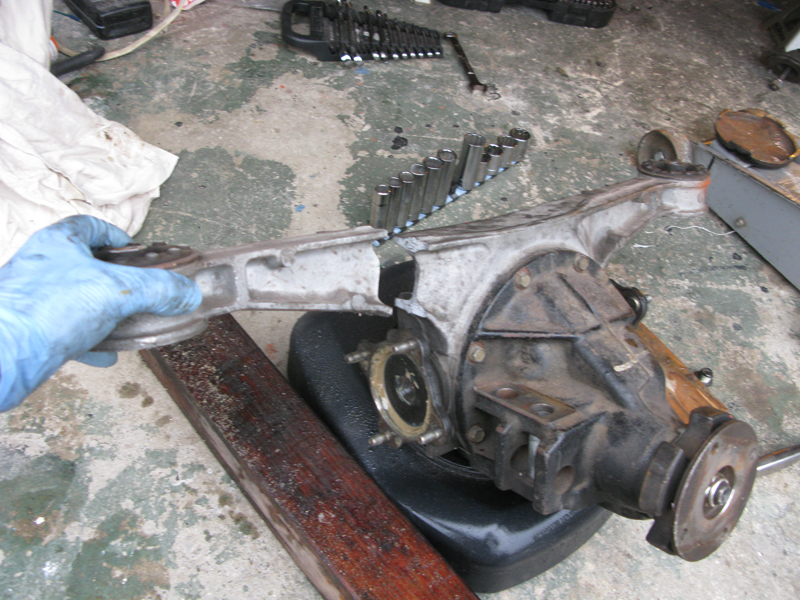
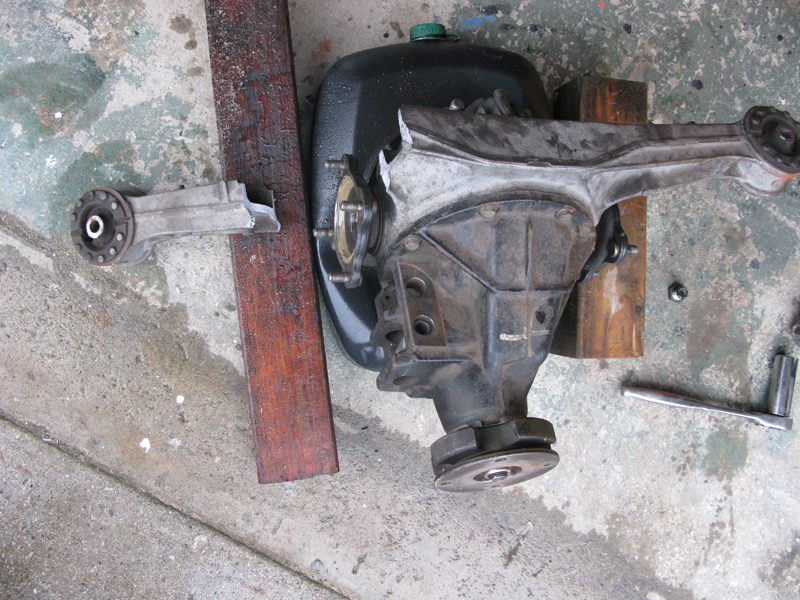
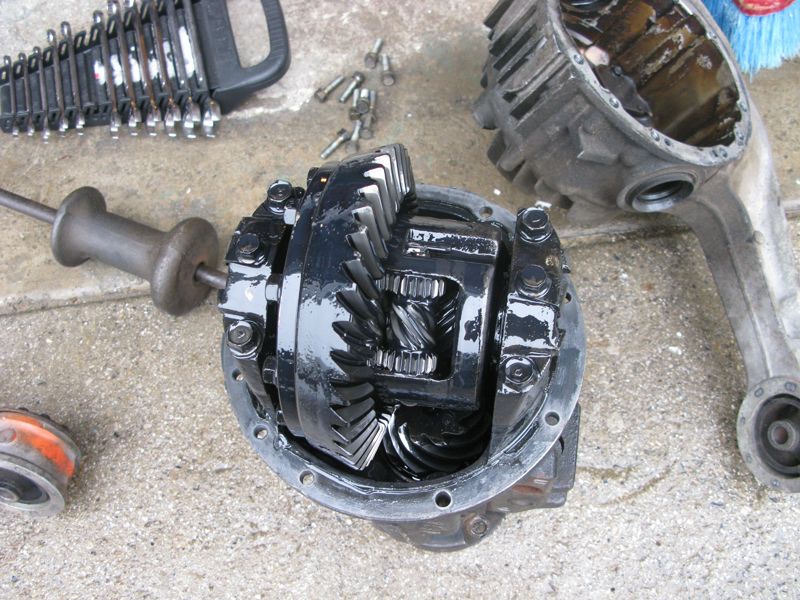
I pulled the broken diff out this morning before work, luckily I happen to have a spare housing to replace the broken one. I'm taking the diff into the shop to have a lower final drive ratio gear set installed while I have it out of the car. I'm going from 4.1:1 to 3.636:1. I always wondered if the diff I bought was a torsen...looks like it is!
14 Mar 2015
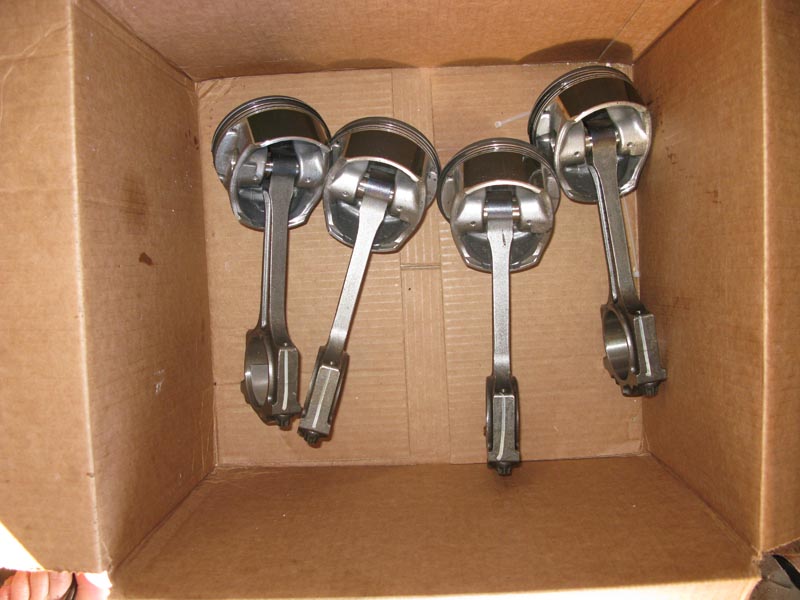
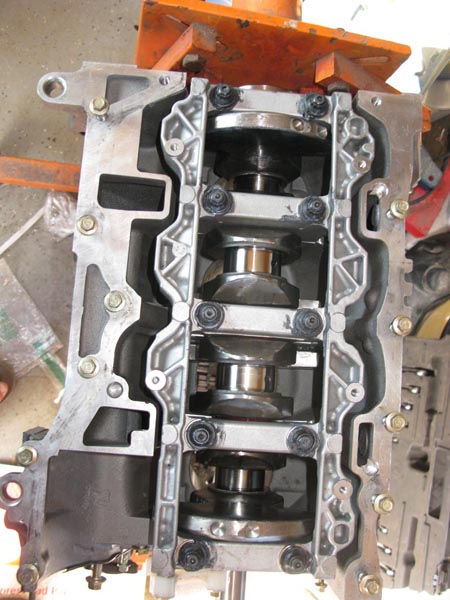
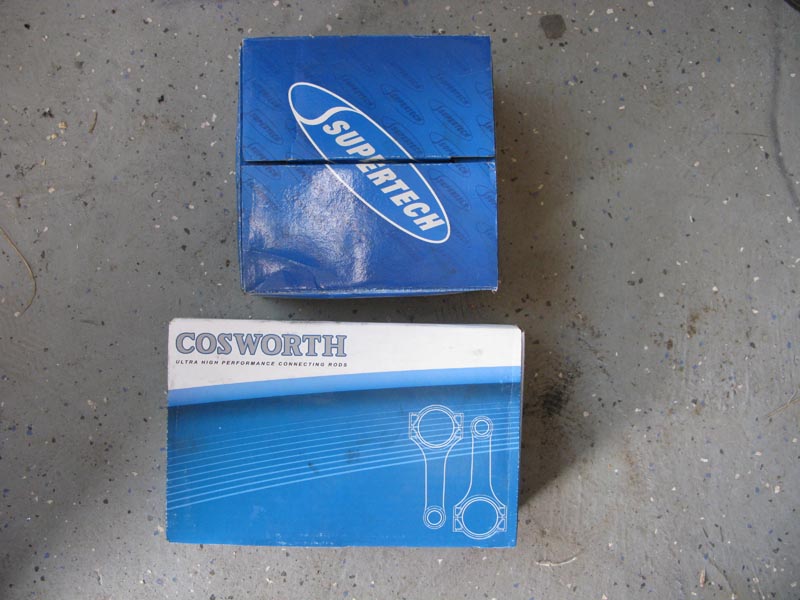
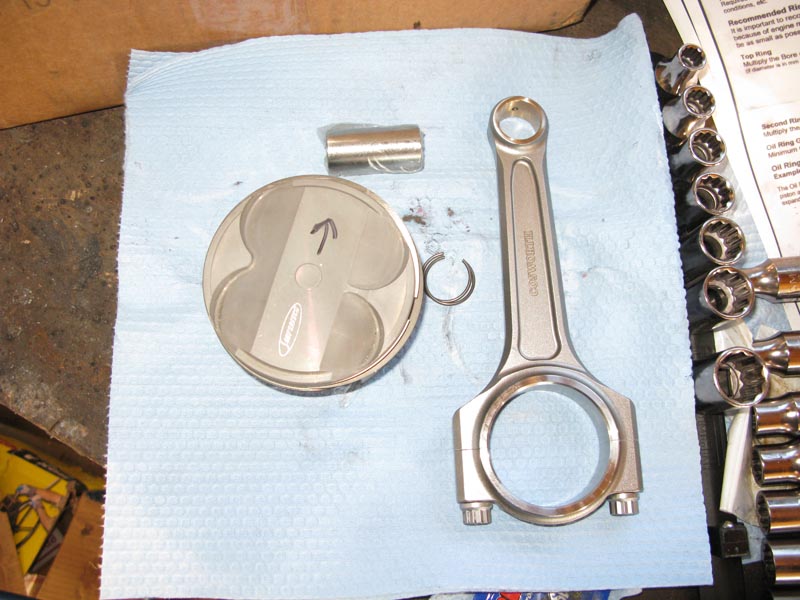
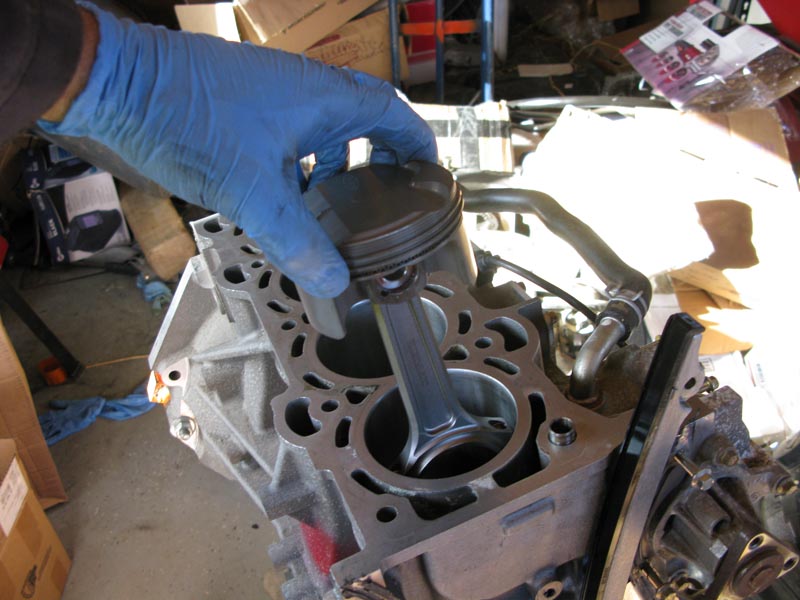
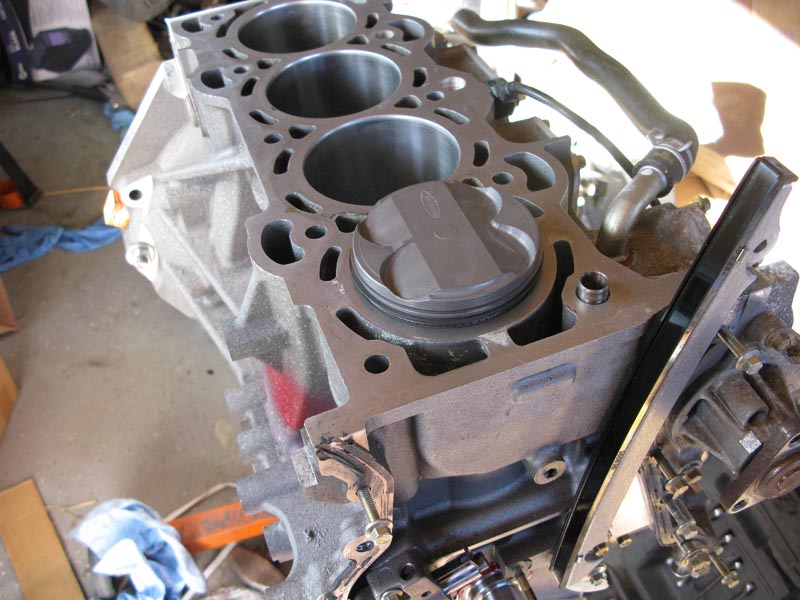
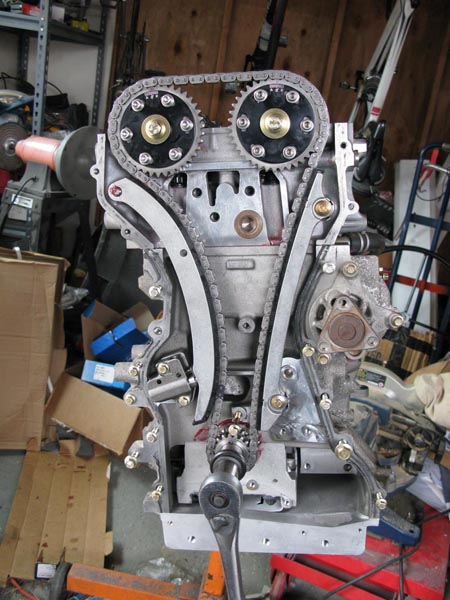
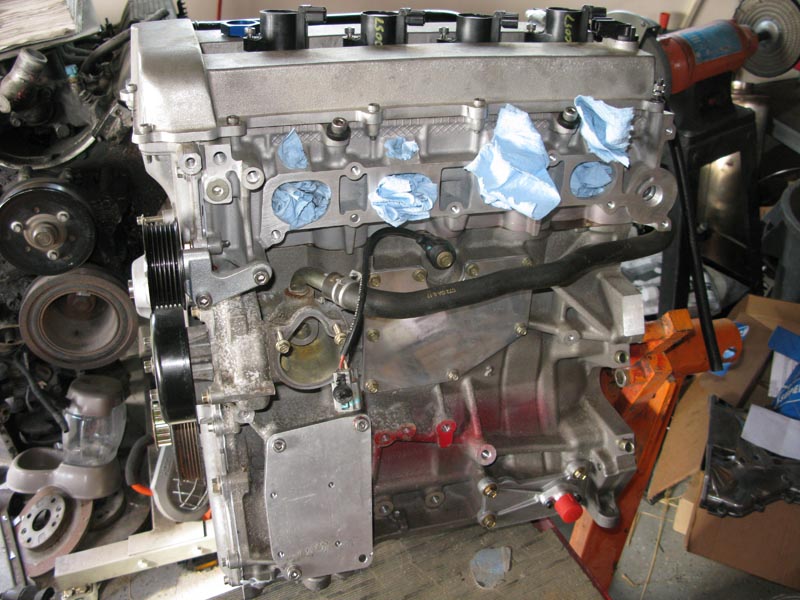
I built a new engine with a cnc ported head, oversized valves, big cams, 12.5:1 pistons, Cosworth lightweight con rods...
Out with the old pistons and rods
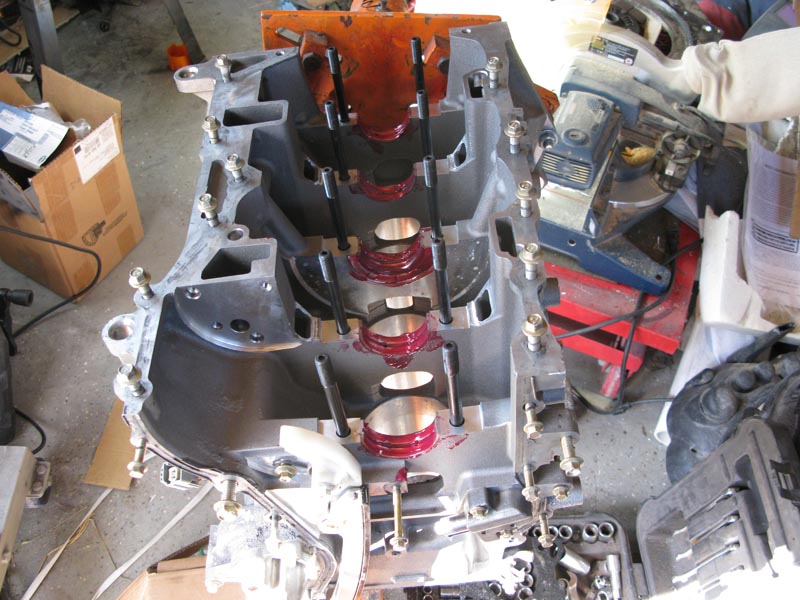
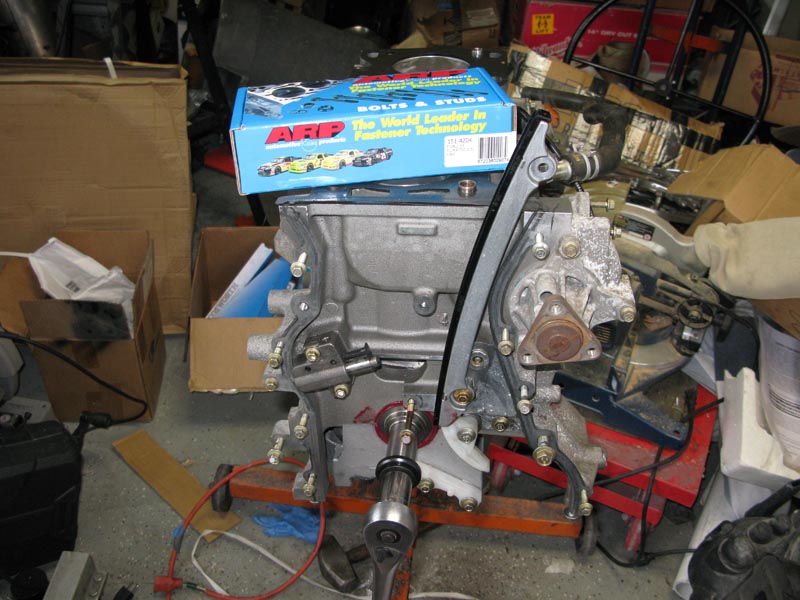
Replacing the stock main studs with ARP main studs
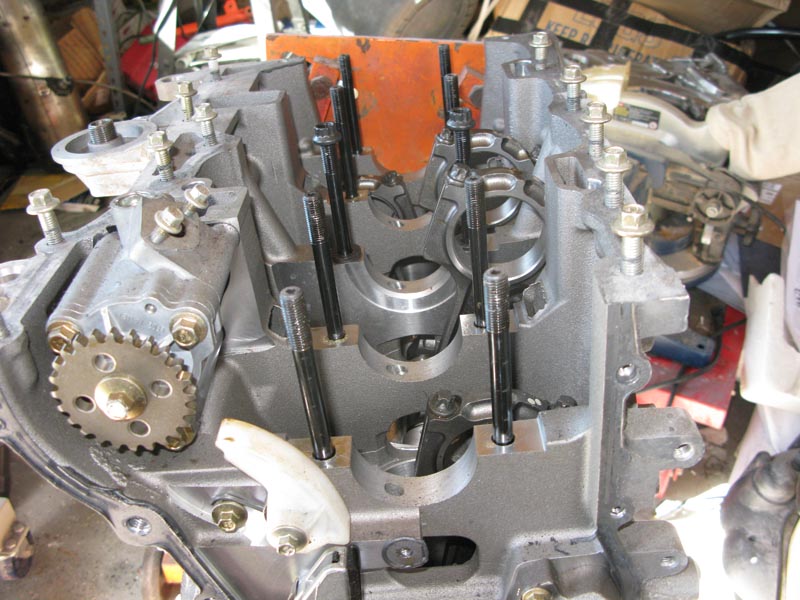
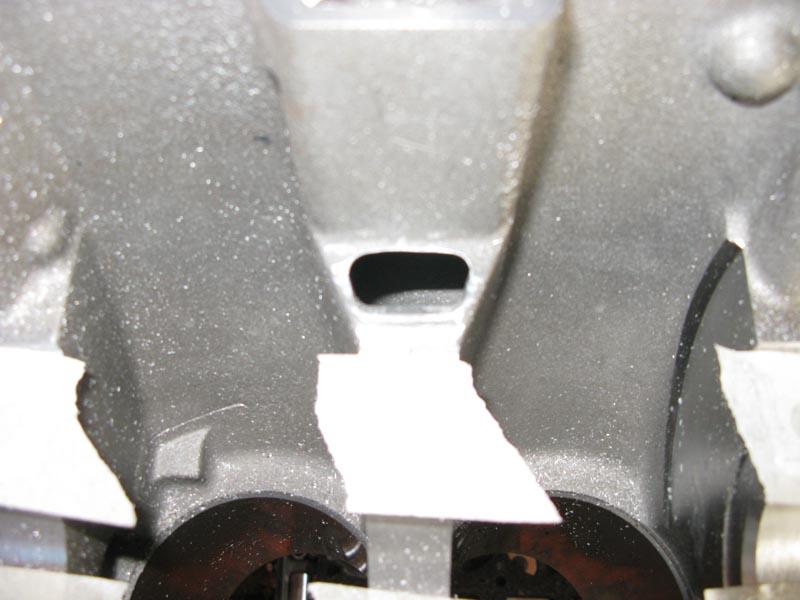
Cleaning up the casting flashing on the inside of the block
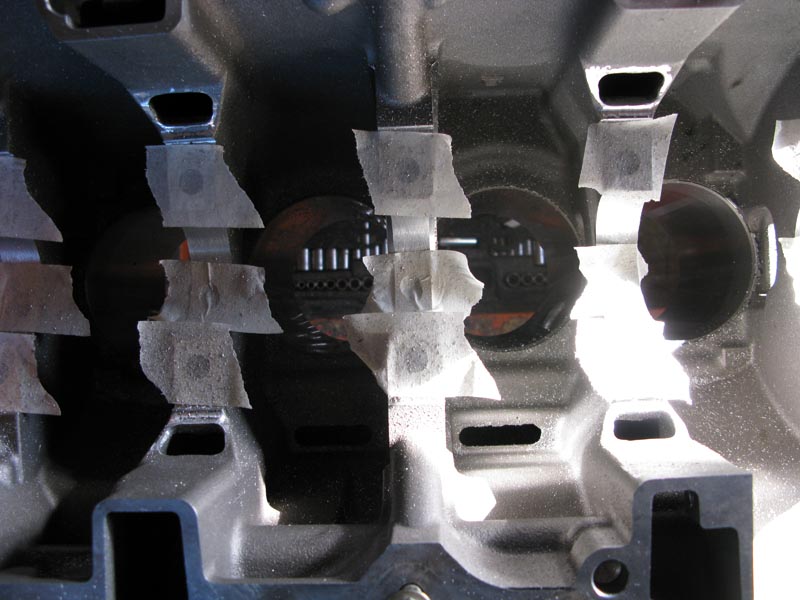
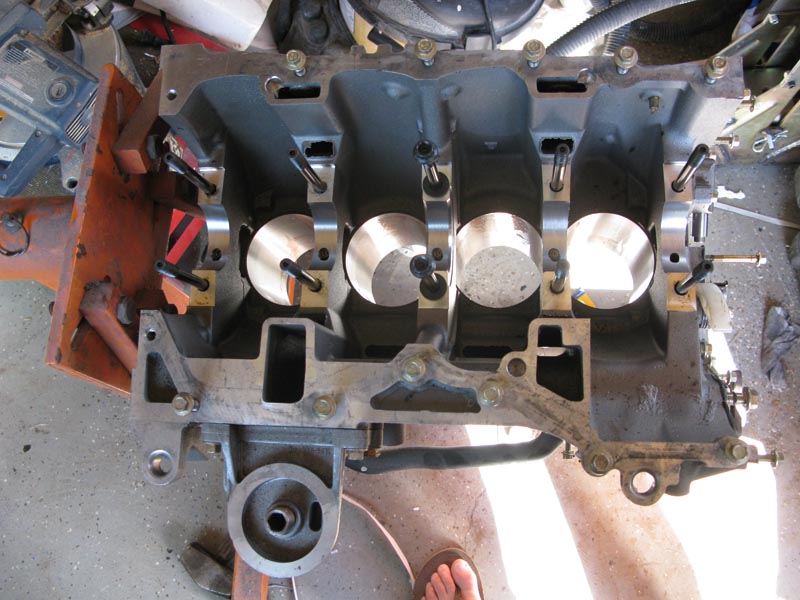
Ready for the crank
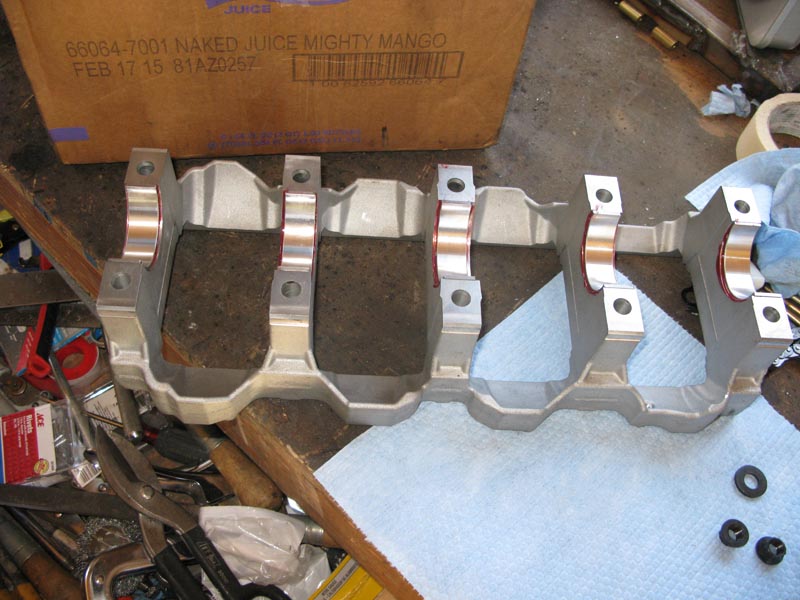
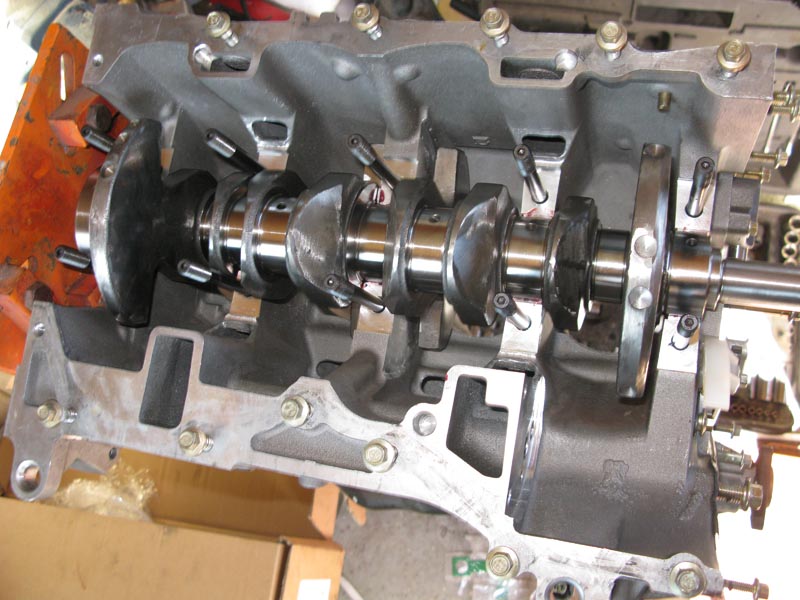
Pistons and rods
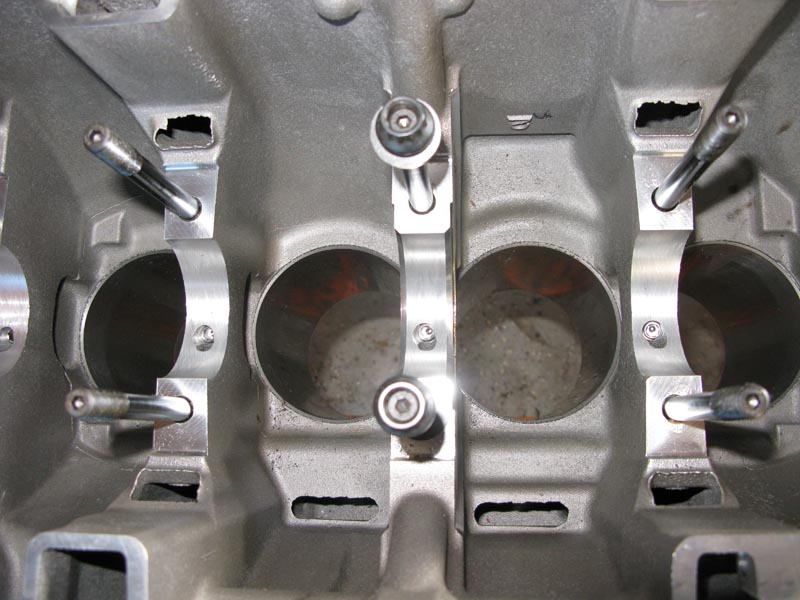
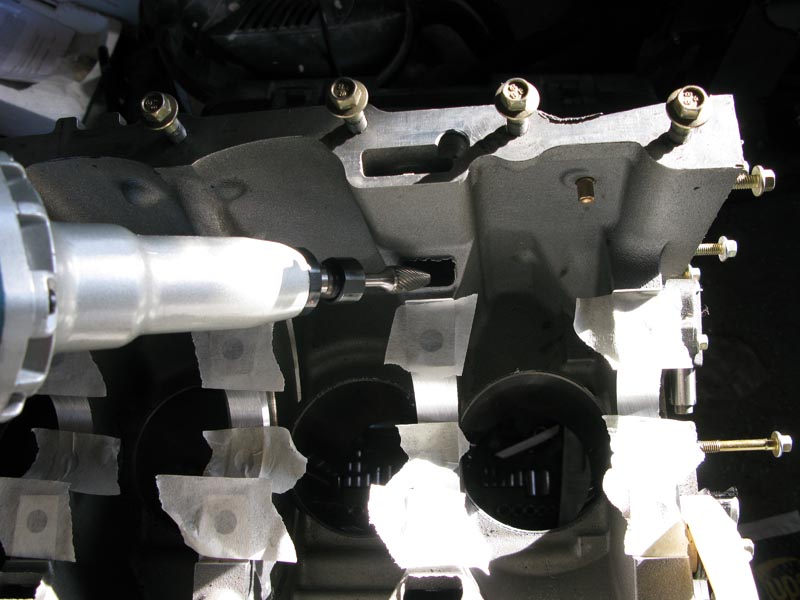
Installing ARP cylinder head bolts, I had to chase some of the threads to get the studs to seat all the way in.
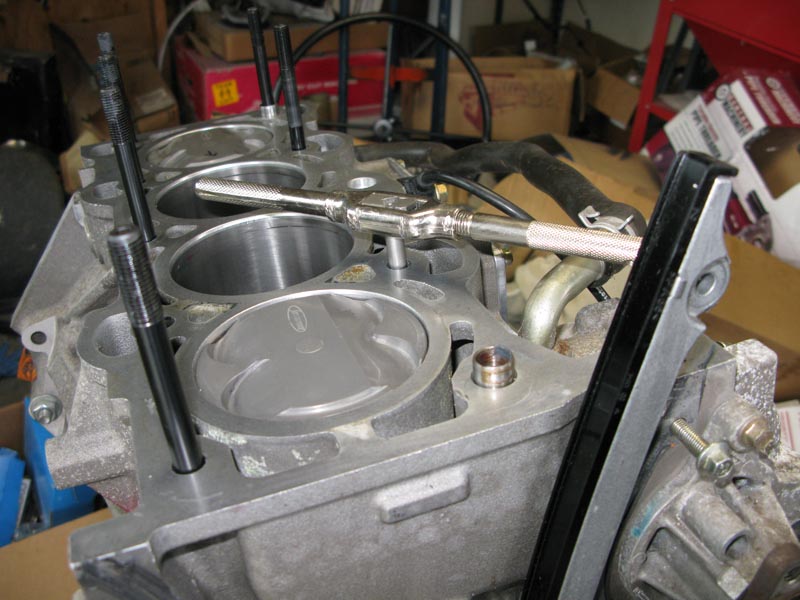
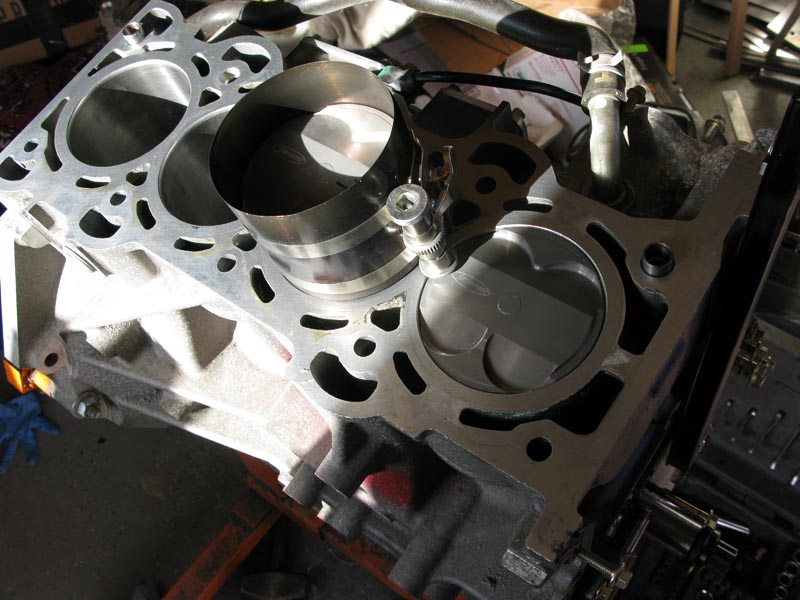
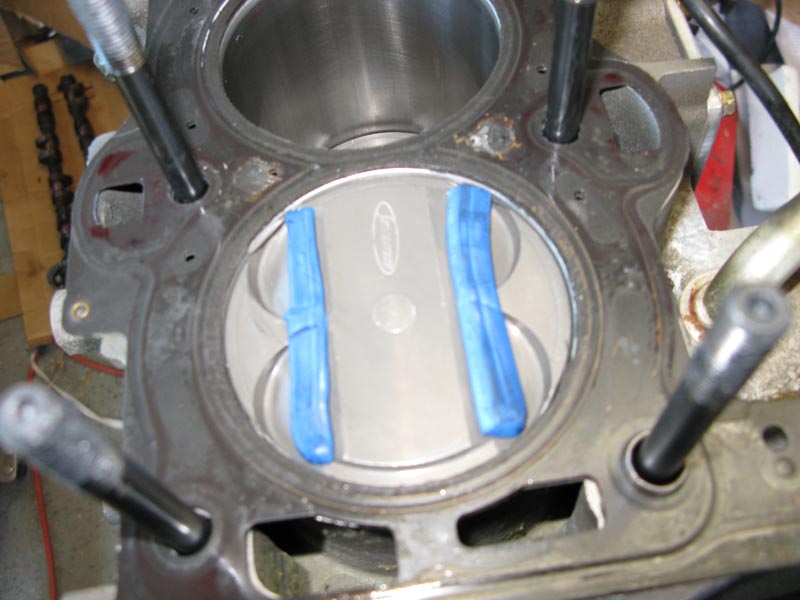
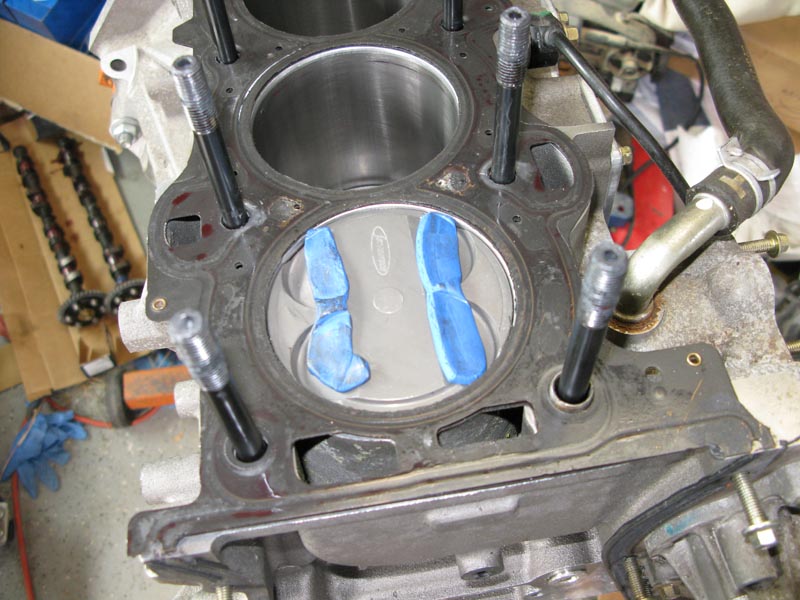
Once the studs were in I tested the valve to piston clearance with three different cam timings 0 degrees
4 degrees advanced intake and 4 degrees retarded exhaust
4 degrees retarded intake 4 degrees advanced exhaust
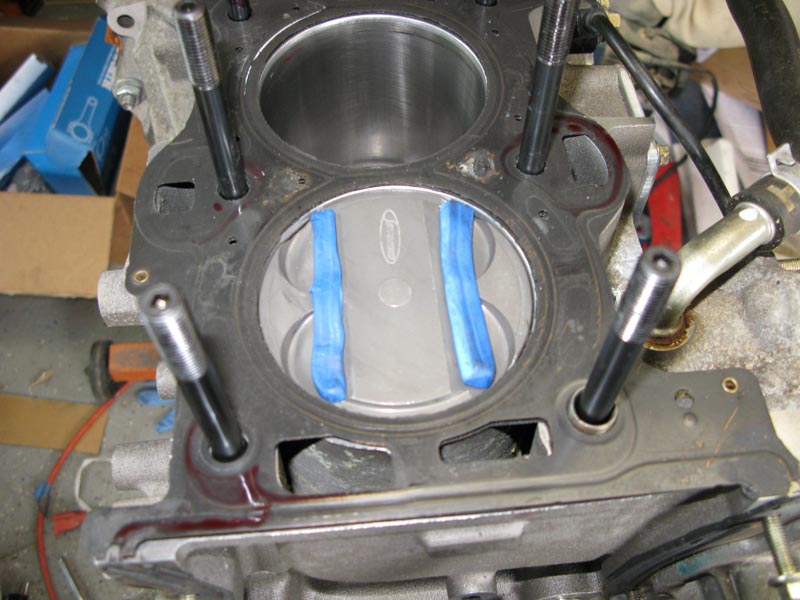
and it looks like I have the clearance on all three timings.
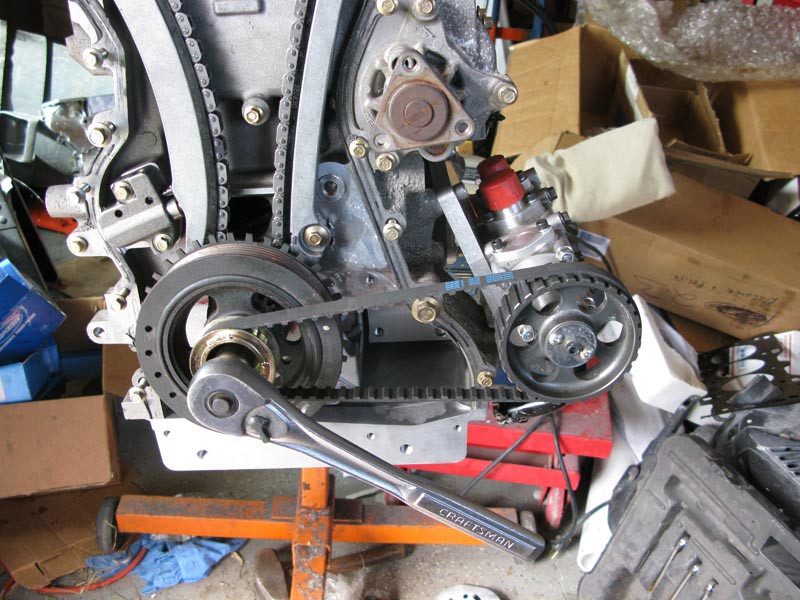
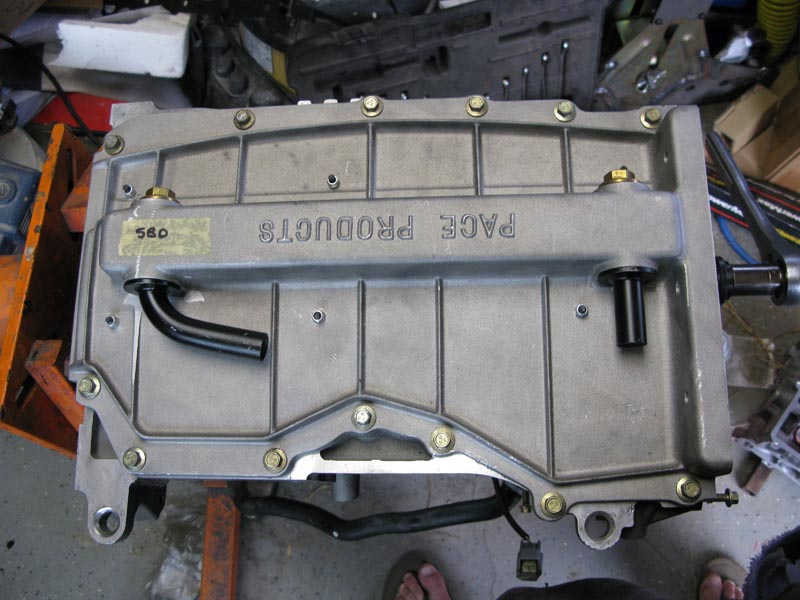
installed the head, cams, timing chain, test fitting the dry sump
The crank was hitting the windage tray of the oil pan, I had to bend the sheet metal down to clear the crank
The engine ready to go into the chassis
21 Mar 2015
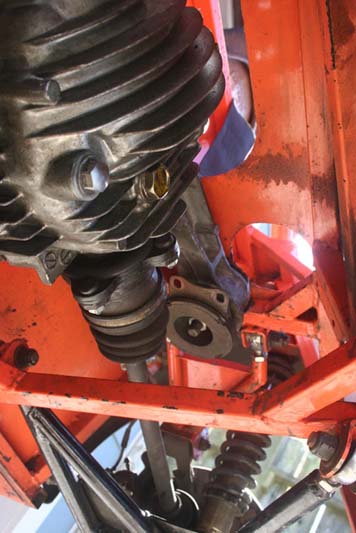
The engine is in the car and now I'm plumbing the dry sump and oil tank


17 June 2015
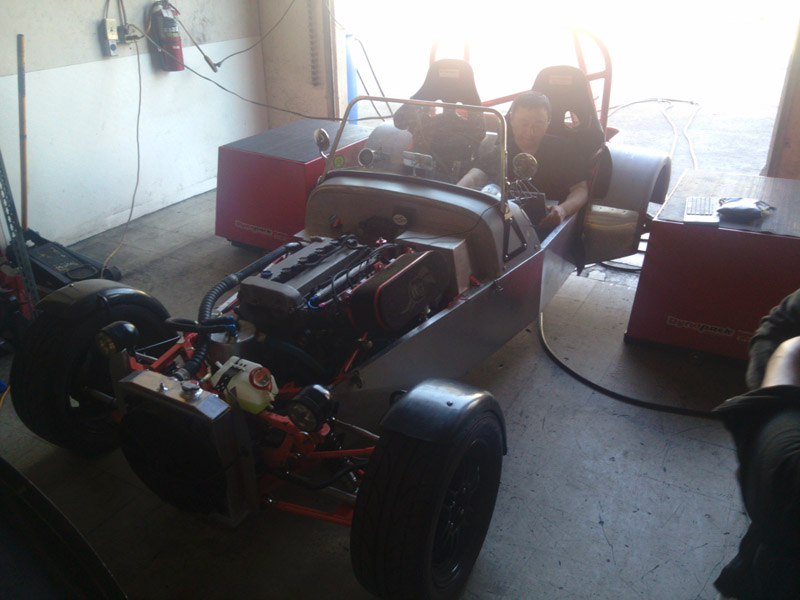
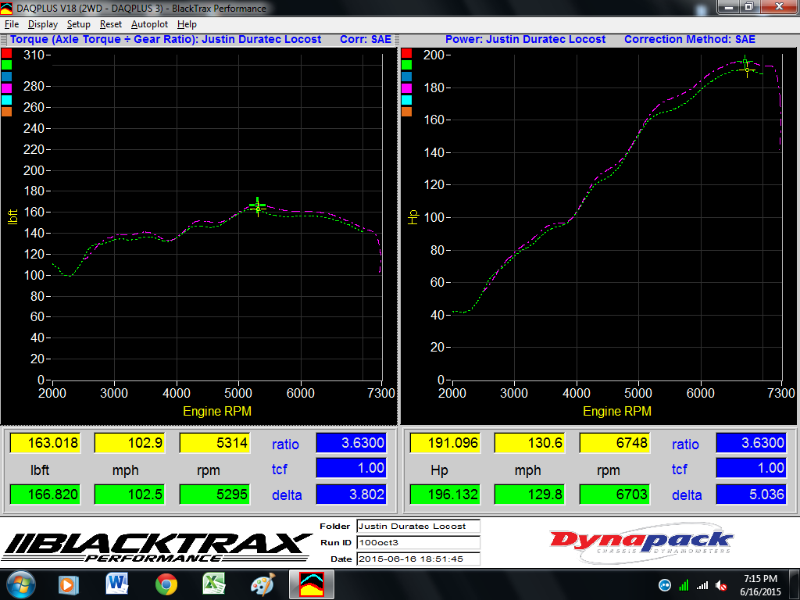
Took the car in to get dyno tuned. I had really high hopes of achieving 200+ hp but was disappointed. I've seen builds with lower spec parts achieve higher output than what I achieved, but who am I to complain...the cars was very fast and a bit scary with 145 crank hp and now I've got 196 whp. 1st world problems!!
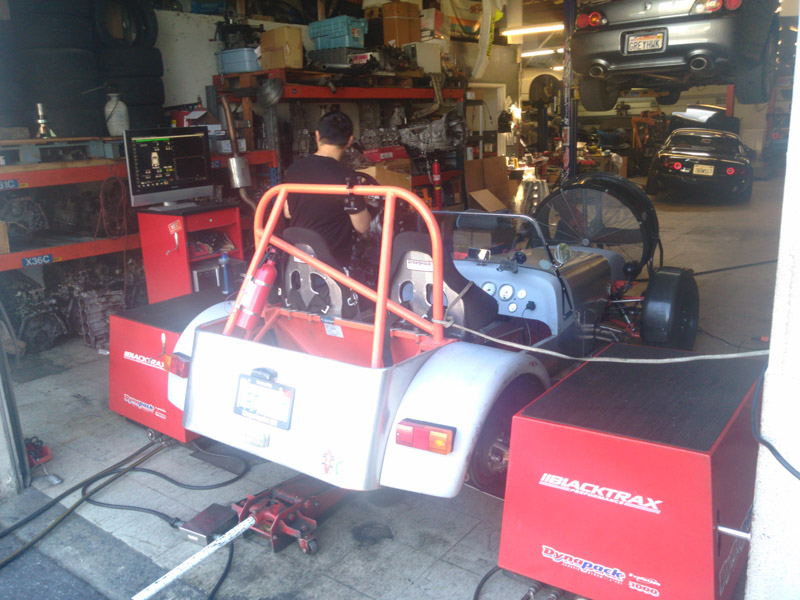
The base tune was 187hp with 91 octane. Jei, the tuner, then adjusted the cams to eek out another 4hp on the 91 tune. Then we switched to 100 octane. Jei tweaked the timing tables and we got another 5hp putting the total output @ 196whp.

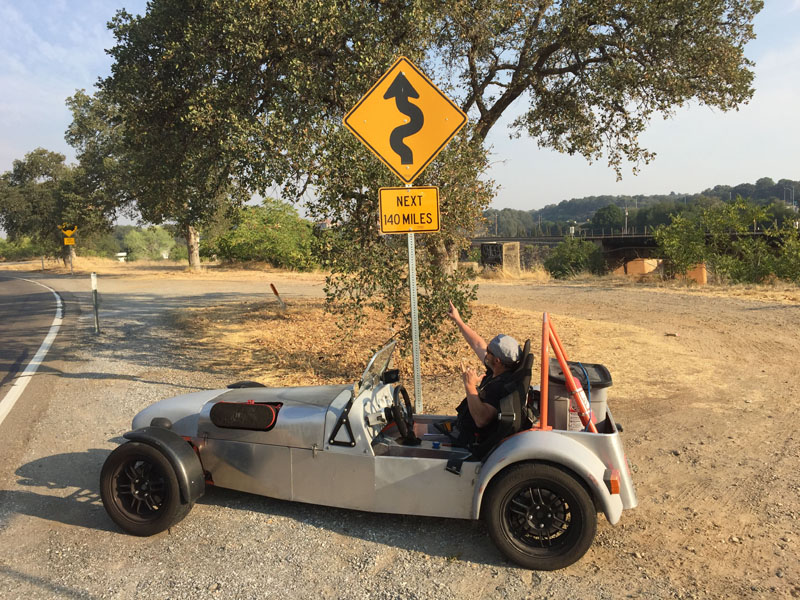
11 July 2015
I ran the Fautline 500 car Rally this year or at least part of it. It didn't start well. On the way down from San Francisco to Hollister the oil hose on the pressure side of my dry sump popped off and I lost all oil pressure. I had the quintessential British car experience...a leg covered in oil. I cut the engine before any damage was done, I hope. Fortunately some of the other rallyers had a couple of quarts and some hose clamps so I was back on the road covered in oil.
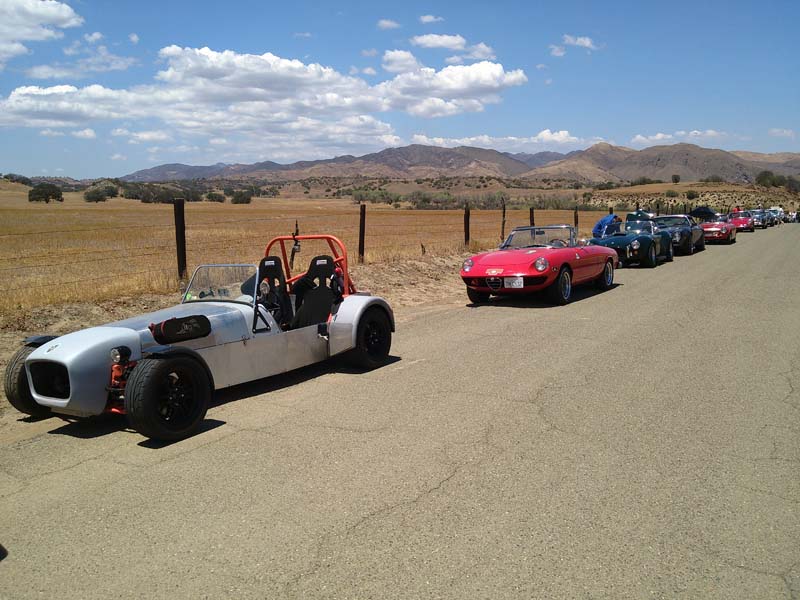
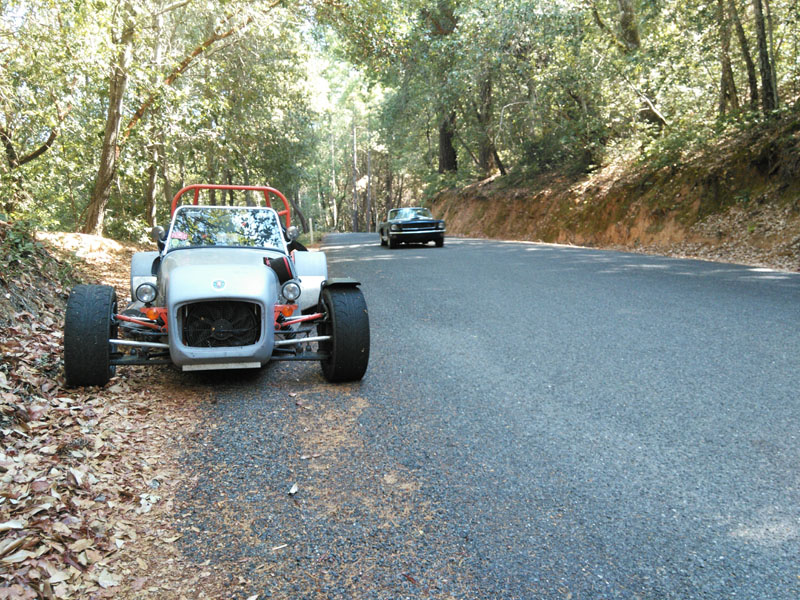
The 1st day of the rally goes from Hollister to Morro Bay with a lunch in Parkfield. Betweent Coalinga and Parkfield there is a great twisty road up over the mountain between the two valleys. There was an unofficial timed hill climb that some of us participated in. I was stoked to do it...maybe a little to stoked. The car up the hill before me was a FF Cobra and I was bound and determined to catch him before the end of the run... see what happens when you push a little too hard and let your ego get the best of you...
Needless to say I didn't catch the cobra, I caught a ride home on the back of a truck. I was able to drive the 40 miles from Parkfield to Paso Robles with the damaged arm after some wheel re-alignment to get the front wheels pointing more or less in the same direction.
Even with the crash I still ended up middle of the pack in the hill climb, lemons to lemonade?
It looks like the only damage is the on front right lower control arm but I'll have to do a closer inspection.
03 Sept 2015
Finally rebuilding the front lower control arms.


24 Sept 2015
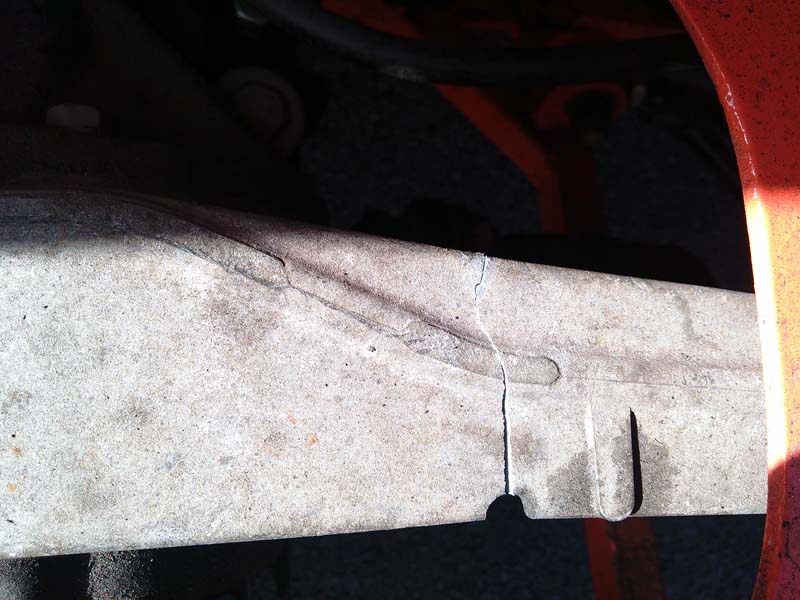
I took the car back to the alignment shop to get the alignment done and have the corner balance checked. On the way home I broke another diff housing! There has to be something wrong here because there are a lot of much higher HP turbo Miatas that have never broken their diff housing...
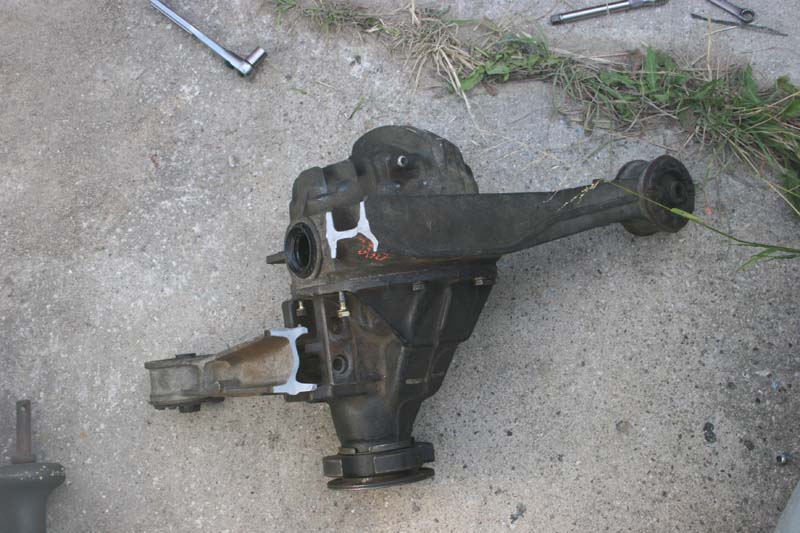
After closer inspection I discovered that the passenger side mount on the diff housing was binding on the chassis not allowing the rubber bushing to move...I don't know if this is the culprit but it makes sense, the driver side mount is able to move as much as the busing will allow but the pass side is locked/bound and unable to move thus taking the full brunt of any shock that is translated to the mount and the pass side mount also comes from the factory with a notch in the mounting ear desinged to break before anything else on the diff does, a fuse of sorts.

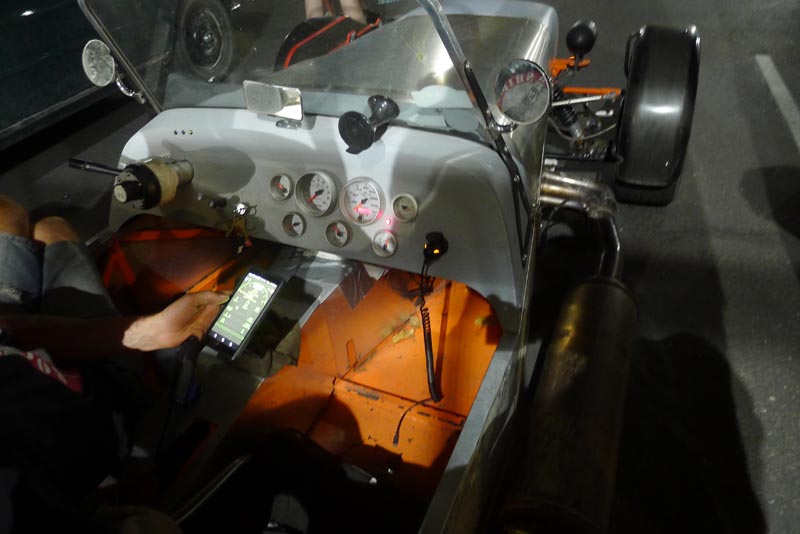
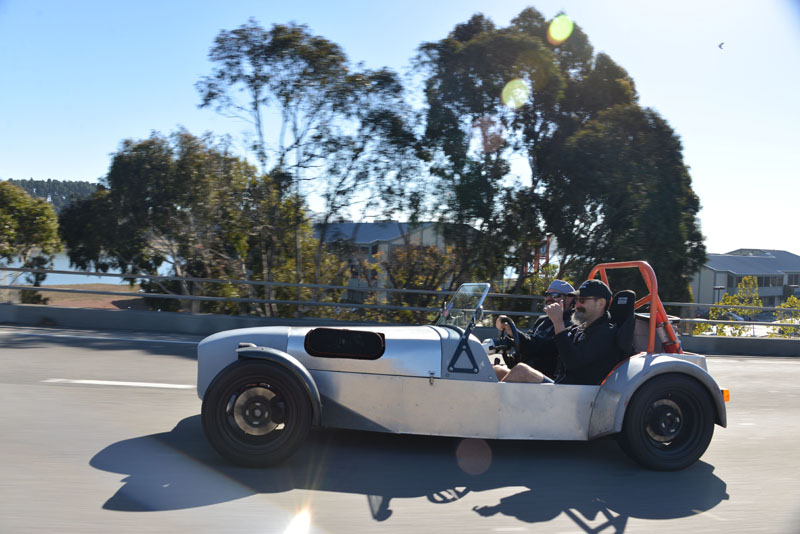
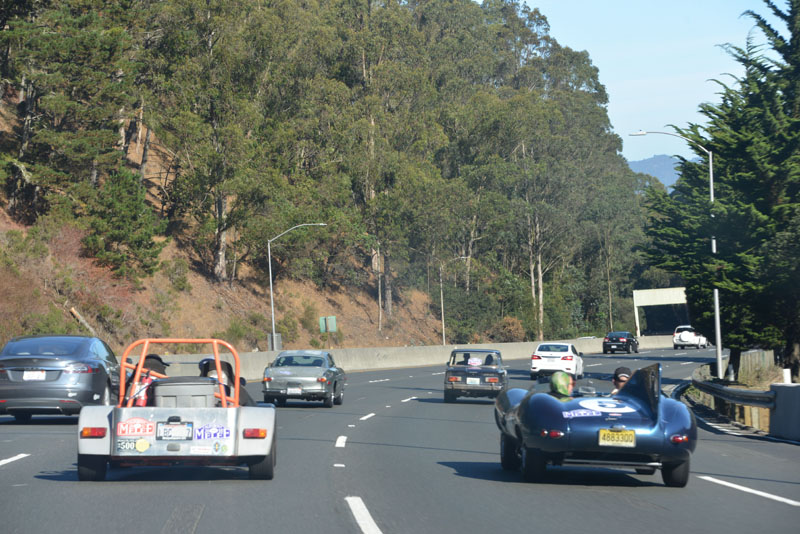
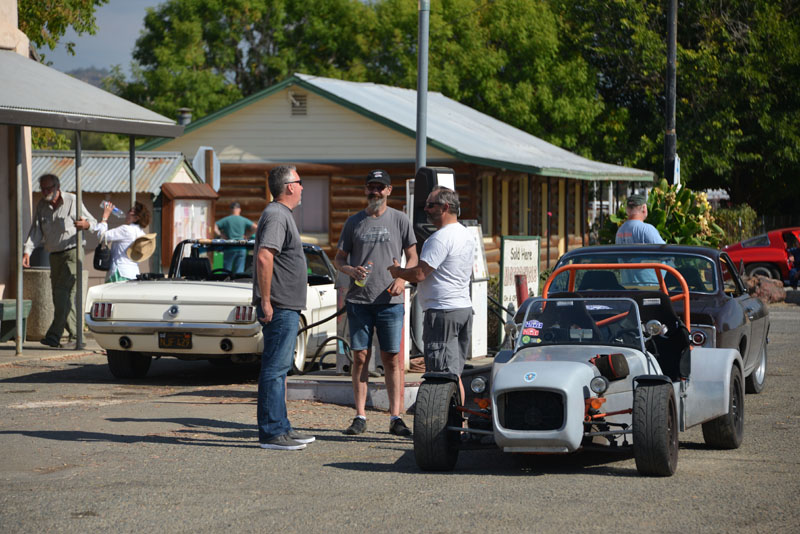
Melee 2017
We completed the 800 mile 3 day rally but not before breaking both front fender stays, frying the custom built map sensor and the clutch slave cylinder failing. This was the shakedown cruise, before this the car had never been driven more than 200 miles at one time.
Day 1

Day 2
Day 3
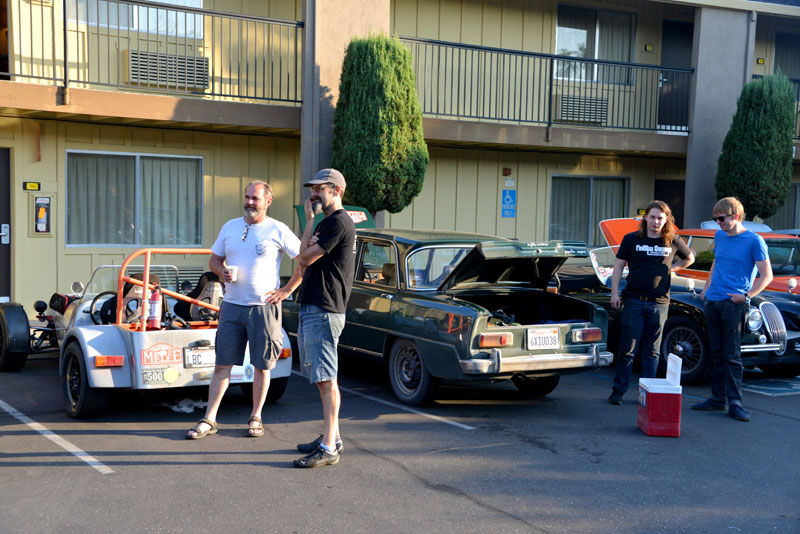
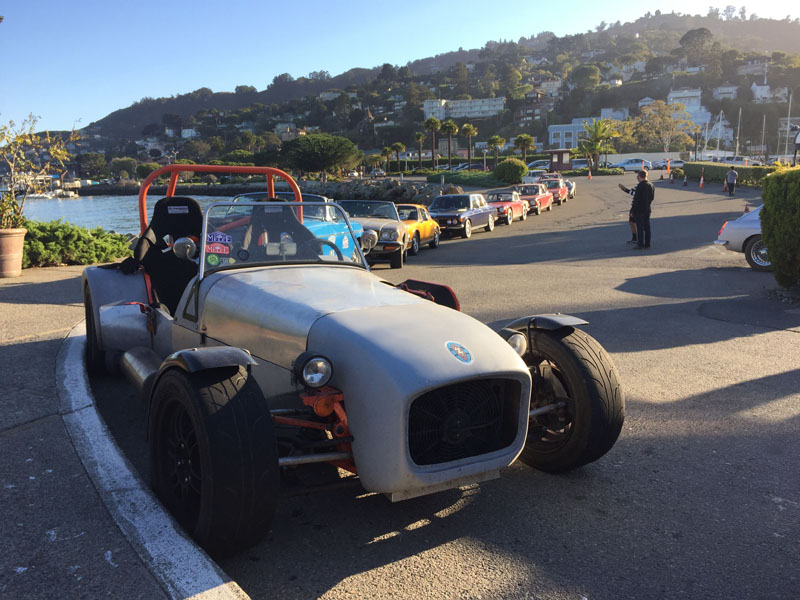
Melee 2018
This year went off without a hitch. I fixed all the issues from last year...reinforced fender stays, fixed the loose starter connection that fried the map sensor, heat wrapped the headers and added a heat shield to the clutch slave cylinder so it wouldn't fail again.
Day 1
Day 2
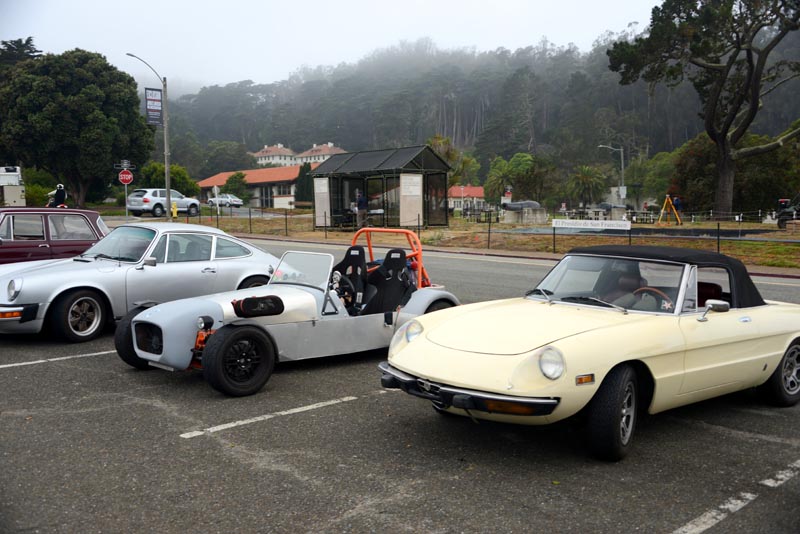
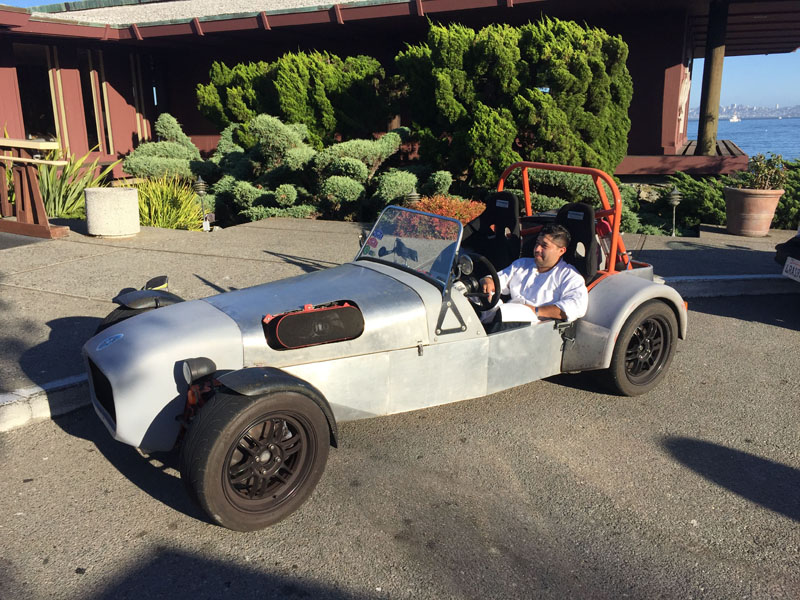
Day 3, Arriving for awards dinner in Sausalito. One of the staff wanted a photo in the car...why not??
----------------
----------------